Travel Photo Album
Why would you go through the trouble of creating a travel photo album when you have all the files safely stowed away on your computer?
Well, for one thing, computers crash and phones get stolen. When you do not have a watertight backup system and most people don’t, you might lose your precious memories.
But that’s not the most important reason……….
I remember years ago I made a few photo books for my daughter. She turned 18 and I wanted to give her something very special.
I gave her the first 18 years of her life bound together in the pages of a photo book. It took hours and hours of work because most of the pictures I took of her I made in the analog days of photography. I had to convert every single negative into a digital file and as you can imagine there were many.
But you know, it was so worth it. From time to time she takes out the books to show it to friends, a new boyfriend or to have a look for herself and enjoy those days of her life.
Context and Connection
The process of making a photo album takes attention and so does viewing it. In a photo book, the unified memories become tangible.
That alone makes a travel photo album a more valuable possession than a bunch of files. Because as long as digital files are all over the place on your computer they lack context and connection.
In a photo album, you can put the pictures into context by creating connections between people, events, places, times, emotions, and moods. By creating connections the photos will start to tell stories together. And if you do it right they will tell your story.
You have a computer and a phone filled with files of precious memories, adventures, and events. A pile of photos that deserves to end up in a photo album, but how do you do that? I get it, it’s easy to lose the overview and get lost in tons of files.
How do you create valuable order in this photographic chaos? What does it take to turn it into a meaningful and beautiful travel photo album?
If you follow these steps you will be all right!
But I’ll tell you right now……….it’s not the sexiest thing but the key is getting organized before you start.

#1 Get Clarity on the Central Theme
Make sure that you work with one theme for your album. It creates consistency and you can tell one story for your entire album.
Your storyline will become clear by sticking to a theme. Creating a travel photo album from every trip you make is a perfect theme, for instance.
If you mix all different kinds of subjects or events, it will become very messy and chaotic really quickly.
When you do have a lot of different subjects, it is better to make several smaller albums revolving around the same theme. Or you can make a yearly photo album containing all the major happenings of that year.
Collect all the photos
If you’re like most people you have pictures on your phone and your computer in a lot of different folders. Collect all the pictures for the album you’re going to create and put them in one folder.

#2 First Selection, Pluck the Weeds
Once you have decided on the subject for your album, the next step is creating a first, rough selection. In this phase, you want to delete all the failed photos. The technical and content-wise failures.
The reason for this is it makes it easier in the next phase to see the great pics you want in your album. It’s like plucking weeds in your garden. It makes the flowering plants visible.
You can do this with the selection system from iPhoto. Make a separate folder where you drag all these failed photos into. Or if you’re courageous, throw them into the bin immediately. Or you can use Lightroom. Find out how in the Library module in Lightroom.
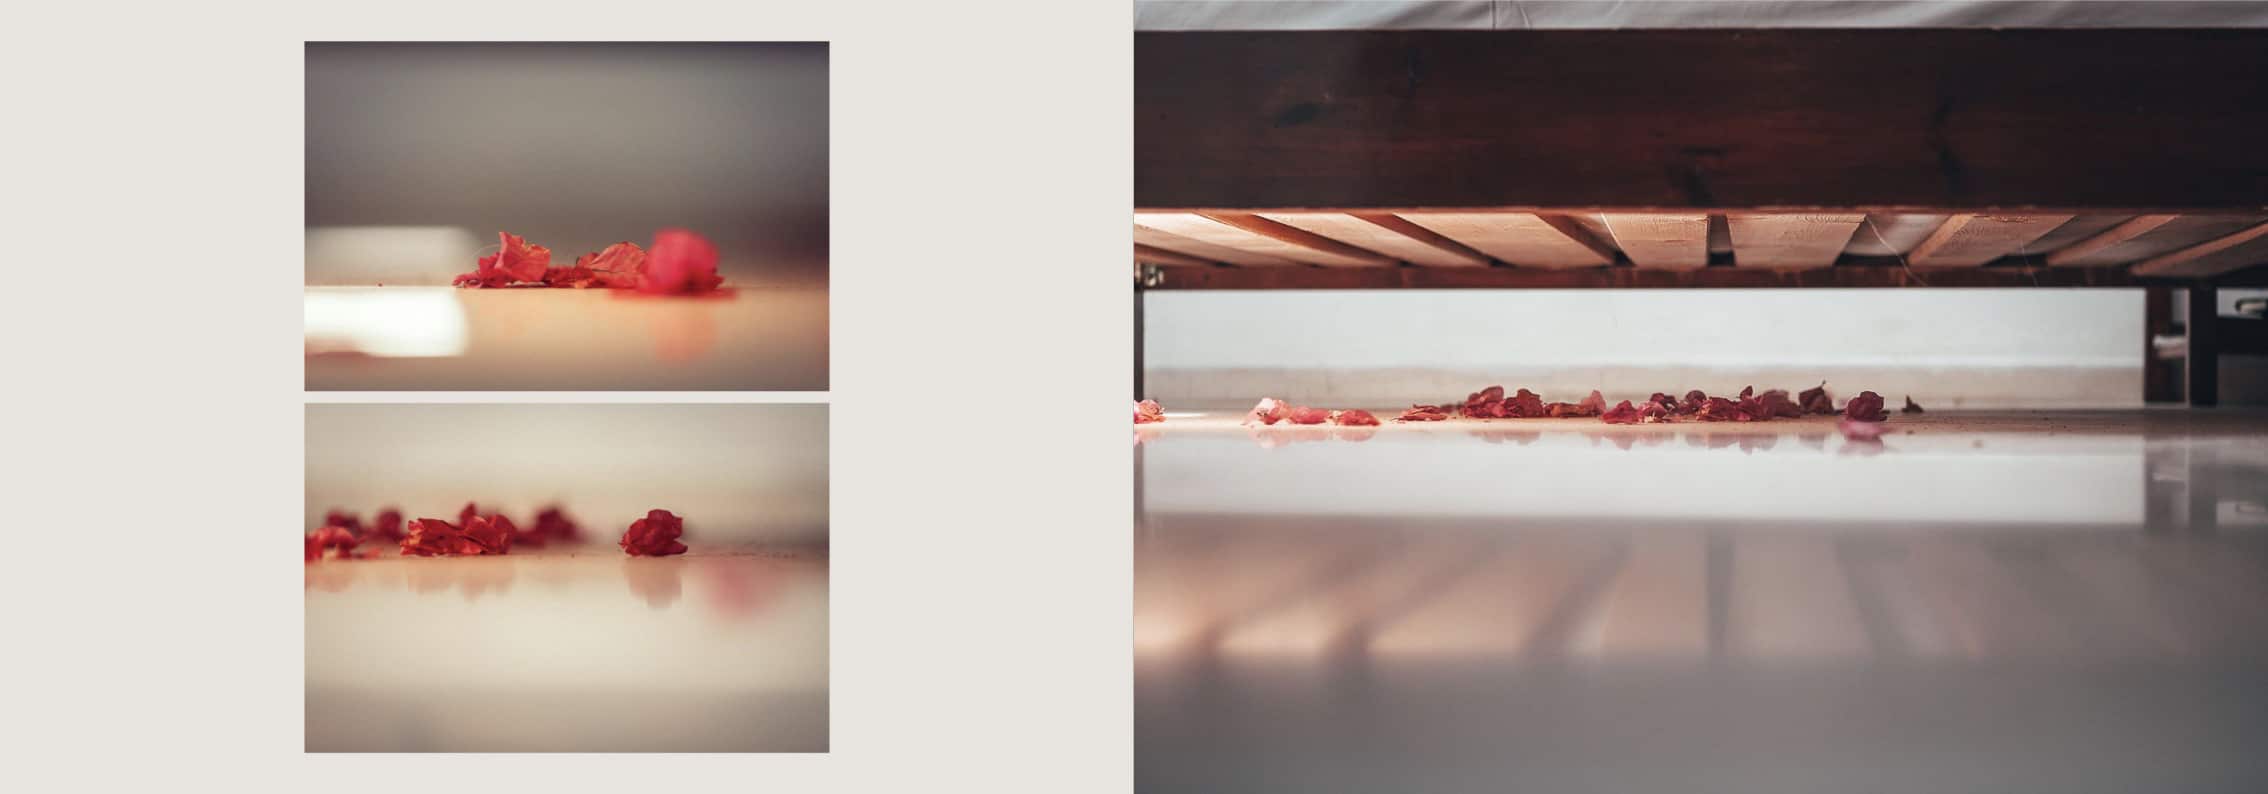
#3 Second Selection, Less is More
This is the most time-consuming step because it’s the most important one.
This part is all about making the tough decisions. By now you should have a selection of photos that are all worth using in your album. This step is about finding the photos which tell your story the best. Less is more!
A regular album starts at 26 pages. For a 26 pages album, you will need 35 to 40 photos. If you expand the number of pages, don’t go beyond 50 pages. For an album of 50 pages, you will need between 70 and 100 photos.
Make your selection wider because some photos aren’t going to make it during the actual creation of your album.
Treasure Hunt
Your selection process is now reversed. You only select the photos that you want to include in your album and chances are that it’ll be too many. Now it is time for some tough decisions.
Go through it a few times and the treasures will emerge by itself.
Look for pictures that work well together. Check pictures that look more or less the same and pick only the best.
During this selection process, ask yourself a few questions.
- Is the story complete or are there gaps in it?
- Are some of the photos so amazing that they deserve a full spread?
- Are there enough pictures that will fit together, so they form a story?
- Do I have 1 stellar pic for the cover?
When you’re finished making your selection, leave it alone for a while. Go back in after a few hours or even days.
A fresh glance or a second pair of eyes is a perfect way to make an even better selection.
When you’re finished with your final selection, place them in one folder so you have easy access when you upload them in the album software.
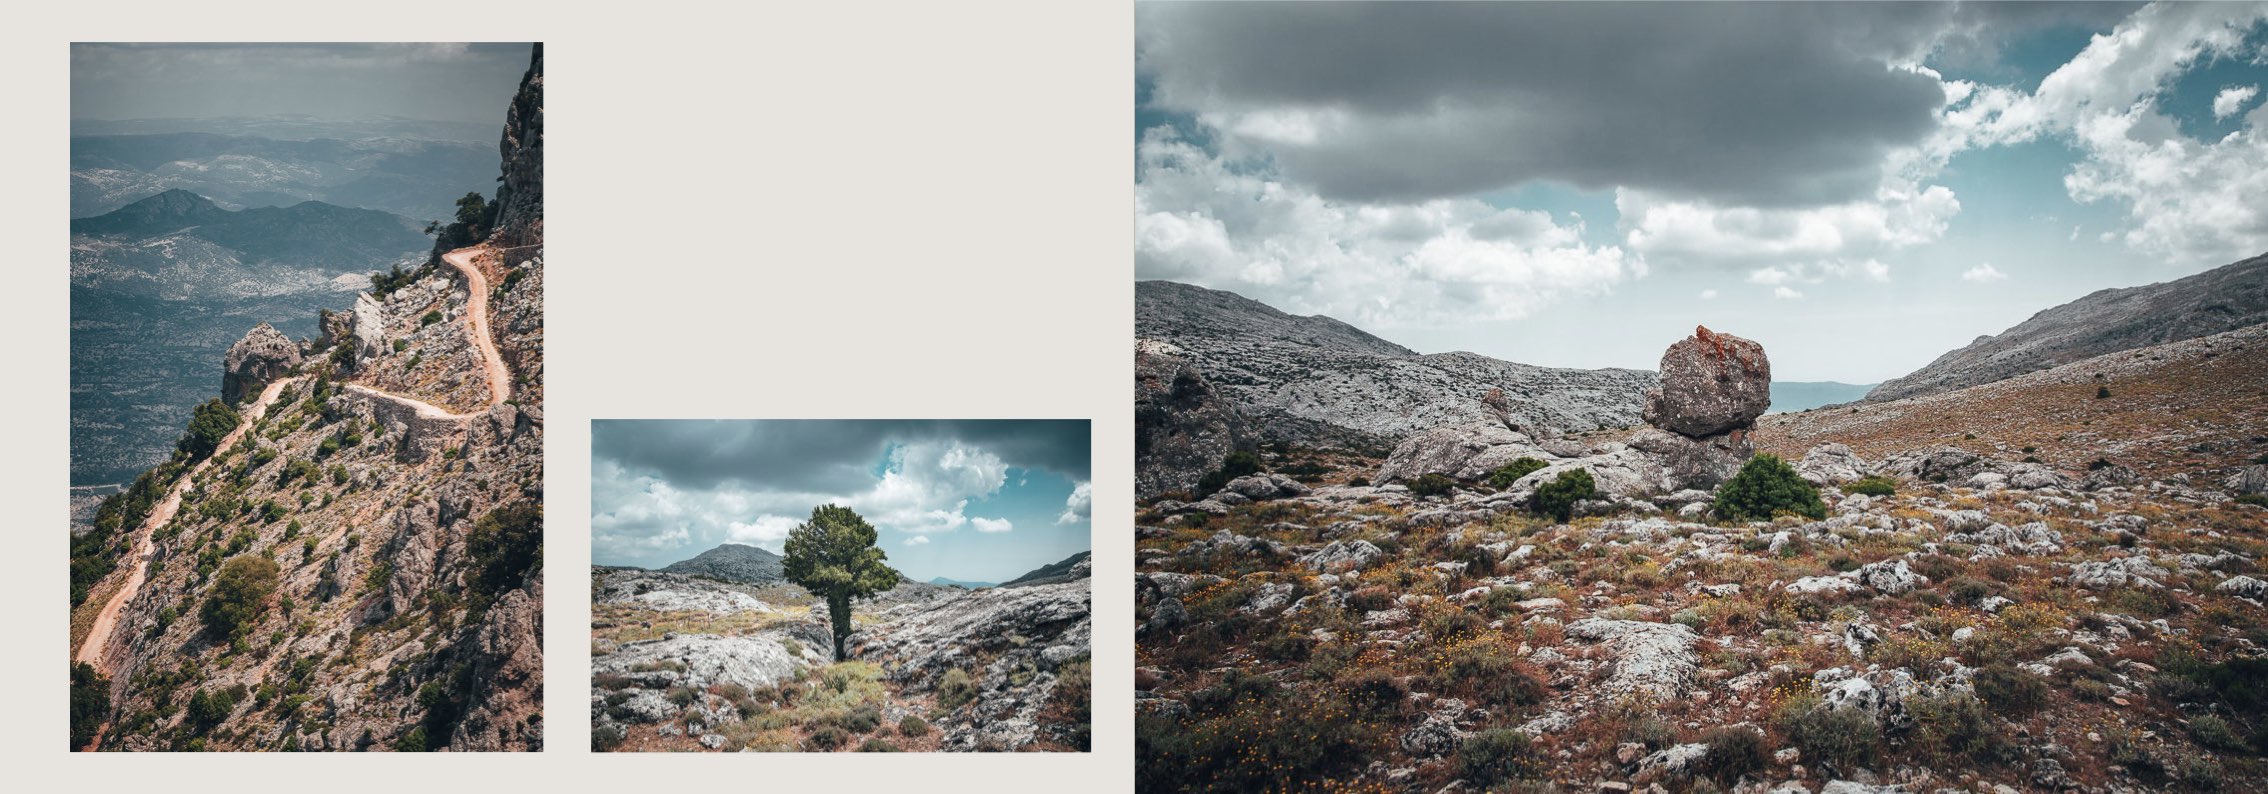
#4 Choose Your Travel Photo Album
Now, you need to decide on the format of your album. Square, landscape, or portrait? Hardcover, softcover, lay flat? Oh my, so many choices!
I prefer the landscape orientation. Somehow it lets my pictures shine more and I like the layout options I have on a horizontal page better.
I would recommend a hardcover photo album any day because it protects your memories better. You can also choose a lay flat photo album. It’s a little more expensive but the upside is that the pages of the album are ……….. yep, flat. There’s no fold in the middle meaning you can use the 2 pages for a full spread.
Made your choice? Great! Now upload the pictures you selected during the previous step.
Of course, you can let the album software decide how to fill your pages but where’s the fun in that! Nooo ………. you’re gonna do that yourself, my sweet friend!

#5 Let Your Photos Play the Leading Role
When it comes to filling the pages of a travel photo book I’m all for the minimalistic approach. The design should make your pictures shine, not the other way around.
The design is the supporting actor, your amazing pics are the leading lady.
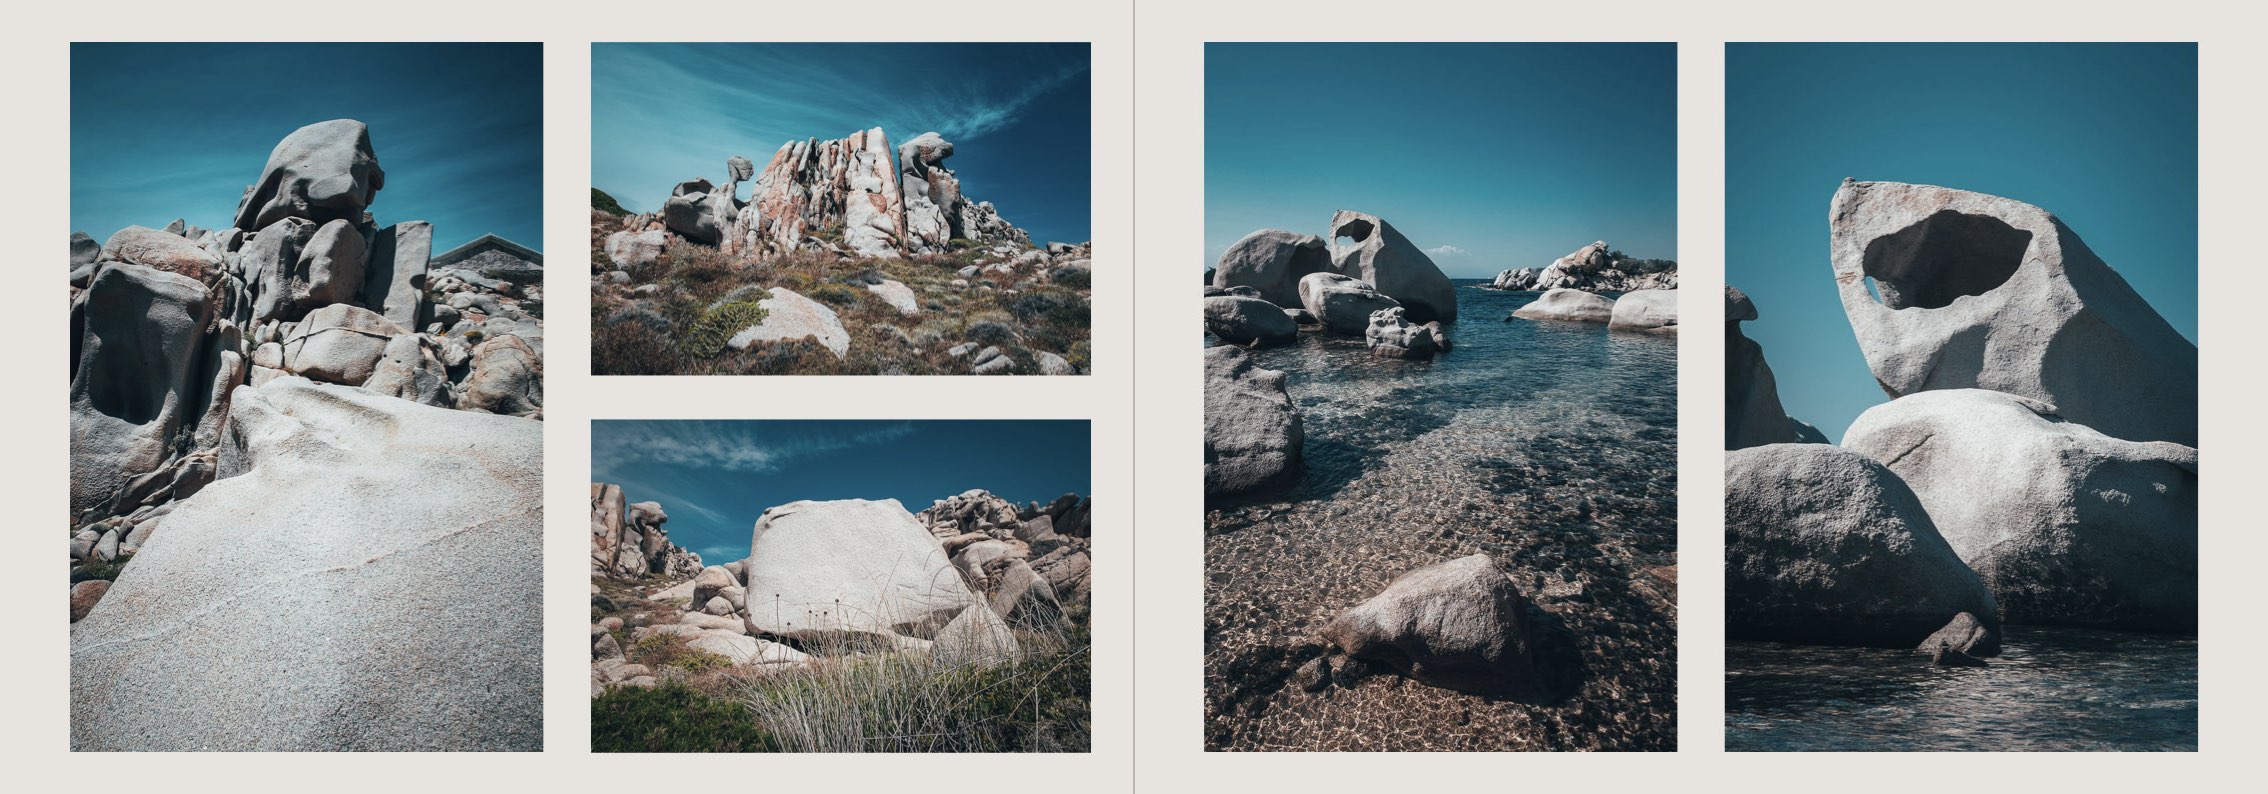
Choose a few different page layouts and stick to those. Pick a background color for the entire album preferably a neutral color like white, light grey, or creamy white.
Don’t overcrowd your pages, 1 to 3 photos per page is the max. In some cases, a fourth picture is called for but let that be the exception.
You’ll need a layout for:
- a full spread (1 picture on the entire page)
- 1 picture with white space,
- a double-spread (1 picture on 2 pages), only if you create a flat-lay album
- 2-4 horizontal pictures
- 2-4 vertical pictures
- a combination of horizontal and vertical pictures
Create a variety of pictures that have white space around them and pictures that go beyond the edge of the page or the neighboring picture. Add a few white pages throughout the album.
Another great way to create photo pages is the Adobe Combine Images Tool. It’s a free online tool that allows you to create photo collages. Check it out, it’s pretty cool!
When you add text blocks make sure the font and size are the same throughout the album.
#6 Mix Up the Chronology
Make clusters of pictures that work well together for a page. Every page should tell a little story because they are the building blocks of your photo book.
When filling the pages you can choose to keep it in perfect chronological order. But how about mixing it up a little?
You can keep the general timeline, but you can give yourself the freedom to change it whenever you like. It will add playfulness to your travel photo album.
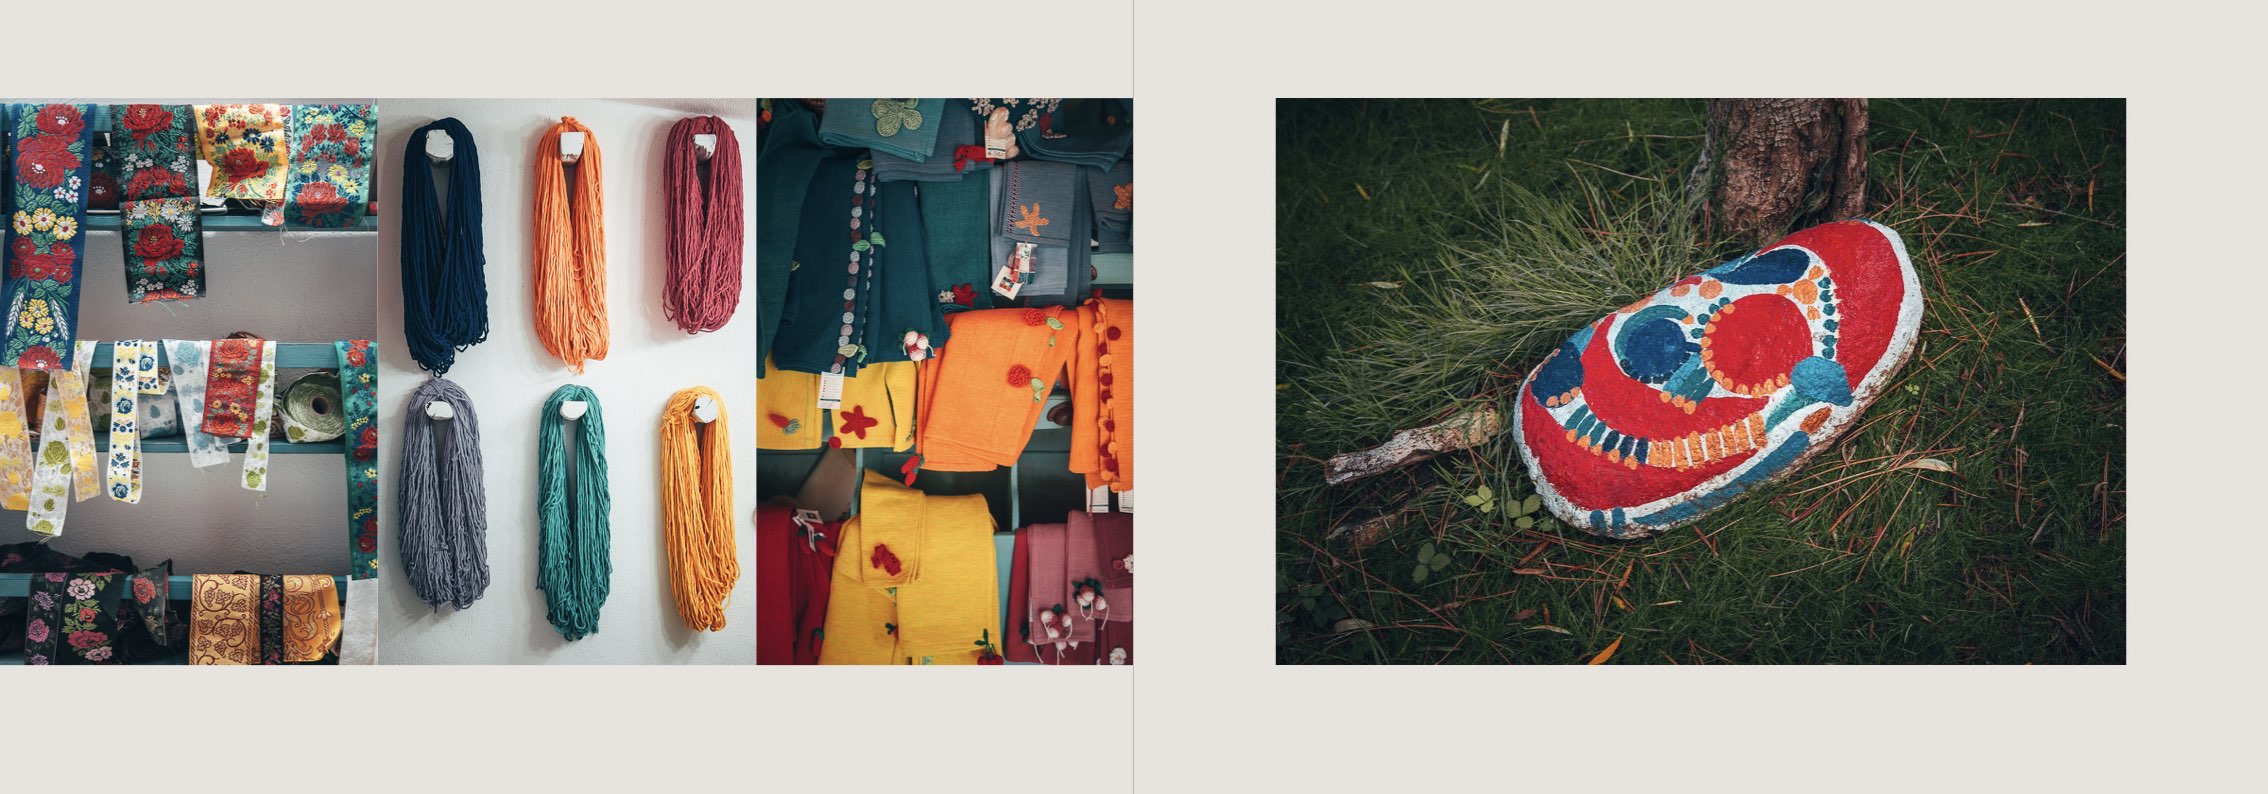
Adding some pages based on colors, tones or shapes will have a great visual impact on your album.
Or add a double page of a loved one, or the same place at different times, or a specific emotion or mood.
Get creative and let your imagination run wild……..when you’ve developed a photography obsession during your trip you can collect pictures of all the flowers, all the street signs, all the windows of quaint little shops, all the people with a mustache, all the cats………you get my point!
Adding clusters of pictures like this makes your travel photo book even more personal than it already is.
#7 Check & Focus on Story Line
Once you’ve filled up your entire album, please save it! Do not forget this step.
Let it rest for a few hours or a few days. Taking a break will give you a fresh mind to look at it again.
You’ll need to get into analytic checking mode now and being away from the photo album will give you that clinical, observing mindset.
Now, go to the preview mode and start checking while you only focus on the storyline!
- Does it flow smoothly?
- Is the transition from page to page as you like it?
- How about the combination of pictures?
- Is every single page a delight to look at?
- Are there gaps in your story?
- Did you select double photos?
- Does it make you happy? Or as Marie Kondo would say…..does it spark joy?
If not go back in and adjust, add, or remove pictures or entire pages until it does.
#8 Check & Focus on Design
Creating an album isn’t the most expensive thing in the world, but it’s important enough to double check before ordering.
Once you press the order button, you can’t reverse it.
So, before you do that, go back and make sure everything is exactly how you want it.
Don’t use the preview mode, because this time around you only pay attention to the design.
- Make sure the sizes of all the photos are correct.
- Check if they are aligned perfectly.
- Look at the placement of the pictures on the page.
- Take a good look at the text blocks for typos, make sure the font is the same and the size is correct.
You’re allowed to be an obsessive perfectionist here. This last phase is all about the details! You want them to be exactly right.
We do the storyline check and the design check in a different sitting because multitasking is way overrated.
Actually, the so-called benefits of multitasking do not exist. Maybe this is news for you but it’s a fact! And yes that includes you………girlfriend 😉
If you go back and forth in your mind between storyline and design, between the big picture and the details you can be sure of one thing……………..you will miss something. That something will bug you every single time you leaf through your travel photo album.
All checked?
Mistakes corrected?
Are you happy?
Sparked with Joy?
Congratulations!
You just made your awesome adventures last a lifetime!
Did you make your photo album with this tutorial? Share some pages on Instagram and mention @photography_playground!





thank you!!!!!!!!!!!!!!!!!!!!!!!
You’re welcome 🙂