
Travel Photography Safety Tips
Travel offers a feast for the senses and endless opportunities to capture the wonders of the world through the lens of your camera. Every meaningful memory becomes a moment etched in time.
Amid the awe-inspiring landscapes and vibrant cultures, it’s vital to remember that we often become more relaxed and carefree when traveling, making us susceptible to those with less noble intentions.
To protect your gear and those priceless memories you’ve worked so hard to capture, you need to adopt some crucial safety habits.
These travel photography safety tips are your trusted allies, born from years of globetrotting experience. They’ll help ensure that you return home with your gear and your most cherished pixels intact.
#1 Check Your Travel Insurance
Before you embark on your journey, pause for a moment to assess your travel insurance, and consider its coverage not only for your health emergencies but also for your cameras, lenses, and other electronic equipment. Travel is often unpredictable, and being prepared is your greatest asset.
That’s where an insurance company like SafetyWing comes in. This remarkable travel companion provides a safety net when you need it most. While we won’t go into detail, you can trust that SafetyWing will be there for you when the unexpected happens.
But for now, just make sure your travel insurance is up to the task. If necessary, consider upgrading your plan to increase your peace of mind. It’s not just about the equipment; it’s about knowing you’re covered in case of the unexpected.
In addition, make sure your insurance policy covers your planned destinations and whether any areas or situations are excluded. This knowledge will allow you to make informed decisions once you arrive at your destination.
Be Pro-Active
To take it a step further, create a comprehensive inventory of every piece of equipment you plan to bring, including detailed specifications and serial numbers. Pull out your smartphone to take photos of all your gear. This important documentation, along with those photos, should be stored securely in your Dropbox folder or other cloud storage solution.
These proactive steps aren’t just about protecting your gear; they’re about giving you peace of mind knowing that you’ve taken every step possible to take good care of it.
In the unfortunate event that your equipment is lost or stolen, you’ll have the proof you need to reclaim your precious belongings should they turn up at a police station, lost and found, or even a pawn shop.
#2 Bring the Perfect Camera Bag
I’m all about working with the gear you have and the power of constraints when it comes to travel photography. But I make an exception for camera bags. I have been on a quest for the perfect camera bag since I started photographing more than 30 years ago. And every time I buy a new one I think ‘Yes, this is the one!’ But I get disappointed quite often. I don’t even know how many bags I’ve bought over the years. I’m the Imelda Marcos of camera bags 😉
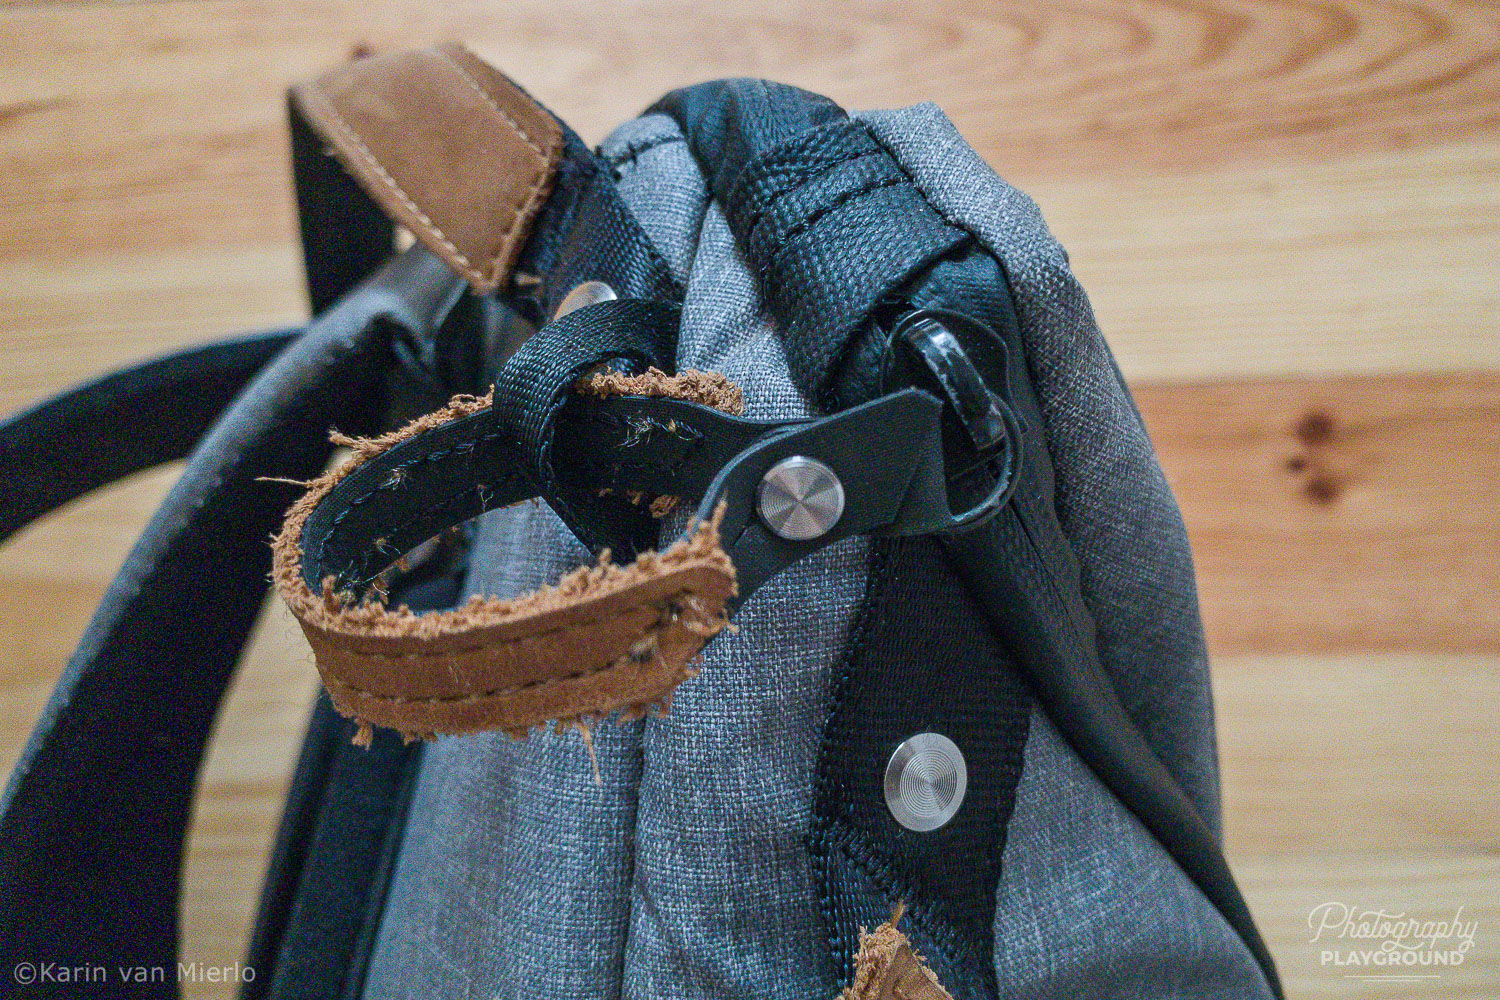
Last year I bought yet another one and this is the most perfect bag I’ve had so far. It’s the Peak Design Everyday Backpack.
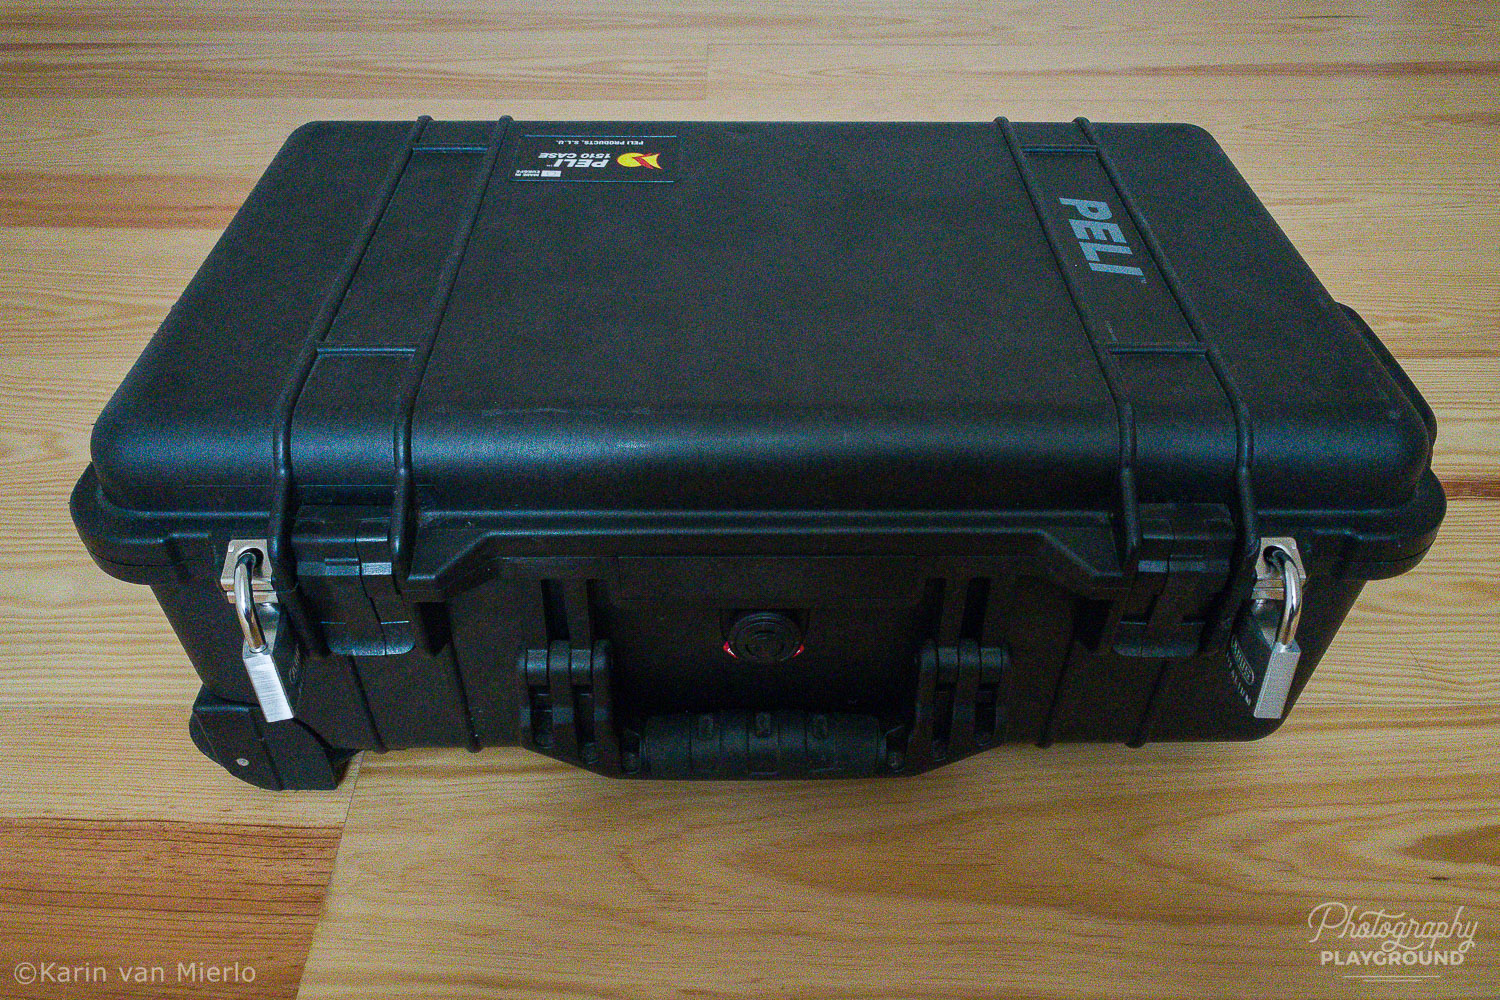
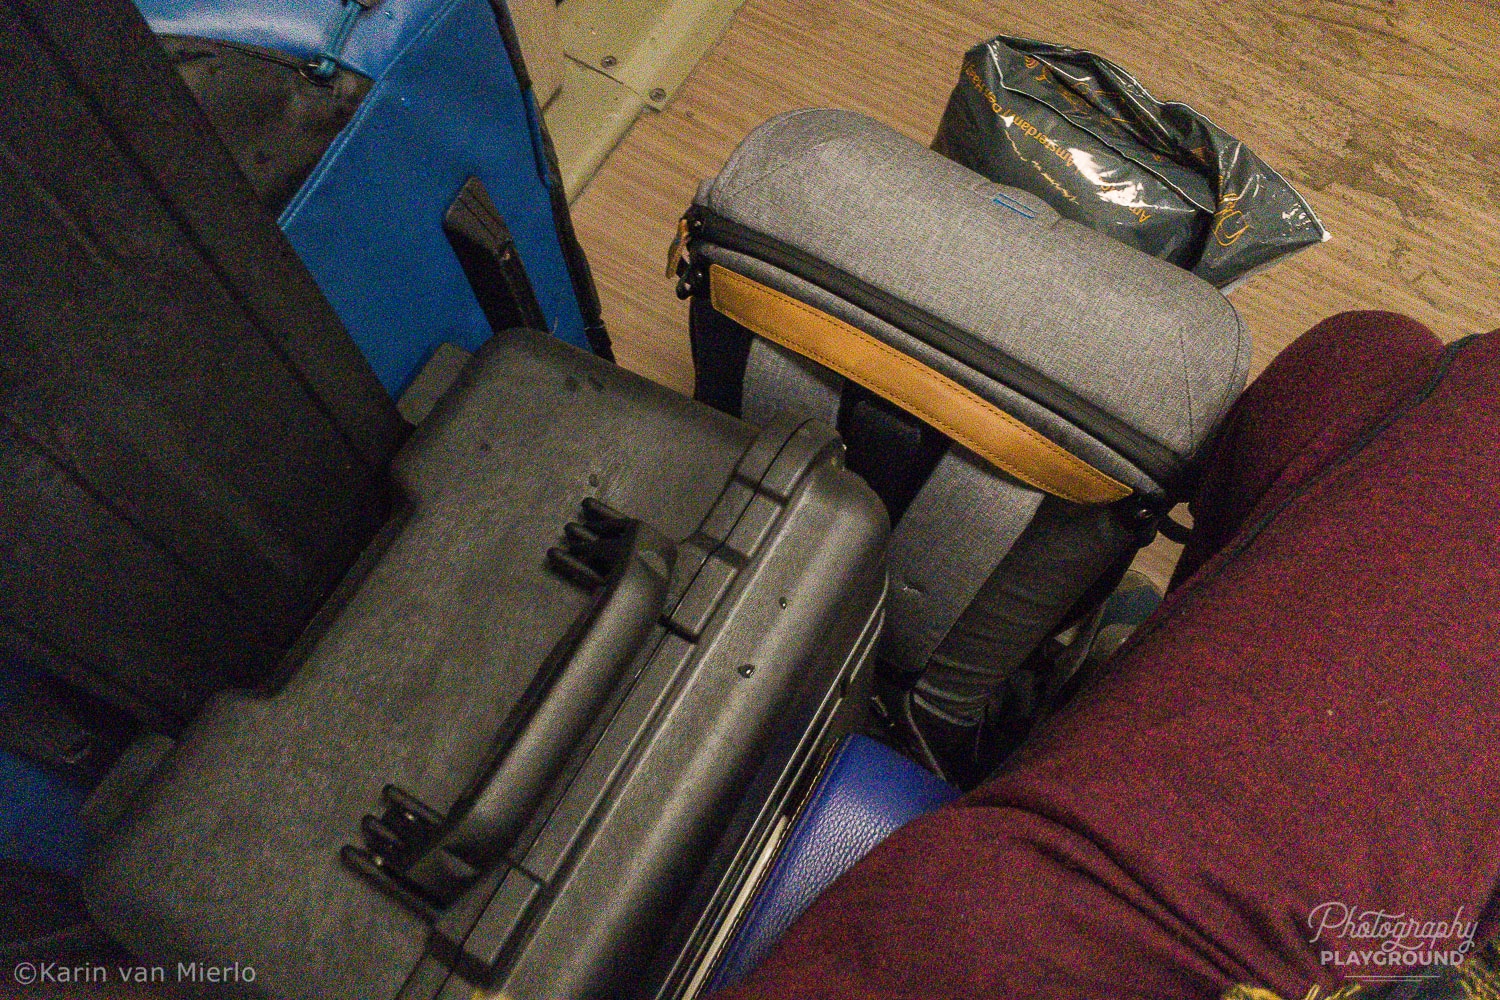
The setup I have is a Pelican Case that fits 2 cameras and a few lenses. It’s my carry-on travel case for long flights and destinations. It’s made from hardened plastic and has loops to apply padlocks. It’s waterproof and dustproof.
Once I arrive at my destination I leave the Pelicase at my accommodation and use the Peak Design backpack for the day.
What to Look For
- I want it to be comfortable to walk around with. I prefer a backpack because it’s easier on my back.
- It has to hold the equipment I take with me for the day. Plus some personal items, food, and an outside pocket for a water bottle.
- To protect your gear from outside elements, it needs to be padded.
- Especially if you prefer a backpack like I do, you want to make sure it is hard for thieves to access. My Peak Design bag has ways to secure the zippers so it can’t be opened without me noticing it.
- It has to be waterproof and dustproof. Or it should come with a rain cover.
- I want it to be a bag that doesn’t scream, ‘Hey, I’ve got expensive cameras in here! Come and get me! Again, Peak Design does a great job. The backpack is beautifully designed and could very well be a regular backpack. You can remove the labels from your camera bag if it’s a well-known brand.
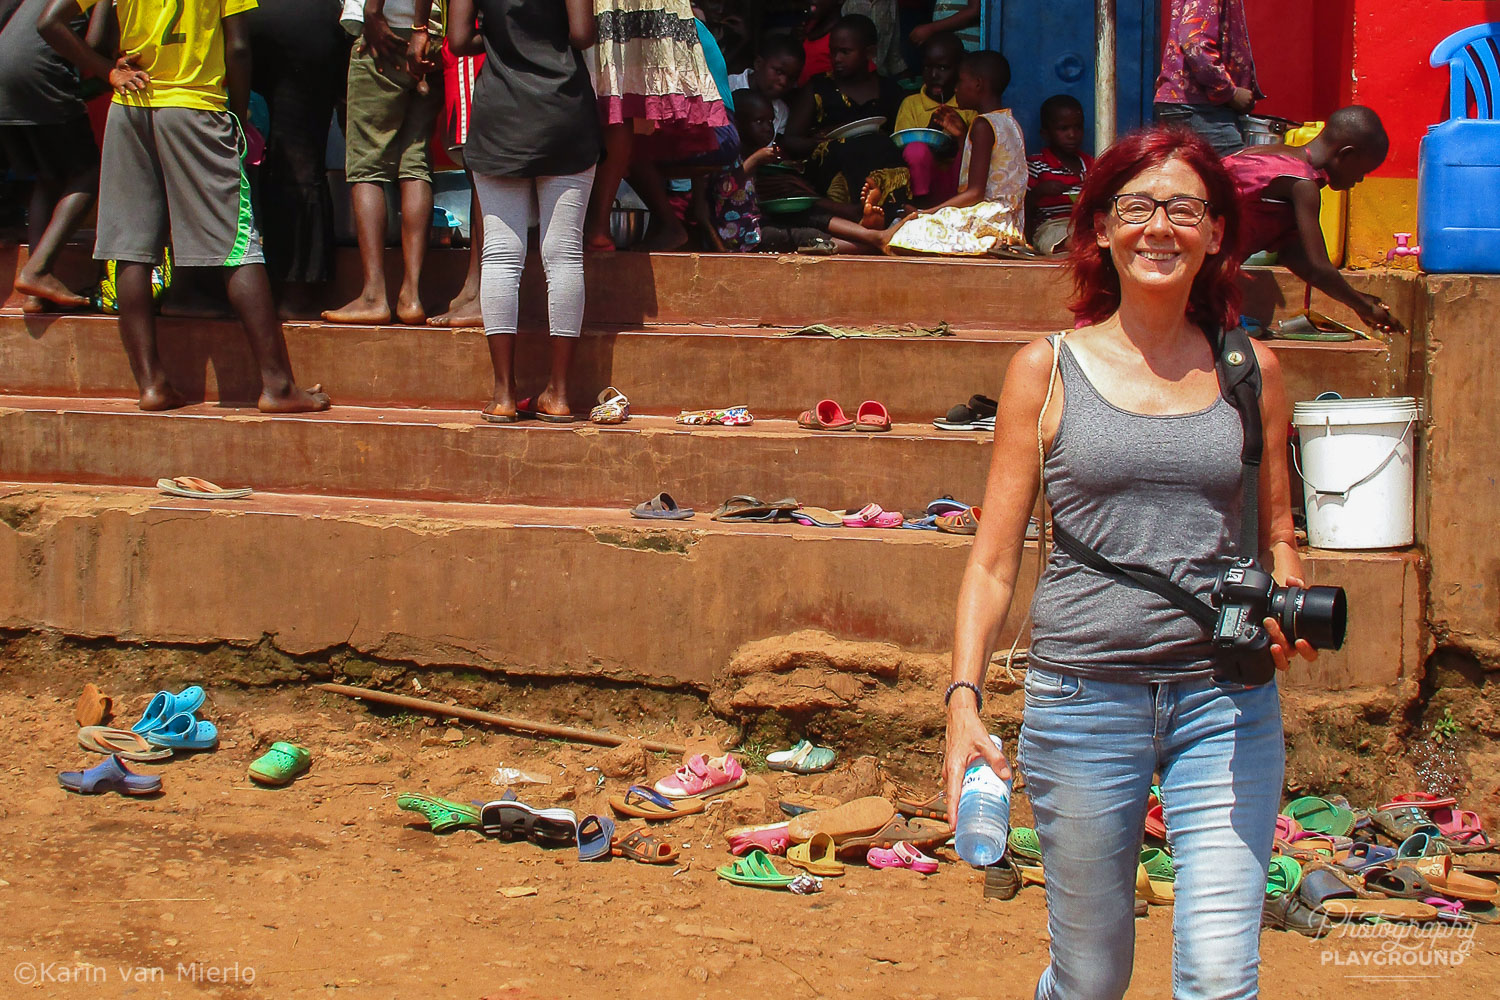
- It’s better if your camera bag is not brand new. It will attract more attention if it is. After I bought the Peak backpack, our first trip together was to Uganda. Not the safest place in the world. I was very happy to discover that Uganda is a very dusty place and my backpack looked used in no time.
#3 Keep it Close
By keeping it really really close I mean you should have physical contact with your gear at all times. So not only keeping an eye on it but actually touching it.
In Transit
When you’re traveling by plane bring your camera bag as a carry-on. Take it with you inside the plane and put it under your seat if possible. If you need to put it in the overhead compartments keep an eye out for it and make sure to secure it with a padlock.
In trains and buses bring it with you inside and keep your camera bag under your seat or next to you. Don’t store it in the overhead compartments or worse in the luggage area that’s accessible from the outside of the bus.
When you’re driving a car or taking a taxi don’t store your camera bag in the trunk of the car. Once we were taking a taxi and somehow the trunk of the car opened up. We still have no idea whether it wasn’t closed properly or if someone saw his chance while we were waiting for a traffic light. Anyway, I was happy my Pelicase was safe with me in the backseat of the car and nothing was lost.
So be sure to take it with you inside and put it on the floor, especially when you’re driving with an open window. When you have it in your lap it’s easy for a thief to grab it while you’re waiting for a traffic light. I know it’s bizarre, but it happens.
Walking Around
Wear a shoulder- or sling bag always in front of your body. Last year I was photographing in a dodgy neighborhood in Lisbon and I had a small camera bag with me. My camera was around my neck. But my shoulder bag was hanging at my back. Suddenly I got this odd feeling and when I turned around my bag was open with stuff half hanging out of it. The thief ran away empty-handed luckily.
So, wear it in front! And when you have a backpack that’s not theftproof like the Peak Design you should wear your backpack in front as well. It might look a little geeky but you’ll feel way more stupid when you notice your zipper is open and your stuff is gone.
When you’re having a rest keep it in your lap, between your legs, or put one leg of the chair through the straps of your bag. Also, don’t put your camera on the table. It’s inviting to both thieves and wobbly glasses.
At Your Accommodation
When you’re staying in a hotel you can put your gear in the hotel safe. Usually, the ones in the room are quite small but it’ll fit at least your camera.
If you have a lot more to keep safe you can ask the receptionist to help you out. Most hotels have a safe. When you leave it there make sure you get a receipt or use your phone to take a picture of it.
Another solution, the one I use is traveling with the Pelicase which has loops for padlocks. If you want to be really safe you can use a wire to secure it to a radiator or anything else sturdy.
When you’re staying in a hostel make sure the hostel actually provides a safe locker. And bring your own padlock to secure your locker. From my own experience, I advise you to buy a combination lock. Once I closed my locker with my camera bag and the key inside! Not funny I can assure you.
#4 Use a Camera Strap
Some people think it’s cool to casually carry their camera in one hand without a strap. Don’t do it. It’s not safe for a number of reasons.
It’s very easy for someone to grab it out of your hand. And it’s way more likely you’ll damage the camera. It’s also safer because while you’re not photographing you have both hands free. So you don’t need to put your camera down when you want to grab your wallet and pay for something.
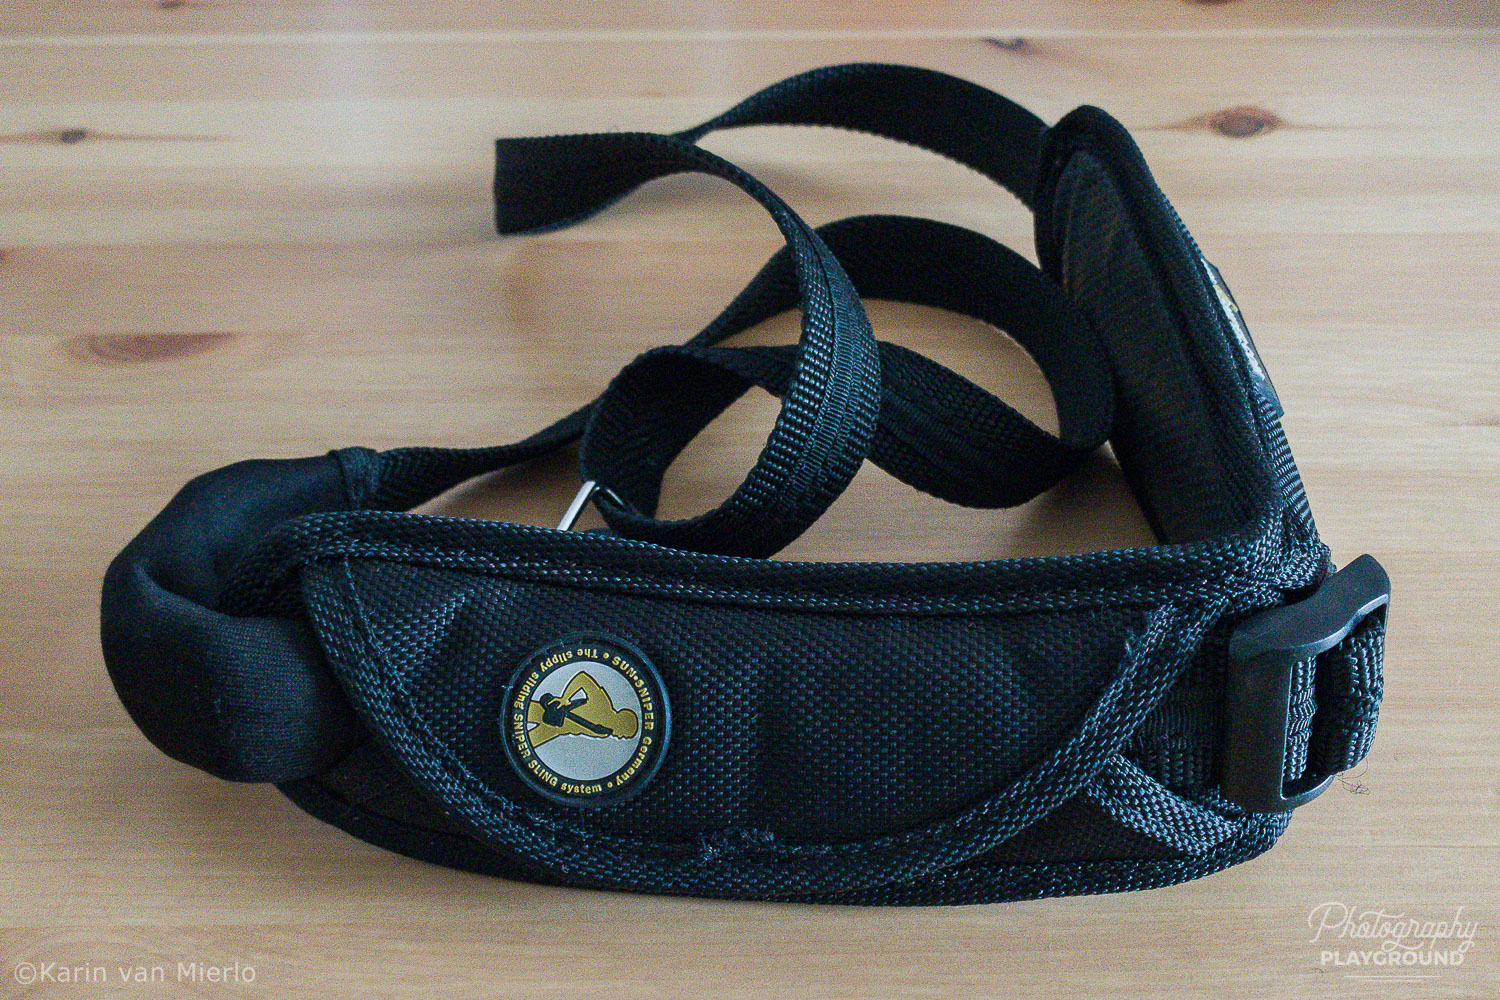
Like with the camera bag, you don’t want your strap to scream ‘expensive brand’. So replace your branded camera strap with a good brandless strap and carry your camera across your body.
The best ones have a wire inside like the Sunsniper Strap. It’s the one I use, and I’m very happy with it. The steel wire inside the strap prevents anyone from cutting off your camera strap and grabbing your camera.
#5 Protect it From Outside Elements
If all is well you at least have a camera bag that protects your gear from the rain. Seriously, it should be waterproof! So when it starts raining you can put your gear back inside its safe place.
If you want to keep on shooting during the rain you can get a rain sleeve. They’re not too expensive and they’ll protect your gear from the rain. You can opt for a rain sleeve that will give you protection for one maybe two shoots like the Op/Tech Rain sleeve.
Investing slightly more will give you a rain sleeve that will last you a lot longer. I like the Think Tank Photo Emergency Rain Cover.
To be clear this is not something for underwater photography. That’s a whole different ballgame.
The rain sleeve will also protect your camera from dust and sand.
Filters and Hoods
Actually, the most fragile part of your camera is not so much the body of the camera but the lens.
Consider buying a lens filter for protection purposes (I have one for all my lenses) so the glass of the lens will not get scratched.
Another thing I do is always have the lens hood on. Whether it’s actually necessary to avoid lens flare or not. I even have it on when I photograph inside. Because the lens hood takes the impact of knocks and bumps it protects the lens from getting scratched.
Extreme Temperatures
Cameras are sensitive to large temperature differences. Internal condensation can kill the insides of your baby.
So when you’ve been photographing in subzero temperatures put the camera in your bag before you go inside to warmer temperatures. This way you give your camera the time to slowly adjust to the warmer temperature avoiding condensation.
This also holds true for chilly, air-conditioned rooms and tropical temperatures outside especially if it’s humid. Leave your camera in your bag in the hotel room and when you go outside don’t take it out until it’s adjusted to the outside temperature.
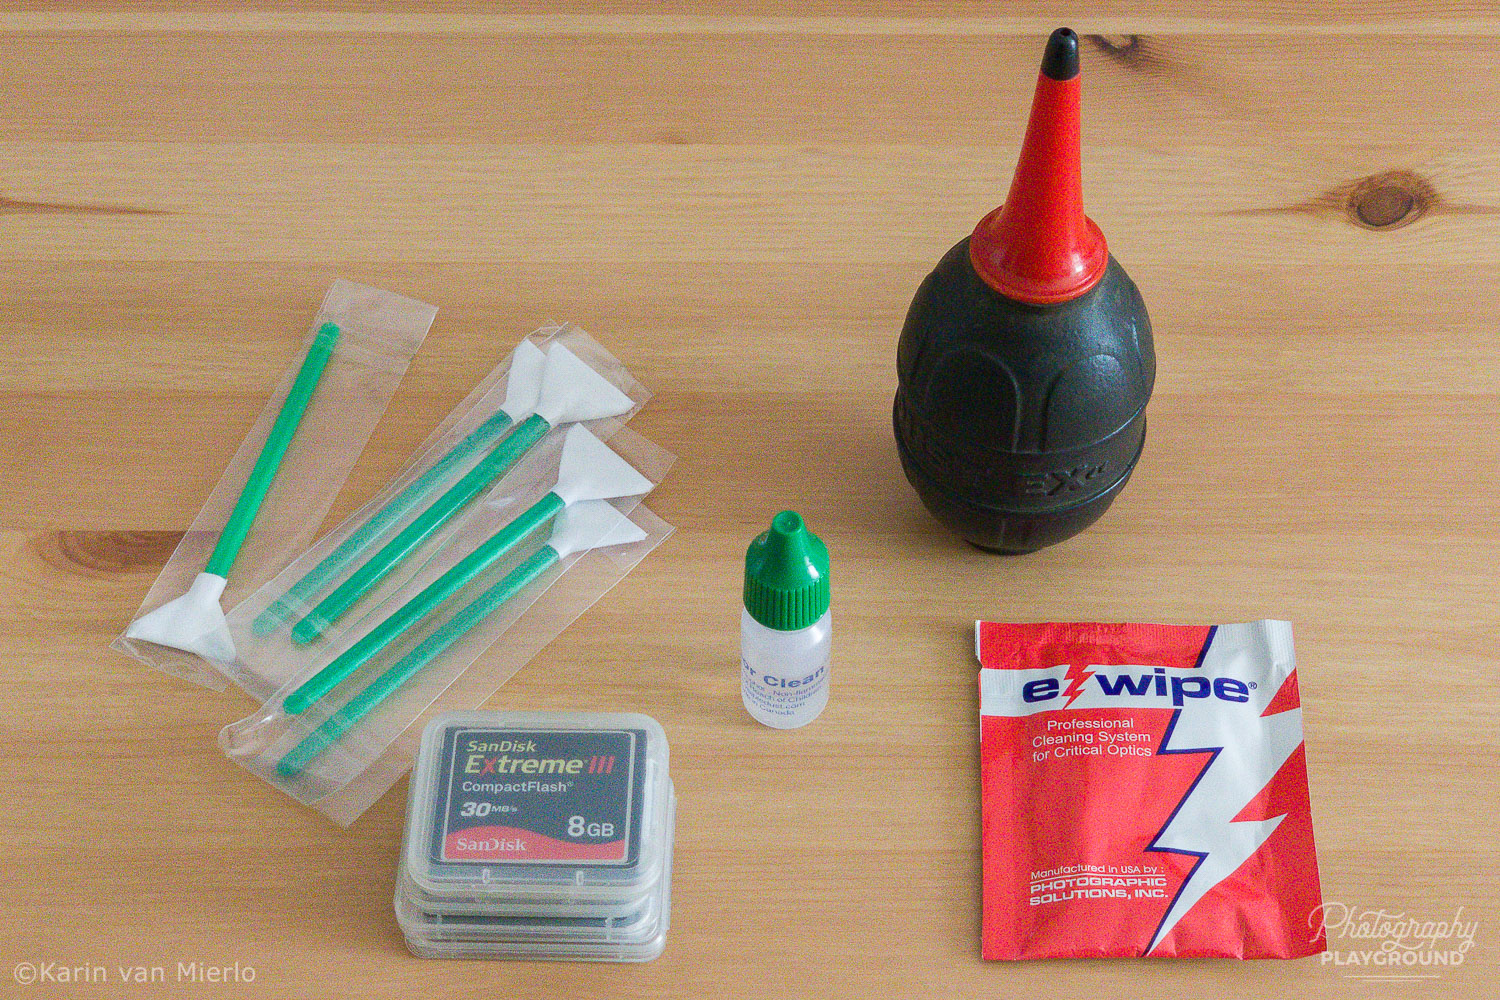
#6 Keep it Clean
Dust is your biggest concern during travels. Dust gets everywhere. It’s good practice to get your sensor cleaned before you leave.
But while you’re at it ask the camera shop human to explain to you how to do it yourself.
Or go here for a step-by-step tutorial on DIY Camera Sensor Cleaning.
I never travel without the supplies to clean my sensor even though my camera cleans it every time I turn my camera on and off. Because under extreme circumstances, like driving at the back of a motorcycle on a dusty road in Uganda, even a dustproof backpack is not gonna protect your gear from the dust.
So make it a regular thing during travels to clean the sensor but also the outside of your camera and lenses. The Altura Cleaning Kit has everything you need in one convenient carry case and can be used for all sensor sizes.
Zoom lenses are more sensitive to dust than Prime lenses because they have moving parts where dust creeps in.
Read more about lenses: Prime vs Zoom Lens: The Ultimate Guide to Help You Decide
It keeps your gear in good condition and saves you a ton of time and frustration during post-processing removing specks of dust.
Check out this Luminar Neo Review that features an amazing dust particle removal tool!
#7 Be a Confident Non-Photographer
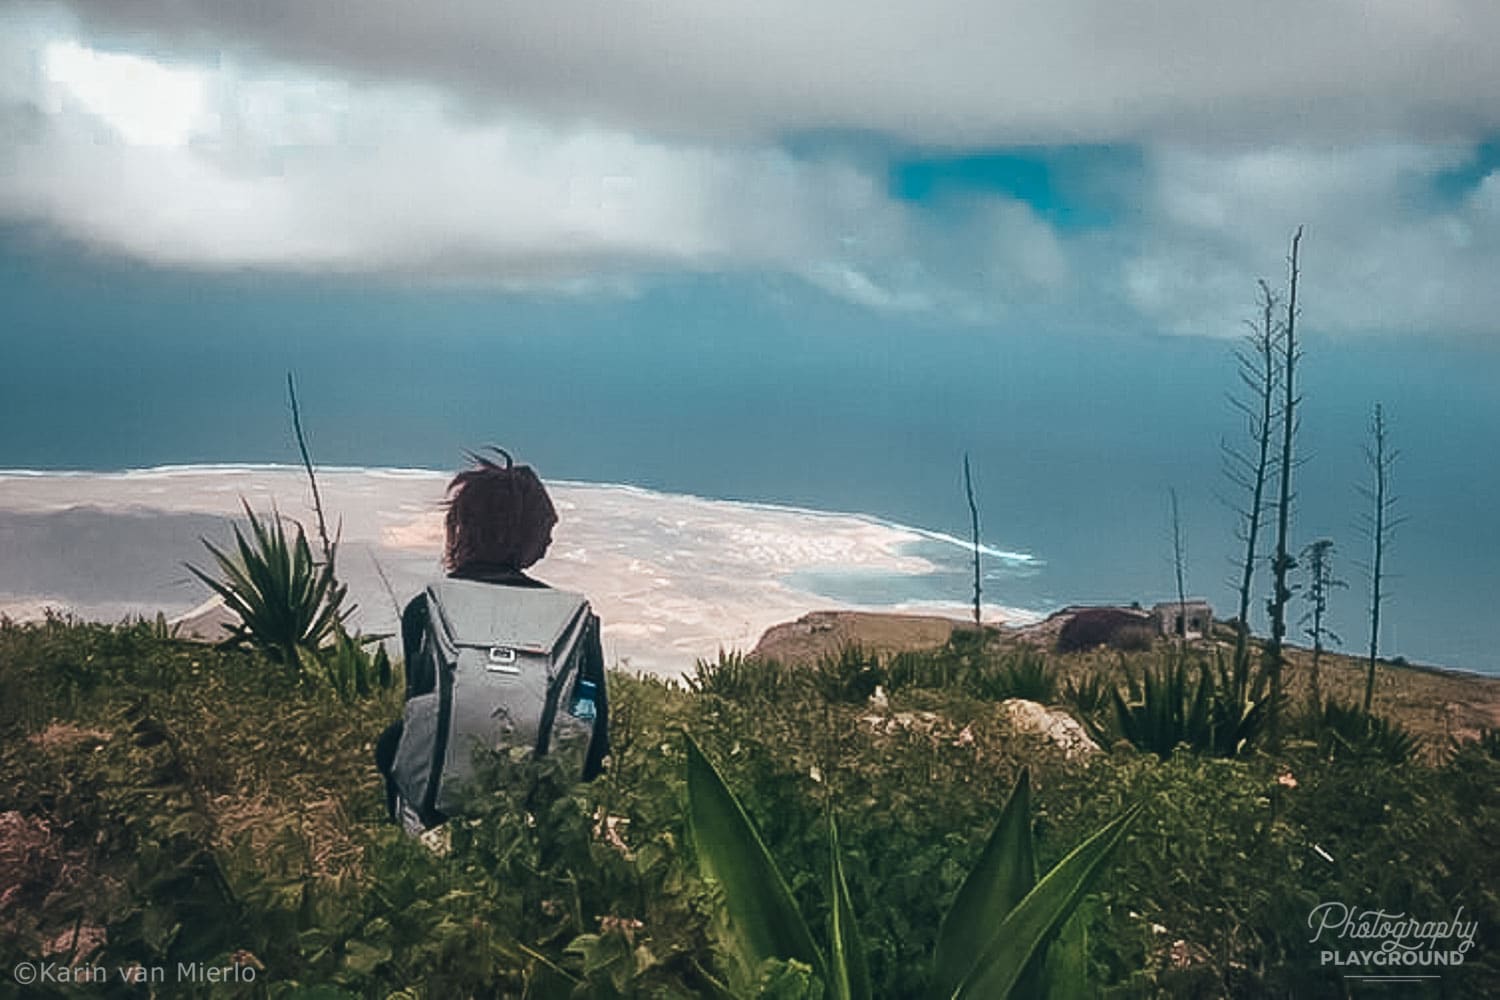
Walking around as you belong and blending in with your surroundings will make opportunistic thieves think twice before they target you. This will not only protect your gear but way more importantly it will protect you!
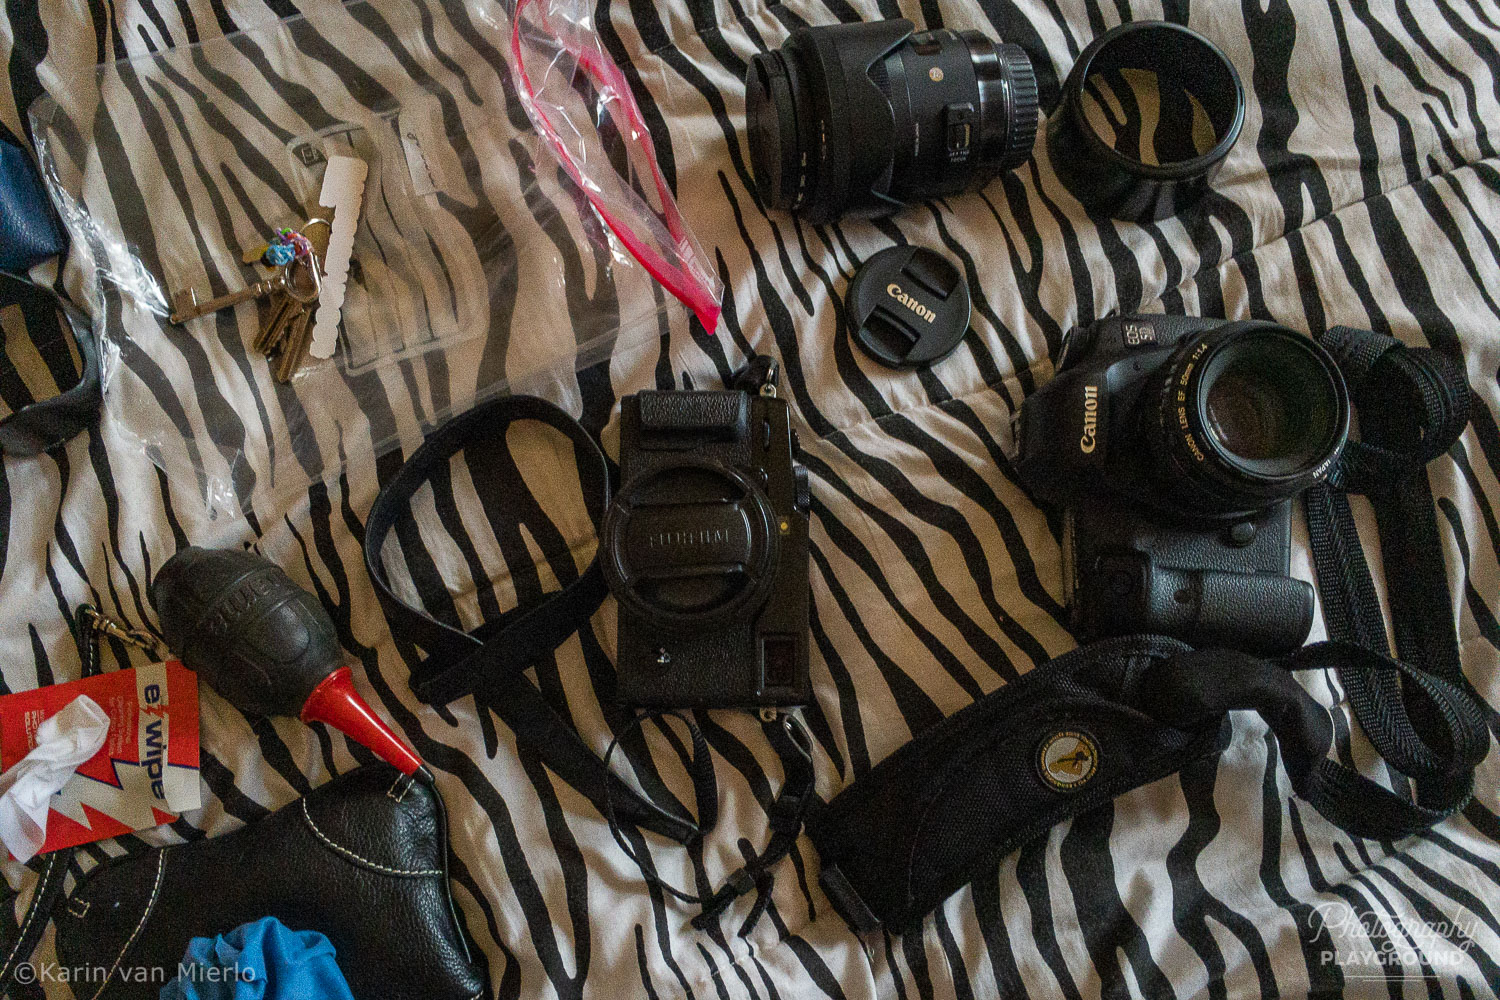
Don’t walk around with a ton of gear unless you absolutely need to. Especially when you’re going to sketchy neighborhoods bring your camera and 1 extra lens. It will attract less attention. And as a bonus, it will be less intimidating when you photograph people in the street.
#8 Be Aware of Your Surroundings
When you’re photographing you’re probably aware of your surroundings because you’re looking for great photo opportunities. But that’s not the awareness I’m talking about from a safety point of view.
On the contrary, sometimes the search for photo opportunities can get us in trouble. So apart from the photography awareness, you should also be vigilant. Be aware of what’s happening around you and always carry your camera in front of your body.
Trust your instincts when it comes to your safety. If you don’t feel safe put the camera in your bag and leave.
I’m notorious for getting lost so I never ever set foot outside a new place unless I have my accommodation locked in my number one favorite navigation app maps.me.
Maps.me is GPS-based so you don’t need an internet connection for it to work. But you do need to download the maps of your location so you need to do that before you get lost. Having your hotel pinpointed on your map will help you get out of a dodgy area or a scary situation as fast as possible.

#9 Keep Your Pixels Safe
Your stuff getting stolen is already an unsettling experience but stuff can be replaced. It’s why you have it insured.
But the pictures you made during your trip cannot be replaced. And when you have 1 memory card and your whole trip is on that single memory card all is lost when someone snatches your camera.
So to complete this post I’ll share the best practices to prevent that from happening.
Backup Daily
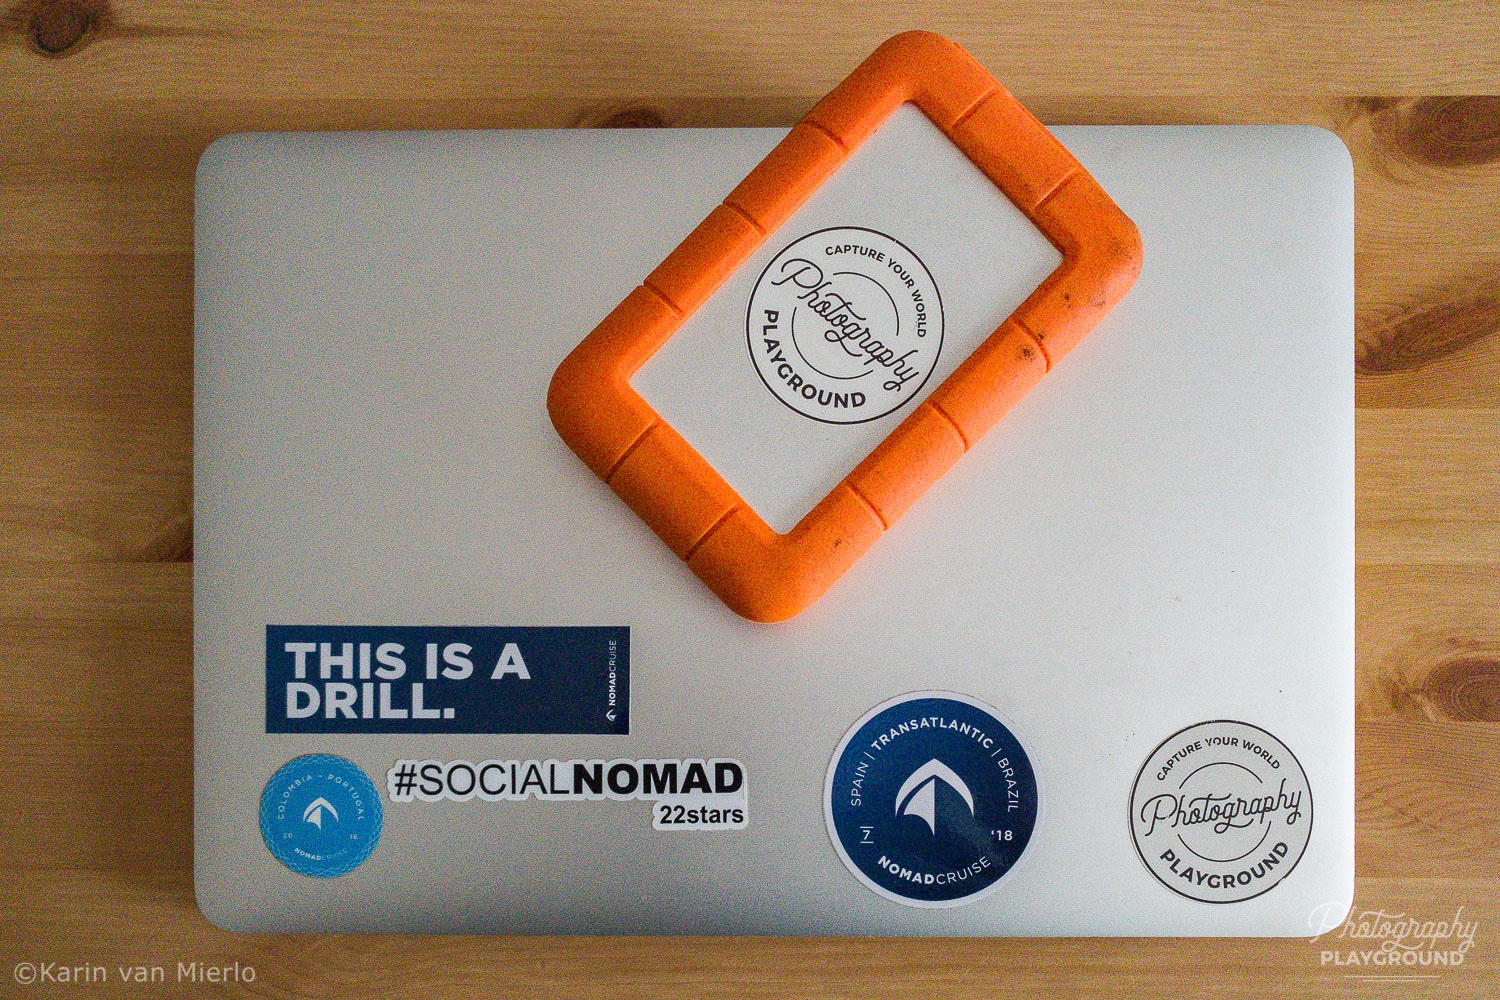
The best way to minimize the loss of your pixels is to back up every single day. Make it a habit to upload your files at the end of the day and store them on an external hard drive or somewhere in the cloud. There are a lot of solutions out there so do your research and make a backup plan before you leave.
I always travel with my MacBook and the LaCie Rugged external drive. Every night I upload the files I made that day and store them on my hard drive.
The LaCie Rugged 1 TB is compact and will give you plenty of space to store all your files. I’ve had the LaCie Rugged 2 TB for a few years now and I’m very happy with it.
Use Multiple Cards
It’s tempting to buy 1 memory card with a huge amount of memory but actually having a few with a smaller memory will serve you in 2 ways.
You can swap cards during the day. When your camera gets stolen at least you still have some pictures of that day left. Of course, you should store the memory cards you’re not using in unlikely places. Definitely not in your camera bag. I’ll leave it up to your imagination where that might be.
To some extent, it will also protect you from a corrupted card. It never happened to me, knock on wood, but memory cards can get corrupted and then you lose all the files. So working with a few memory cards and swapping them regularly is a good way to cut the risk of losing all your precious pixels.
When you’re uploading the files to your computer set the sorting method on Capture Time and all your pictures will be in the right order.
Here’s a post about how to make a travel photo album you might find interesting. It’s the best way to preserve the memories of your trips!
When you purchase through the links in this article I earn a small fee at no extra cost to you.
Safe and happy travels!
Do you have another safety tip you find very useful? Share it with us in the comments below so others can benefit from it as well!
Did you try one of the tips? Share your photos on Instagram and mention @photography_playground!


0 Comments