Authentic Instagram Photos
Instagram is the perfect way to share your travel adventures with your tribe around the world. It’s one of my favorite things to do. Scrolling through my feed I’m like ‘oh look she’s there and he’s here. Wow, it looks great. I wanna go there as well.’ The sharing part is not the most difficult aspect of Instagram.
It’s the making of Instagrammable pictures that is. Because making authentic Instagram photos is a little more complicated than just snapping around.
There are a few aspects specific for Instagram photography you need to be aware of. For those of you who want to step up their Instagram game (and let’s be honest who doesn’t?) I’ve put together 11 essential tips for Instagram photos taken with your phone.
#1 Shoot with your native camera
Let’s start with the best camera for Instagram.
I know it’s very friendly of Instagram to provide you with an in-app camera but trust me you’re better off with your native camera.
Using the native camera you’ll be able to have some control over your exposure by setting an exposure point. You can also determine for yourself where you want the focus to be by setting a focus point. That’s already way more control than you have with the Instagram camera.
#2 Use Natural Light
A smartphone has a teeny tiny sensor and performs best when there’s a lot of light. Natural light is the best there is! It’s flattering and beautiful. And all subjects do very well in natural light.
The light of a flash creates harsh and frontal lighting that’s not gonna do your subject any favors. Only use it when it is absolutely, no way around it necessary.
To avoid accidents it’s best to turn off your flash in your camera settings. If you don’t your smartphone camera will activate the flash as soon as it thinks there’s not enough light.
Check out this post for more info on Natural Light Photography.
#3 Shoot horizontally
When you photograph with your smartphone it’s very easy to shoot vertically because that’s the way you usually hold your phone.
But the moment you turn your phone into a camera you should rotate it into a horizontal position. Horizontal pictures are more engaging and dynamic than vertical pictures.
Posting to Instagram in a square format is very common of course. But don’t shoot in a square format. Photograph horizontally and crop the photo into a square afterward if you want to. It will give you more control and creative freedom.
#4 Identify Your Subject
Why do you want to make this photo? What is it that is compelling you to release the shutter.
Take a step back and determine for yourself what it is. Find your main point of attention. If you know that it becomes easier to convey what you want to show and tell.
To grab the attention in the crowded feed of your followers you need to identify your subject. When you do that first it will be crystal clear what the photo is about.
#5 Explore Your Options
Once you’re clear on your subject it’s time to experiment. Try out different angles, pay attention to your composition and exposure settings. Small changes in the light or your perspective can make a huge difference in the end result. Come close, walk away, go high, go low……….experiment!
Don’t walk away after the first picture. Hang around a little longer and be curious. No serious photographer is satisfied after the first photo. You can always go deeper and explore more.
#6 Simplify
When you look at photos on Instagram they’re quite small. Especially when the viewer first sees them in your feed. Because of that simple and clear pictures work best on Instagram.
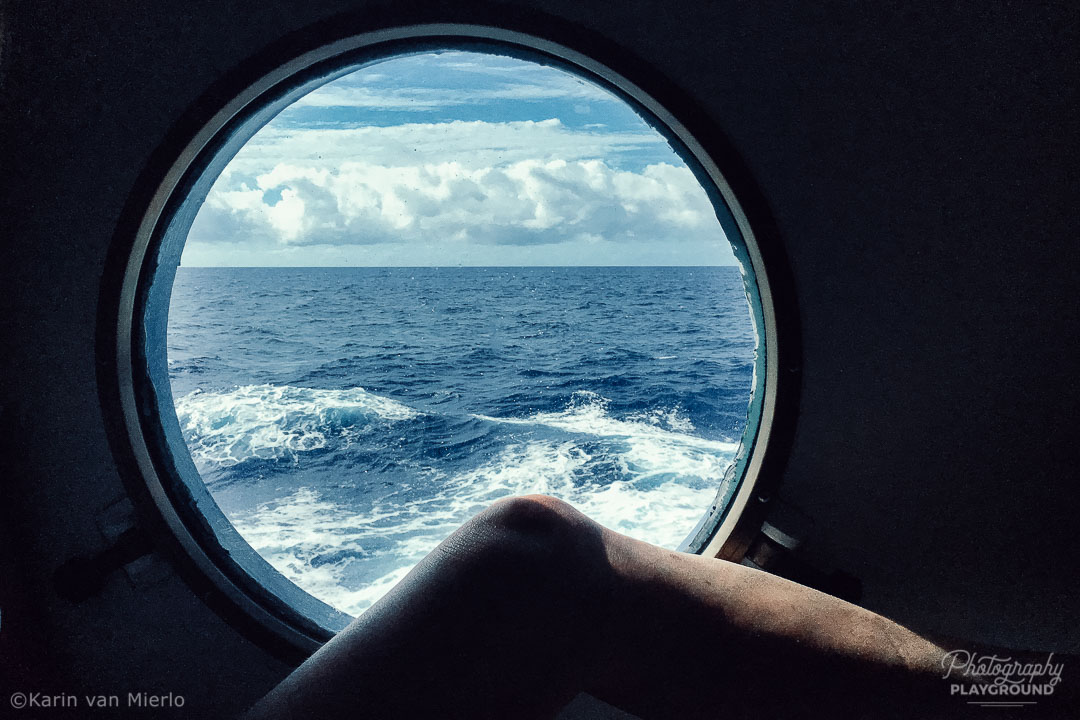
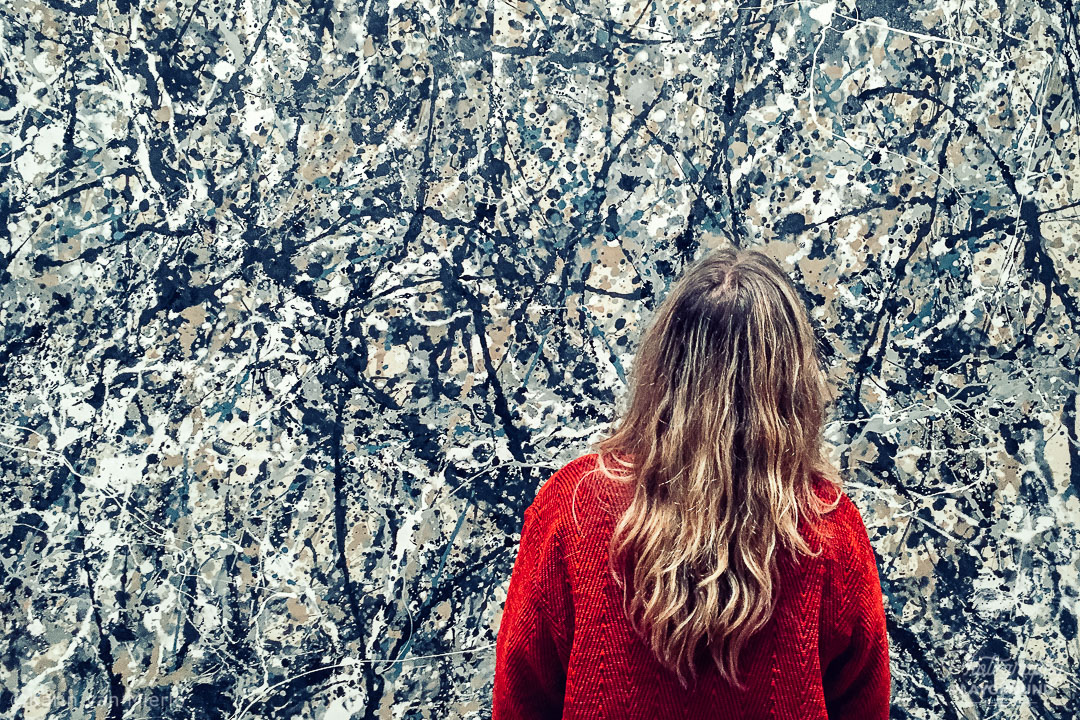
Pay attention to your background. Make sure it’s not distracting and messy. Filter out elements that aren’t an addition to your frame. Look for strong colors, shapes, and lines. Keep it clean and find beauty in simplicity.
#7 Photograph People
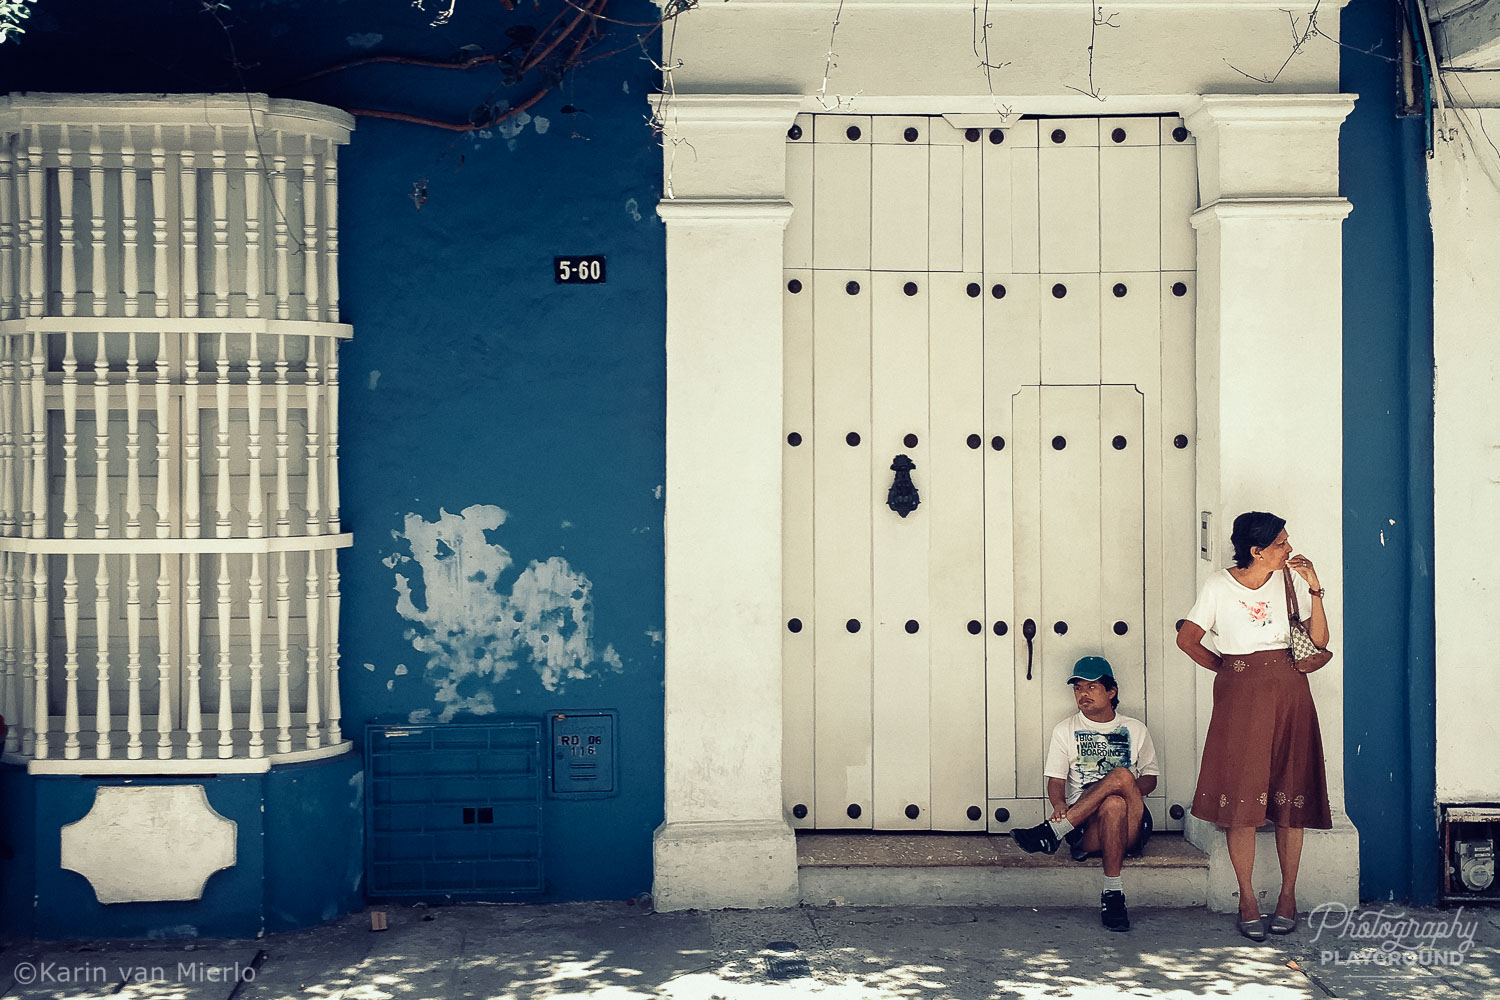
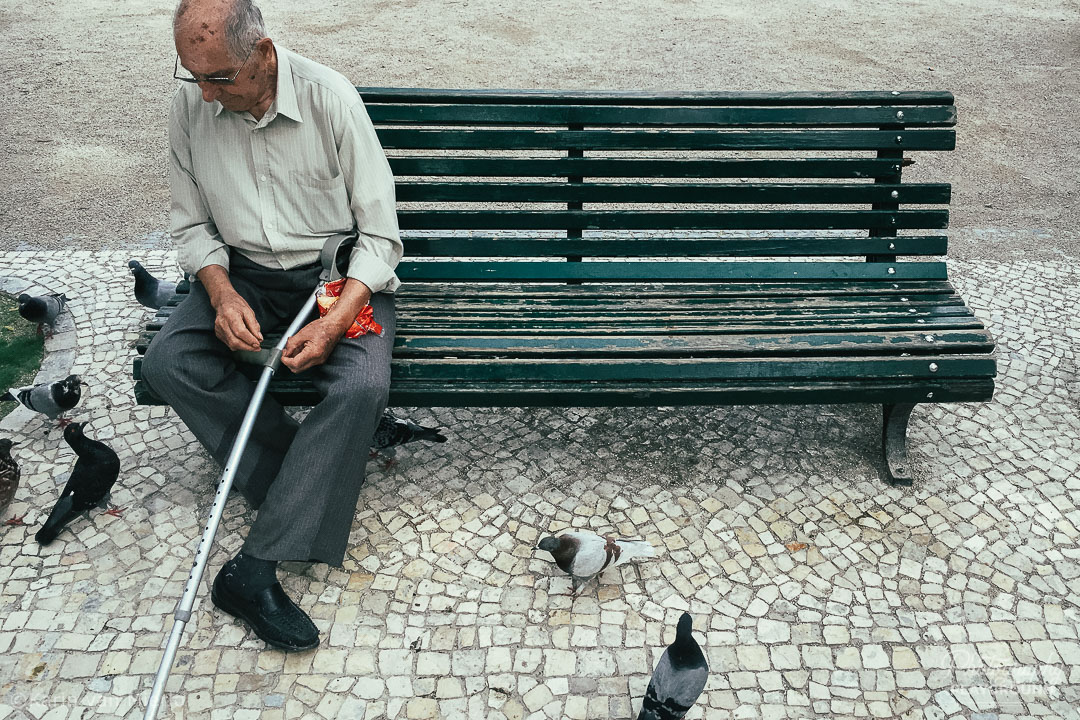
Photographs of people are easy to connect to. We’re instantly drawn to a face and posts of people get more engagement on Instagram.
Photographing strangers on the road is not something that comes easy. You probably need to push yourself a little bit to do that and step out of your comfort zone. But that’s okay. That’s what traveling is all about, right?
Check out these badass street photography ideas to ease in photographing strangers. It’s full of ideas for when you’re just starting. But there are also ideas for when you’re a more experienced street photographer.
The advantage of photographing with your smartphone is that it’s a not-in-your-face camera. Nowadays people are used to being photographed and a lot of people won’t mind. Try it and you might amaze yourself.
You’ll notice soon enough if somebody is not charmed by your camera. If so walk away. Don’t make a fuss about it. Don’t be sneaky about it either.
Try to get their non-verbal permission by looking at them and pointing at your camera or just ask! And hey you might even make a new friend. A camera is a communication device. Use it that way!
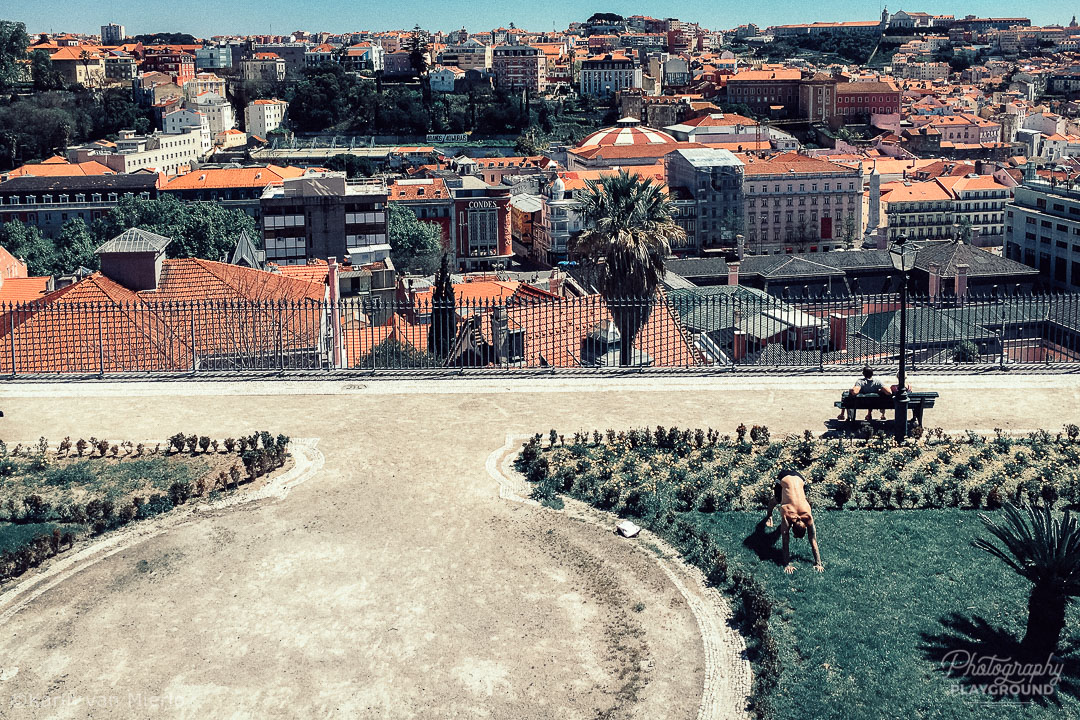
Another way to use people in your pictures is by showing the scale of the scene you’re photographing. The big world small human idea. When we see a human in a large and overwhelming landscape or urban scene we instantly imagine ourselves in the photo.
#8 Be the Early Bird
And then there are those situations where you don’t want any people in your pictures. Like when you’re going to the Taj Mahal, the Eiffel Tower or the Duomo in Florence.
Get up early and arrive before the crowds will be flooding through the gates. It’s a win/win all the way because the early morning light is beautiful and you can get some shots done without the crowds.
# 9 Use editing apps outside of Instagram
Don’t use the editing options inside Instagram. Again very nice of the Instagram people to include it in the app.
But when you want to go beyond the Instagram filters everybody uses you should get yourself familiar with editing apps outside of Instagram.
Looking for inspiration on which editing app to use? Check out Photography Apps for some ideas.
# 10 Keep Your Edits Simple
In editing, less is definitely more! Keep your edits simple. Develop a formula and your own style. It will create a consistent feed. And people like that.
Oversaturated edits are not very popular on Instagram and so are dark images. People prefer bright and undersaturated pictures. There’s also a preference for the blueish color palette over the reddish tones.
That being said don’t let that stop you to do what YOU prefer. It’s your feed after all. If you want to post red, oversaturated and dark pictures please go ahead! I’m just telling you what research tells us does well on Instagram.
Looking for an editing tutorial? Go here for a Snapseed Tutorial and if you like black and white this Snapseed Black and White Tutorial is for you.
There you have it! Your roadmap to a killer Instagram feed!
What is your favorite tip? Let me know in the comments!
Did you try one of the tips? Share your photos on Instagram and mention @photography_playground!




0 Comments