Silhouette Photography
Silhouette photography is a beautiful and dramatic way to capture a scene or subject. By taking advantage of the contrast between the subject and the background, you can create striking storytelling images that emphasize shape, form, and emotion.
In this blog post, I’ll share essential tips for photographing silhouettes, from choosing which subject against what kind of background, camera settings, silhouette photography composition to editing your final image.
Photographing silhouettes is a powerful way to tell a story and convey mood, emotion, and drama. By removing the details of the silhouetted subject and focusing on its outline, you can create a visually striking image that captures the essence of the subject. Silhouettes can be used to convey a sense of mystery, intimacy, connection, or awe, depending on the subject and the background.
Read on if you’d like to know how to do this!
#1 Choose the Right Subject
Choosing the right subject is super important when it comes to creating compelling silhouette pictures. Not every subject lends itself well to this type of photography, so it’s important to choose a subject that will create a visually interesting and impactful silhouette.
When choosing a subject, consider its shape and form. Subjects with strong, recognizable shapes often make the best silhouettes. Some good examples of subjects with strong shapes are trees, buildings, animals, and people.
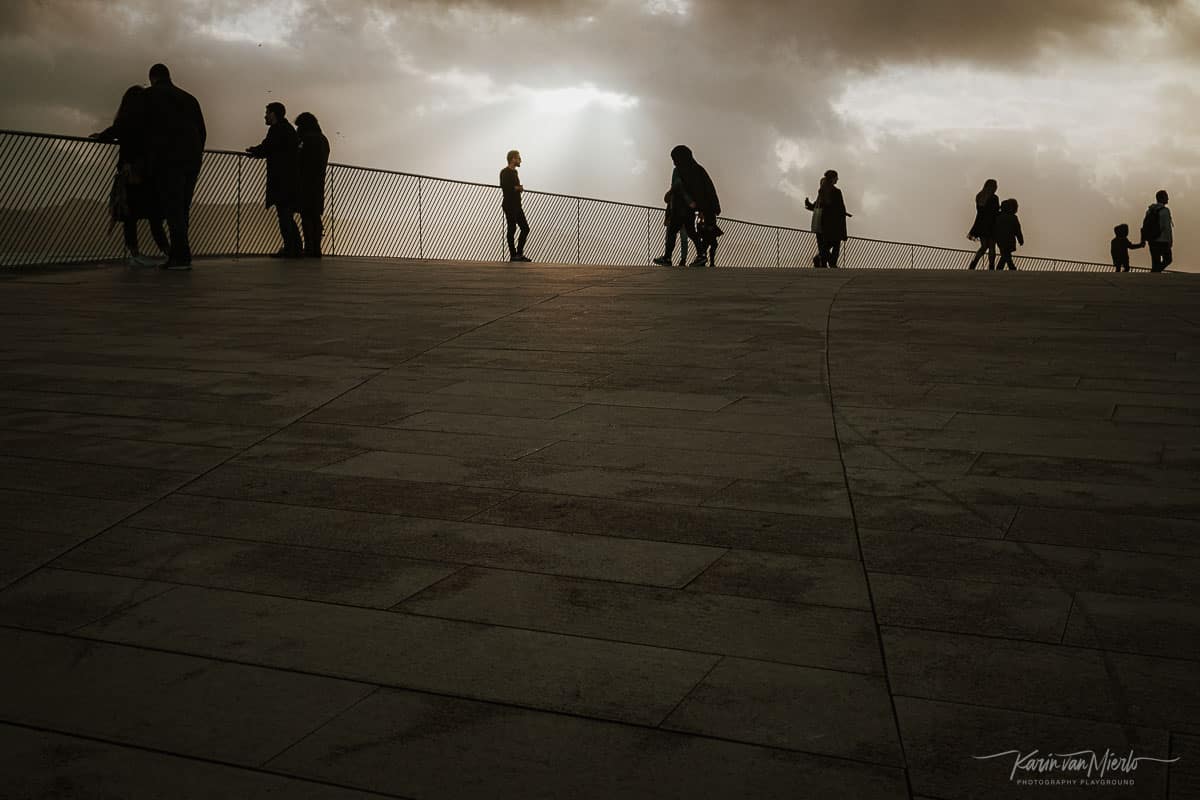
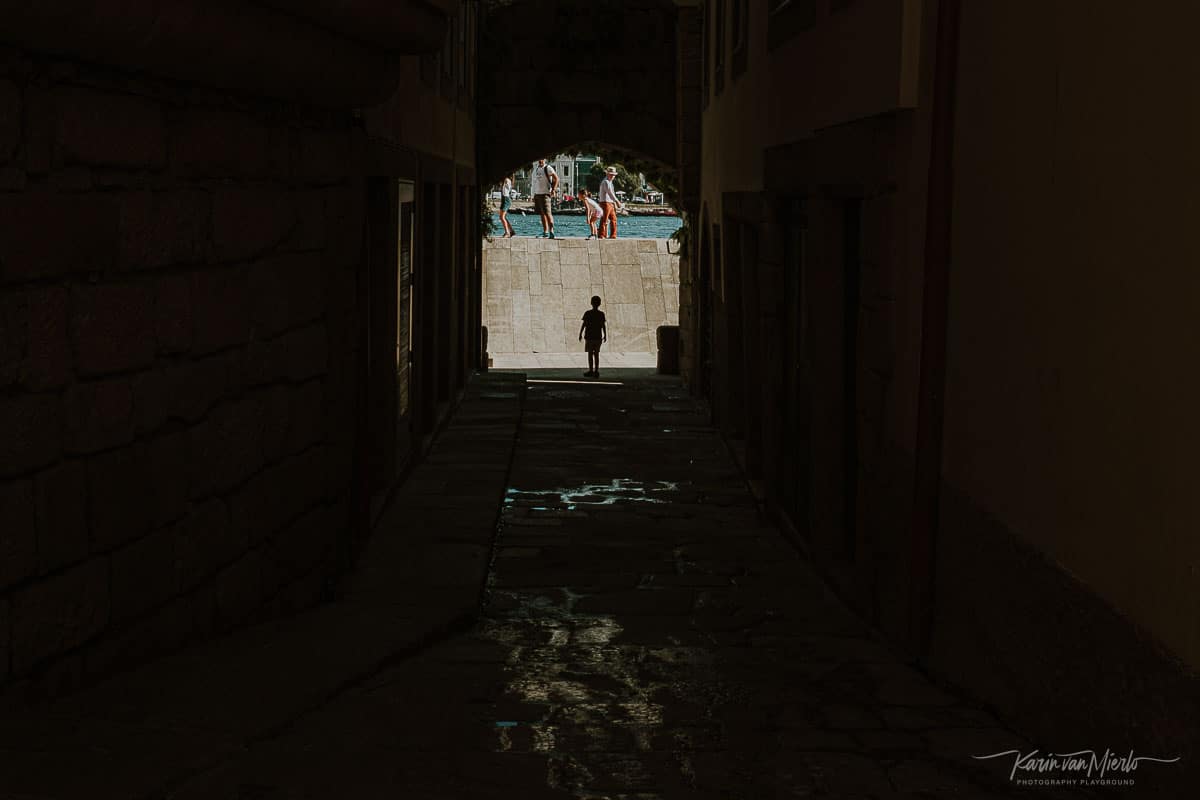
When photographing a group of people, pay attention to the shape they create together. If they are too close together, the shape can become messy and unclear. The best people silhouettes are of people who are (semi) isolated. At the very least, make sure that the most important people in the silhouette don’t overlap. The same goes for other silhouette photos, of course.
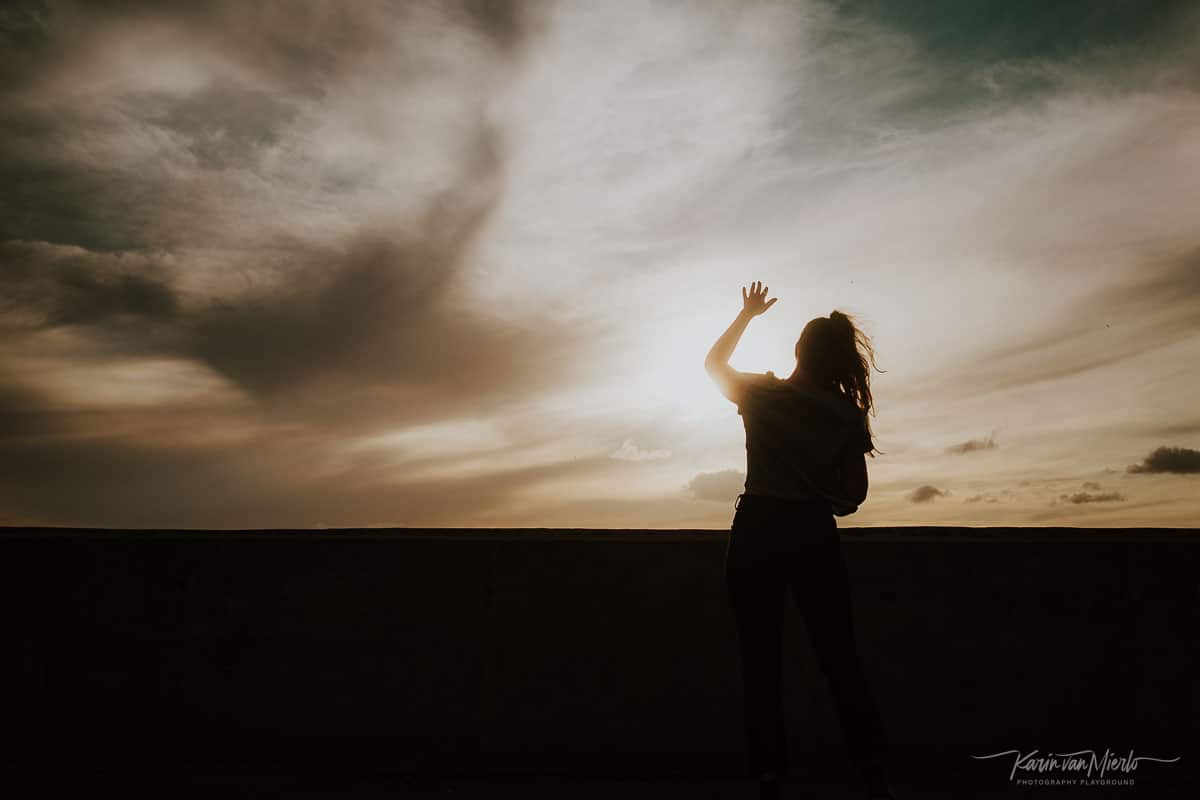
It’s also important to consider the background when choosing a subject. The background should be light and ideally have a color or texture that provides an interesting contrast to the subject. Remember that the silhouette itself is mostly black, so it’s important to have some color and/or texture in the background. For example, a bright sunset or colorful sky can create a striking backdrop for a silhouette.
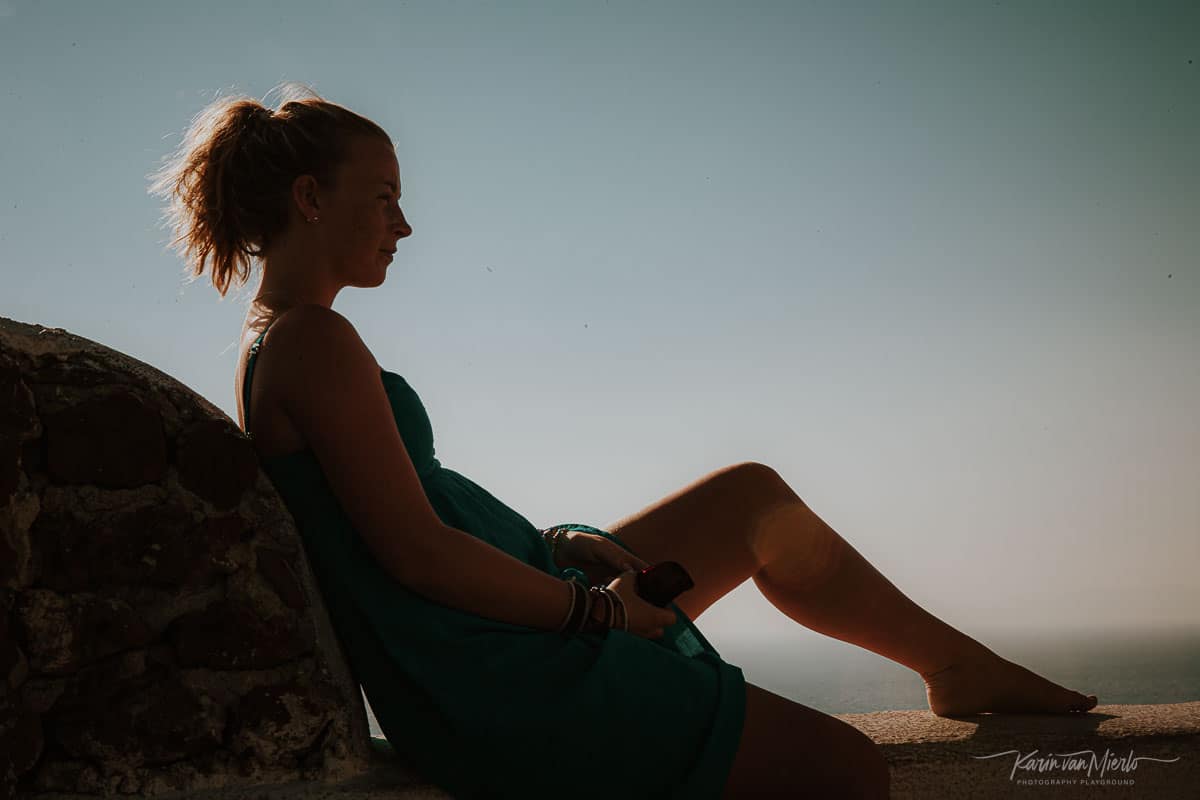
Don’t forget to consider the emotional impact of the subject. Silhouettes are often used to create moody, atmospheric images that evoke a sense of mystery or drama. Look closely at your subject and the emotions it evokes in you. Then ask yourself how you can bring that emotion to life in your silhouette photo.
A very effective way to create an emotional impact with a silhouette is to focus on the relationship between the subject and the background. For example, a silhouette of a person standing on a cliff overlooking a breathtaking view can create a sense of awe and wonder. A silhouette of a couple walking hand-in-hand into a sunset can convey a sense of romance and intimacy.
When choosing a subject for photographing silhouettes, it’s important to remember that silhouettes work best when they are simple and uncluttered. Avoid subjects that are too busy or have too much detail, as this can detract from the impact of the silhouette. Instead, focus on creating a clean and simple image that emphasizes the shape and form of the subject.
#2 Use Backlighting
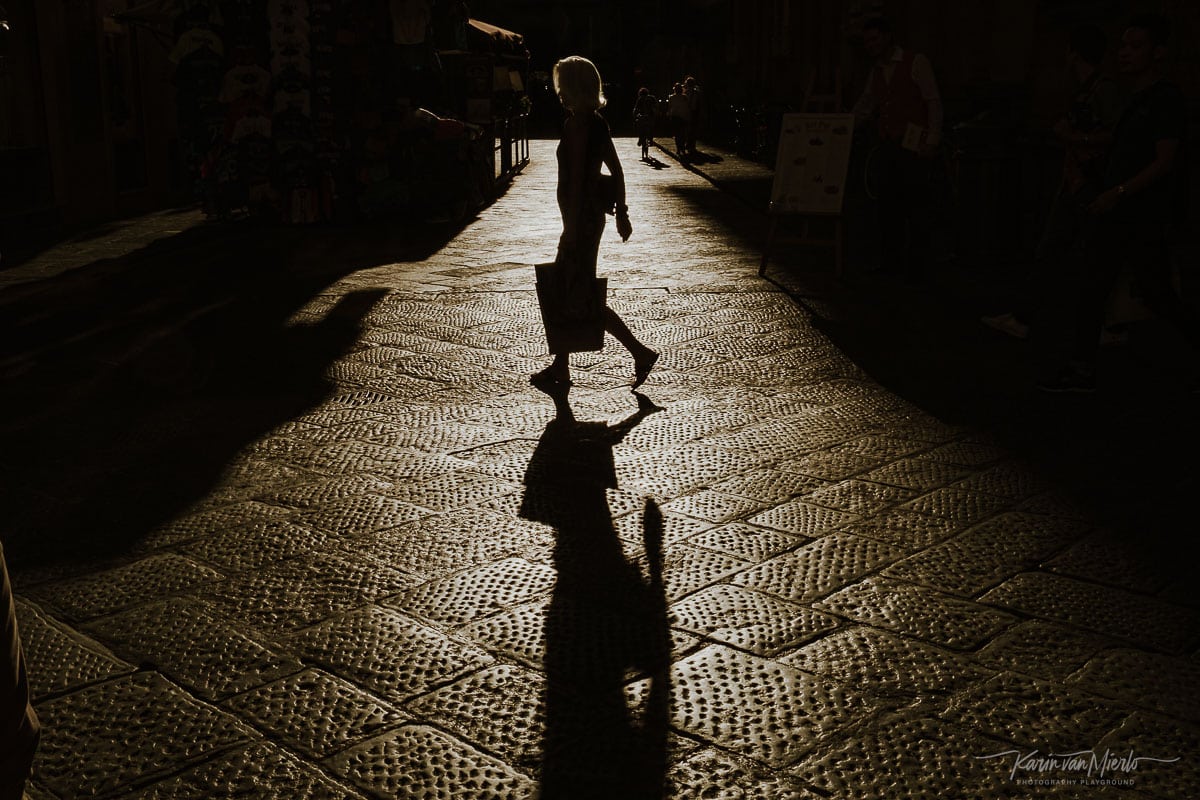
Using backlighting is a key element in photographing silhouettes. Backlighting creates a strong contrast between your subject and the background. The subject appears as a dark, formless shape against a bright and often colorful background. This contrast makes the silhouette visually striking and dramatic.
Read More: The Ultimate Guide To Mastering Natural Light Photography
When using backlighting, it’s important to keep a few things in mind. Firstly, and this should go without saying, the light source should be behind your object, not in front of it. This will ensure that your subject is backlit and not overexposed.
When you’re photographing silhouettes outside avoid shooting in the middle of the day. It’s best to shoot when the sun is a little lower. It’s also important to use a strong light source to create the contrast needed for a silhouette. The sun is a great option for nature silhouette photography, but you can also use a bright window for silhouette photography indoors.
Read More: 10 Sure-Fire Tips for Stunning Sunset Photography

Another consideration when using backlighting is the angle of the light source. Depending on the position of the sun or other light source, you may need to move around your subject to find the best angle for backlighting. For example, if the sun is directly behind your subject, you may need to move to one side or the other to create a more interesting and dynamic image.
It’s also important to consider the intensity of the backlight. If the light source is too strong, your subject may appear too dark and lack detail. Conversely, if the light source is too dim, the silhouette may not be pronounced enough. Experiment with different lighting conditions and adjust your exposure settings to find the perfect balance between backlighting and detail.

#3 Adjust Your Exposure
So, what settings do you use for silhouette photography? Adjusting your exposure settings is a critical step in creating successful silhouette photos. Because silhouettes rely on a strong contrast between the subject and the background, it’s important to step out of automatic mode and adjust your exposure settings manually. That’s the best way to ensure that your subject appears as a dark, formless shape against a bright background.
If you don’t feel confident enough to shoot in manual mode, you can select program mode and use the exposure compensation feature. Exposure compensation allows you to adjust the brightness of your image without manually changing the aperture or shutter speed settings. To use exposure compensation, simply select a negative value (such as -1 or -2) to darken the overall exposure and create a more defined silhouette.
Not sure how to shoot in program mode? I’ve got you covered with my free Starter Photography Playbook. It’s an easy-to-follow, step-by-step guide to shooting in Program Mode. You can download it for free by clicking the button below.
Of course, the other way to adjust your exposure is to use your camera’s manual mode. In manual mode, you have complete control over your aperture, shutter speed, and ISO settings, so you can fine-tune your exposure to create the effect you want.
Start by setting your aperture to a small f-stop (such as f/16 or f/22) to ensure that both the subject and background are in focus. Then adjust your shutter speed until your subject appears as a dark silhouette against the bright background. You may need to experiment with different shutter speeds to find the perfect balance.
Read More: Manual Mode: 8 Compelling Reasons to Move Away from Auto Mode
As you can see, adjusting your exposure is a very important step in creating successful silhouette photos. Don’t be afraid to experiment with different settings and fine-tune your exposure to create a visually striking and impactful silhouette.

#4 Compose Your Shot
Because silhouette photography relies on strong shapes and contrast, it’s important to carefully consider the composition of your silhouette pictures.
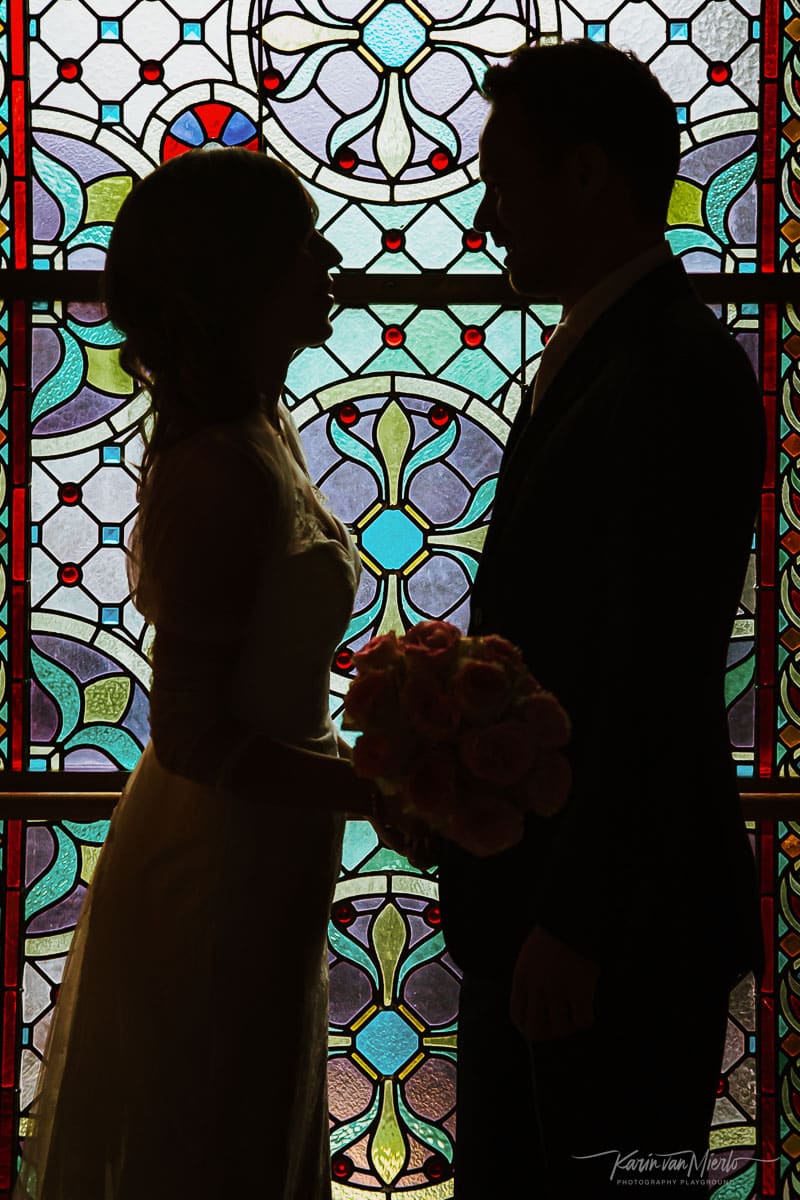
Composition is all about the placement of your subject(s) within the frame. Although it’s sometimes effective to place your subject in the center, for a compelling silhouette photo, it’s best to place your subject off-center, using the rule of thirds to create a more dynamic and visually interesting image.
This means placing the subject along one of the intersecting lines created by dividing the frame into thirds, rather than in the center of the frame. This helps create a more visually balanced composition and draws the viewer’s eye to the subject.
Read More: 4 Essential Principles of Composition in Photography

Another wonderful compositional tool is the use of negative space. Negative space refers to the areas around your subject that are left blank, either in the foreground or background. Negative space can be used to create a sense of balance, emphasize the subject’s shape and form, and add visual interest to your shots.
Read More: Negative Space Photography – The Essential Guide
It’s also important to pay attention to the lines and shapes in your image. Silhouettes often rely on strong lines and shapes to create impact, so it’s important to look for opportunities to use these elements to your advantage.
Remember that simplicity is key in perfect silhouette photography, so avoid cluttered or busy compositions and backgrounds that can detract from the impact of your silhouette. One of the most effective ways to get rid of a cluttered background is to shoot from a super low angle.
And while we’re on the subject of point of view, use it to clean up the shape created by, say, a group of people. Often the best way to isolate your subjects from one another is to move your body and adjust your point of view. Experiment with different angles and positions to find the perfect balance between your subject and background.
#5 Edit Your Final Images
Once you’ve captured your silhouette, it’s time to edit your final images. While it’s important to get the exposure and composition right in-camera, post-processing can help enhance the impact and drama of silhouette photography and create a more compelling final image.
New to Lightroom? Start here: How to Navigate the Library Module in Lightroom With Ease
Use photo editing software such as Lightroom or Photoshop to adjust the exposure, contrast, and saturation of your image to create the desired effect. You may also want to crop your image, adjust the composition slightly, or straighten the horizon to improve its overall impact. Don’t be afraid to experiment with different editing techniques to find the look that works best for your image.
When editing your silhouette images, it’s important to remember that less is more. As you’ve learned, simplicity and strong shapes are the bread and butter of silhouette photography. So avoid over-editing your image or adding unnecessary elements that can detract from the overall effect. Use editing techniques sparingly and intentionally, focusing on enhancing the impact and drama of the silhouette without overwhelming the viewer with unnecessary detail.
Read More: How To Watermark Your Photos in Lightroom – The Ultimate Guide
Final Thoughts
Beautiful silhouette photography is a creative and rewarding process that can produce stunning and memorable images. By choosing the right subject, using backlighting, adjusting your exposure, composing your shot, and editing your final image, you can create beautiful and powerful silhouettes that will captivate your viewers. Remember to experiment, have fun, and don’t be afraid to try new ideas. With a little practice, you’ll be able to create silhouettes that are truly stunning.
Did you try photographing silhouettes? Leave a comment below to let us know how it was!
Follow us on Instagram @photography_playground and tag us in your silhouette photos.




0 Comments