Sunset Photography
One thing that never seems to tire anyone is a beautiful sunset. Whether you have traveled far and wide and seen the most spectacular things or not.
There’s a universal quality to sunrise and sunset. No matter where you are on this earth, no matter your circumstances as long as you live you can be sure of 2 things. The sun will rise and at the end of the day, the sun will go down. It’s one of the many things that bind us all together.
No wonder we want to capture the sun come up or go down in all its glorious beauty. It leaves us with a feeling of connection to nature and wonder.
Sunset Photography Tips
For years I’ve tried to photograph it, never quite succeeding. Always a little disappointed because it did not reflect the experience I had.
But I have been perfecting my sunset photography skills over the years. And I would love to share the things that I’ve discovered. These are my best sunset photography tips and they make the difference between a somewhat okay shot and a stunning sunset photo.
Are you as pumped as I am to take your sunset pics to the next level?
#1 Plan Your Sunset Shoot
In sunset photography (or sunrise photography) it is wise to plan. You can find information on the time of sunrise and sunset at your location in any weather app on your phone.
Or you can use a golden hour app that tells you when and where the sun will go down and where the light is coming from.
I use Golden Hour One from the App Store but there are many different golden hour apps for every platform available.
You can also ask a local! They can give you some insider tips on great spots as well.
The weather has a big influence on your sunset pictures. Look at the sky during the day and pay attention to the clouds. If it’s completely clouded the sunset will not be very spectacular but if the clouds are thin you have a great sunset photo opp.
Clouds add texture to the sky especially when they are scattered, puffy or wispy.
#2 Get Ready
Once you know the perfect location arrive 1 to 2 hours before the sun is setting so you can prepare your shot. And if it is a well known, fabulous sunset location being on time will give you the best spot to shoot from.
By the time the sun is at its most spectacular you’re ready to capture it. Because once the sun is going down there’s no stopping it. You have a limited window to get the shot you want. When you arrive on time you will be ready at the right moment.
Giving yourself the time to prepare will also give you the focus to create a great sunset picture. Because it’s not all about exposure, white balance, and composition rules.
When you’re photographing you want to be ‘in the zone’. So give yourself the time to get in the flow of things and be hyper-attentive of your surroundings.
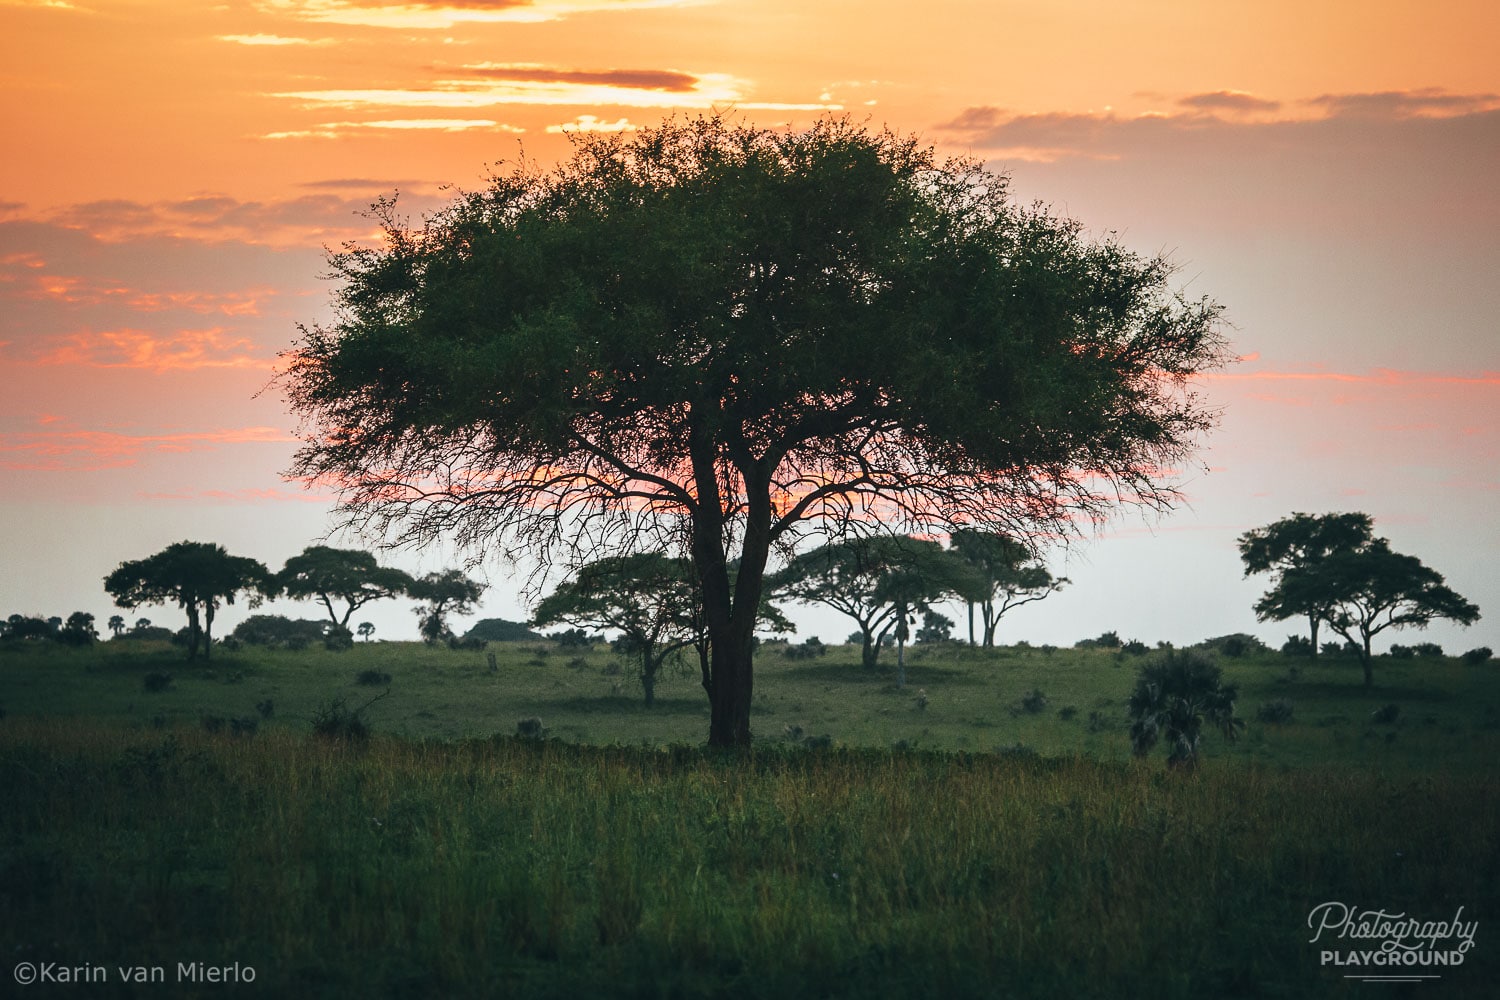
#3 Sunset Camera Settings
If you let the camera have its way it will calculate an average of the lighter and the darker areas in your photo. This can work if the contrast isn’t too large. But in the case of a sunset, the contrasts between the dark and bright areas are huge.
If you leave the camera on Auto Mode your picture won’t be properly exposed. So you need to take control and set the exposure yourself.
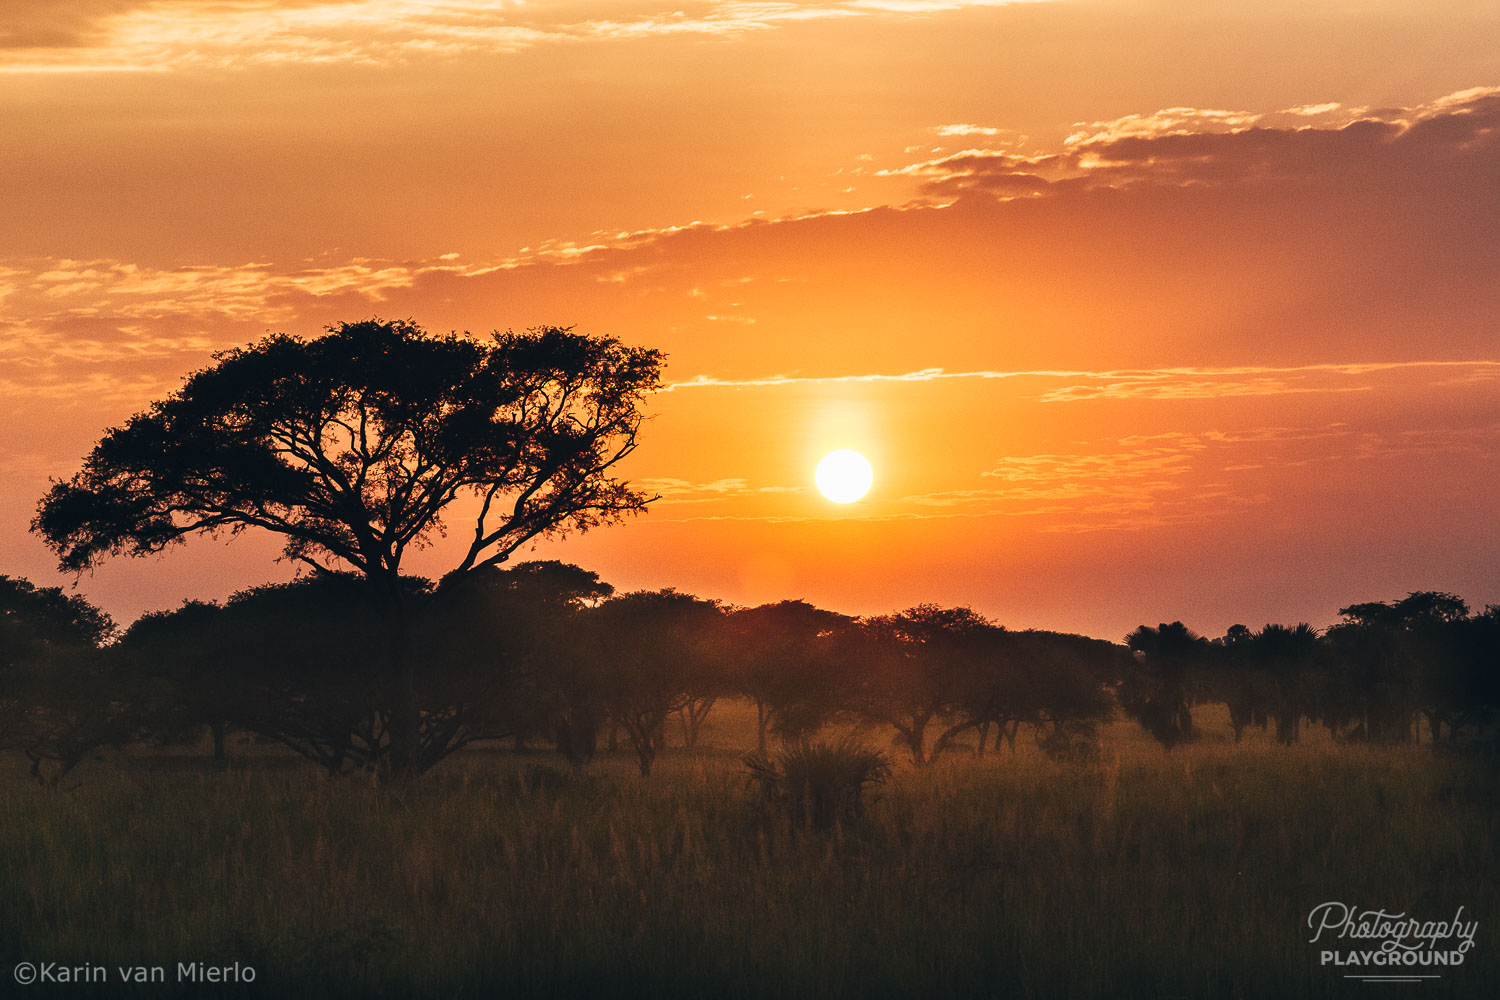
To get a good exposure of the bright area around the sun where the beautiful colors are you need to underexpose. If you underexpose the darker areas will become even darker. But that is okay because you are shooting the sunset. That is the area that needs to be properly exposed!
Aperture Priority Mode
In sunset photography, you usually want a large depth of field. This means that everything in your frame is in focus from front to back.
Shutter speed is a lesser priority although if you’re shooting handheld you don’t want to go slower than 1/250.
The next step is to adjust your iso to match the aperture and shutter speed. Leave some room to adjust the exposure for when the light gets less while the sun is going down.
Ideally, you want the lowest iso possible because it keeps the grain out of the door. But if you need to choose between iso and aperture a small aperture is preferable. So don’t hesitate to crank up your iso if that is necessary. You also won’t believe how much you can do to fix grain in the editing phase.
- In Aperture Priority Mode set the aperture between f11 and f16. Let the camera decide on shutter speed but don’t go slower than 1/250 sec. Because you want to get a sharp pic. If you go slower the camera might shake and give you a less than tack-sharp image.
- Adjust your ISO to these settings.
- Use exposure compensation to underexpose. And you should try out different exposure settings.
Of course, if you know how you can also shoot in Manual Mode. But Aperture Priority Mode is good while the sun is going down. The lighting conditions will change rapidly and in Aperture Priority Mode the camera will adjust accordingly without you having to think about it.
Program Mode
If you have no idea what shooting in Raw means and Aperture- or Manual Mode stresses you out you can still take control.
Set your camera in Program Mode. It’s an exposure mode not a lot of people use but it can be quite helpful when you’re starting to take control of your camera.
It’s the big P on your dial right next to Auto Mode!
One hugely important thing you can do in Program Mode is to deactivate your automatic flash. When you’re in Auto Mode and the camera thinks there’s not enough light your flash will pop up. There’s nothing you can do about that as long as your camera is set in Auto Mode.
And another thing you can do is to select exposure compensation.
I have to be honest with you, it’s not ideal but it’s definitely better than Auto Mode.
Taking more time to prepare yourself is crucial if you’re experimenting with Program Mode and try out different settings. Practice so every sunset you’re gonna photograph will be better than the previous one.
And who knows it might give you the push you need to get over your fear of moving away from Auto.
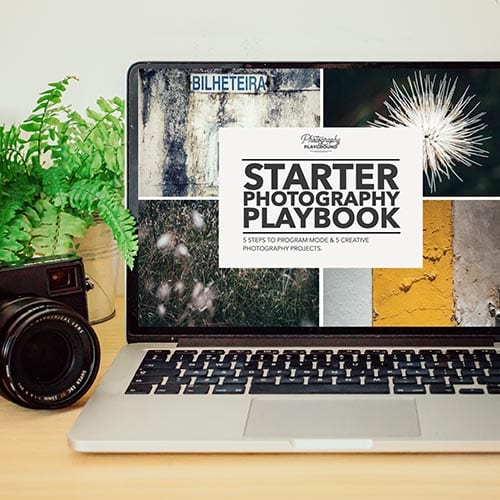
Check out the Starter Photography Playbook to get started in Program Mode!
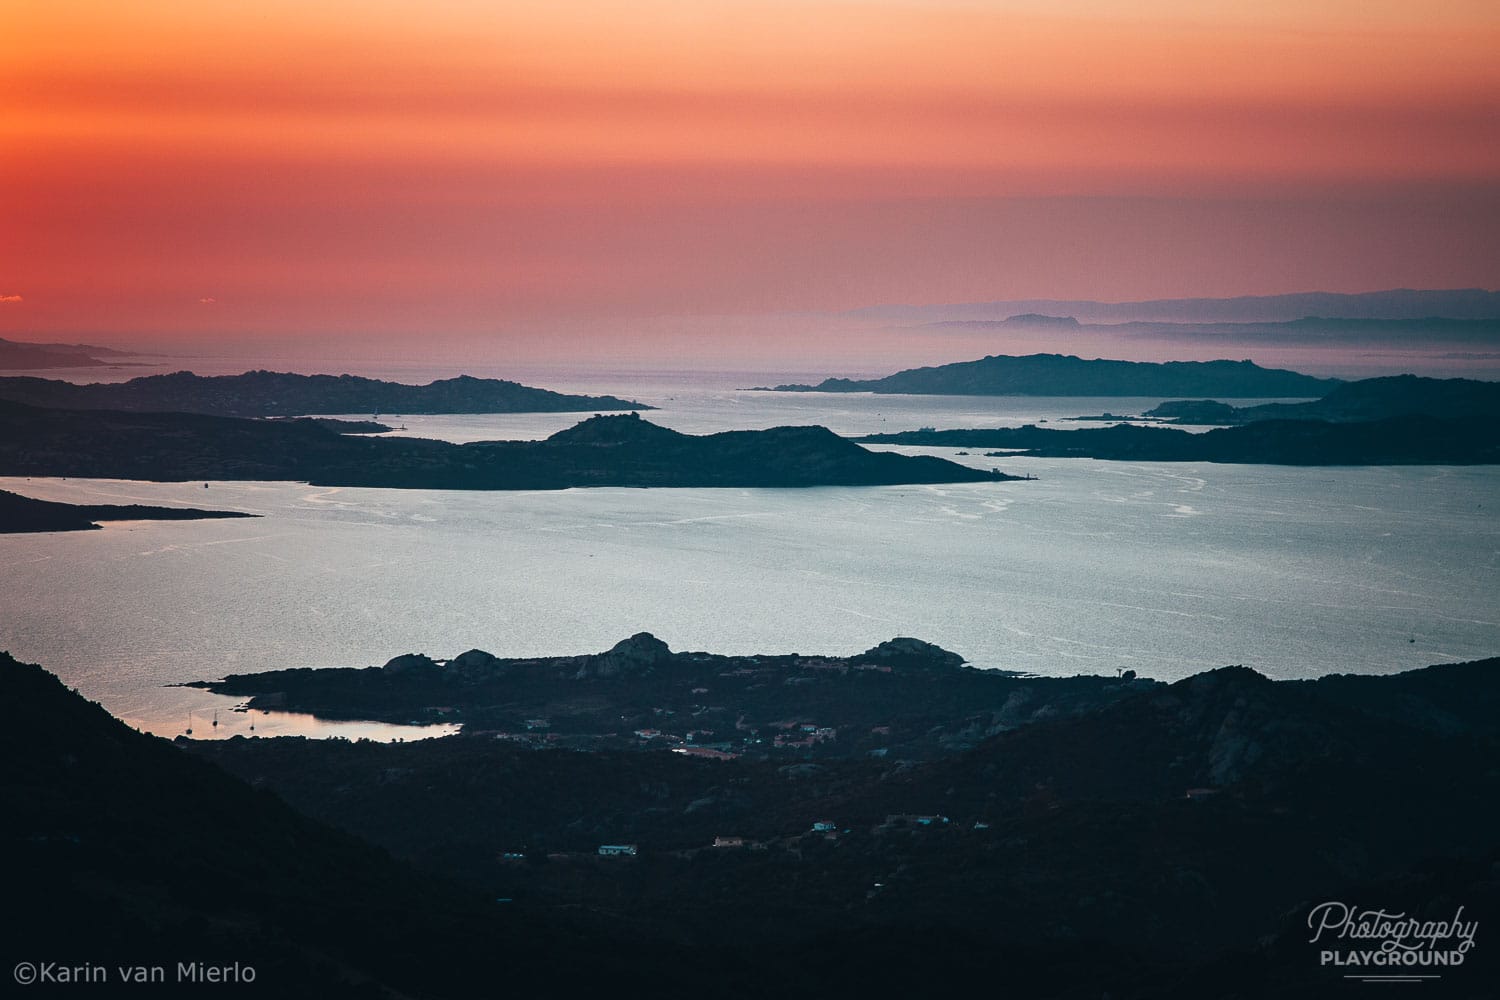
#4 Setting White Balance
Light comes in many different colors. It ranges from blue, cold tones to yellow, warm tones.
To get the colors to look natural to us the camera has a tool called White Balance. It adjusts the color of the light: the color temperature.
If the light is too yellow it will add a little blue. If the light is too blue it will add a little yellow. In a lot of cases, the Auto setting of the White Balance will do a good job.
But when you photograph a sunset the camera gets confused.
It will for sure think: “Yoo…..that is waaayyy to orange. I’ll throw in a lot of blues to make up for that.” And we lose all the beautiful yellow and orange tones in the sky.
There is again more than one approach to fix this issue.
Raw
When you shoot in RAW there’s no need to think about White Balance just now (one of the many perks of shooting in RAW). Leave it in Auto White Balance and deal with the White Balance in the editing phase.
Jpeg
When you shoot in Jpeg you should deal with the White Balance during the shoot. Set the White Balance to ‘Cloudy’ or ‘Shade’.
By setting the White Balance to ‘Cloudy’ or ‘Shade’ you let the camera think it needs to add a little yellow.
And that is how we get those wonderful sunset photos!
#5 Shoot in Raw
I already mentioned it a few times because shooting in raw is really something you should be doing all the time, not only for shooting sunsets. The advantages are enormous. In the case of sunset photography, there are 3 main reasons to shoot in raw.
- The sunset is a large contrast scene by nature. The difference between the bright and dark areas is large and the camera cannot bridge those large contrasts. As we just saw you’re gonna need to underexpose to get the sky properly exposed. This means your dark areas will be without detail. When you shoot in raw you’ll be able to recover some of those details in editing.
- You can adjust the white balance for the full range of color temperatures during editing. You’ll be able to recreate the amazing colors of the sunrise or the sunset in the comfort of your home.
- You’ll be able to reduce the grain in the editing in case you needed to crank up your iso quite a bit.
So as you can see shooting in raw is what will give you the freedom in editing to adjust contrasts and color. And sunsets being all contrasty and colorful shooting in raw is a vital aspect of what’s gonna set you apart from all the other sunset photographers.
Check out Raw vs Jpeg to find out more about why you should be shooting in raw.
#6 Use the Rule of Thirds
One of the most common mistakes beginning photographers make is to position the horizon in the middle of the frame. And that, my friend, is extremely boring.
To create a more interesting shot you can divide your frame by three in both directions. You place points of attention at the intersection of 2 lines or along one of the lines. It’s probably the most well-known composition building block in photography. We call it the ’Rule of thirds’.
When photographing the sunset place the horizon on one-third of the frame, top or bottom part. This creates tension and a more interesting shot right away.
To get more insight on the ‘Rule of Thirds’ and other composition building blocks check out this post about composition in photography.
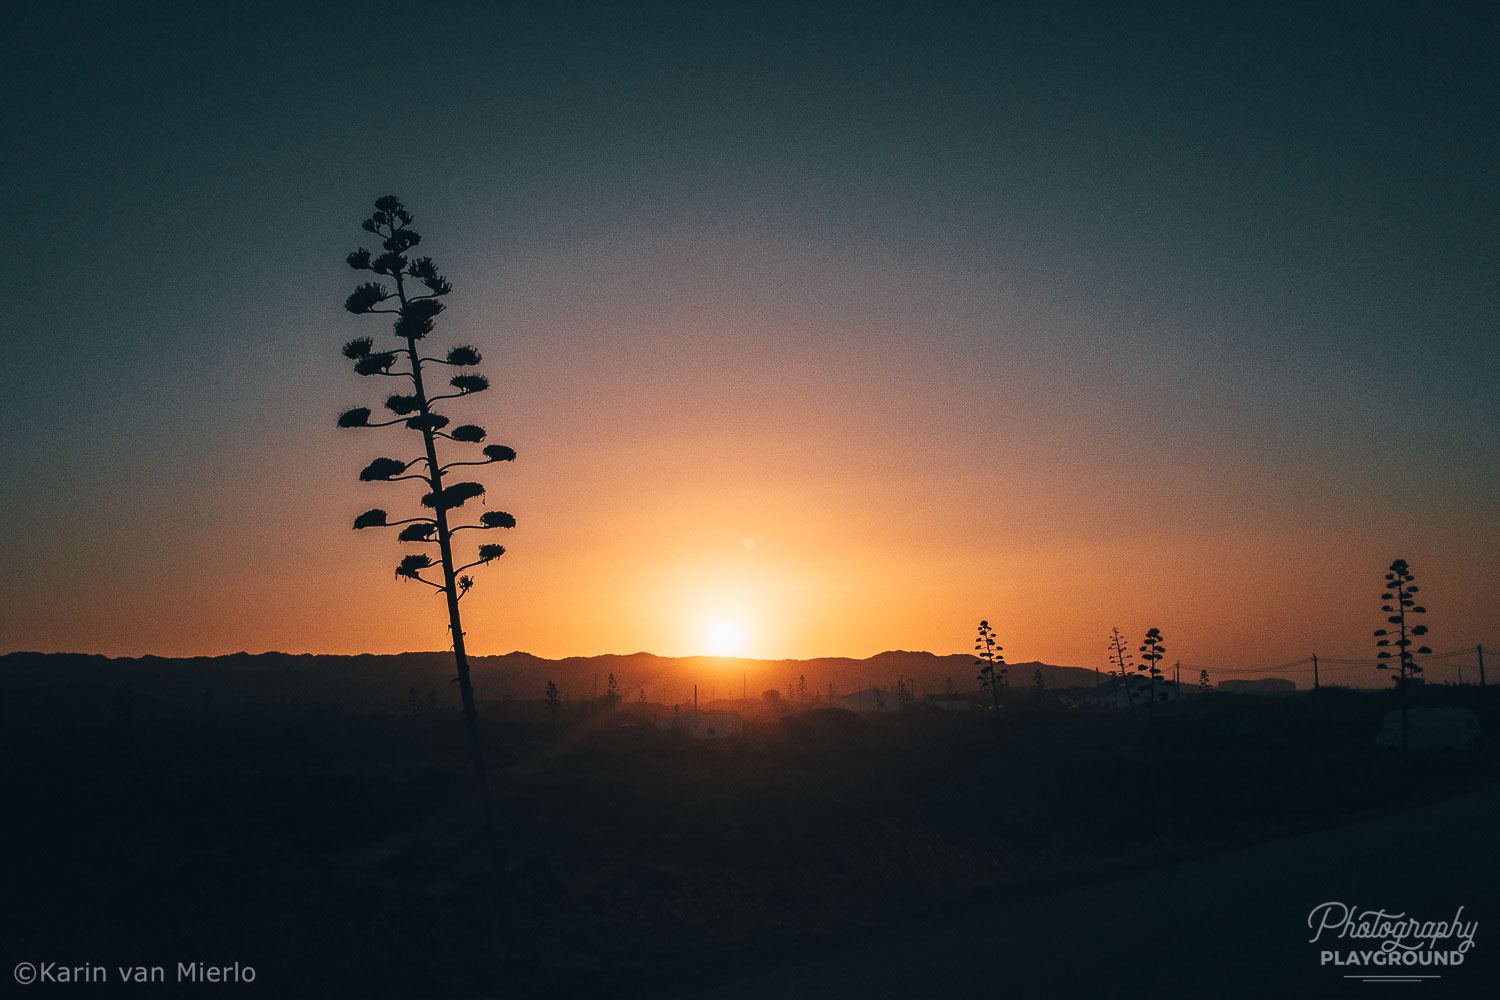
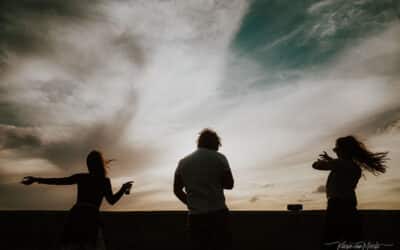
#7 Add a Silhouette
When you photograph the sunset your eyes and your attention are focused on the background. That is where it’s happening. Way out there.
It is easy to forget the one thing that is right in front of you: the foreground! And that is a pity because quite often it is the foreground that will intensify the magic in a sunset shot. By adding a layer you’ll get a more compelling picture.
Read More: Powerful Silhouette Photography in 5 Simple Steps
There are a lot of ways to include an interesting foreground in a sunset photograph. The one I like very much is making a silhouette.
Because it adds a little drama to the shot. It is the perfect way to get depth in your photographs. And it creates an interesting contrast between the colored and the black shapes.
So pay attention to your foreground and create a captivating silhouette!
Read More: Golden Hour Photography
#8 Look Behind You
You’re probably all consumed by the spectacle in front of you you’re probably unaware that there’s stuff happening behind you as well.
The golden light of the rising or setting sun is beautiful to shoot portraits for instance. Having the sun at your back for a portrait will illuminate the face with soft warm light.
The light of the sun will enlighten any scene behind you splendidly. Ignoring what’s happening behind would be a pity and a missed opportunity.
Read more about Natural Light Photography here.
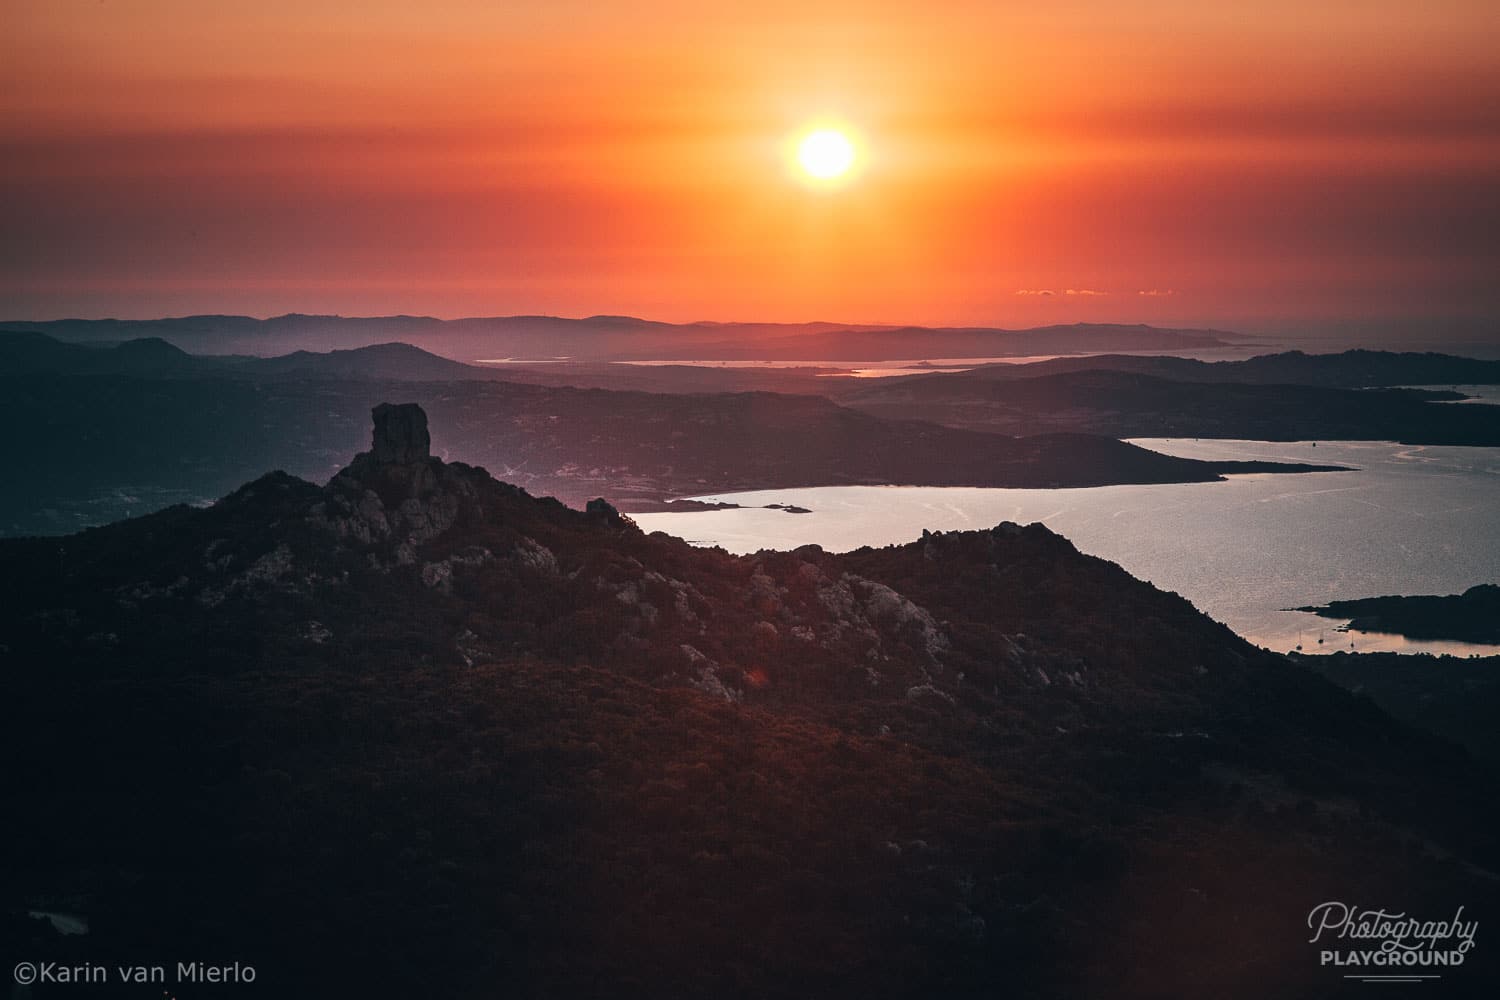
#9 Post Production for Sunset Photography
Especially when you took a lot of photos with different settings your first task will be to select the one that best represents your experience of this particular sunset.
You’re looking for that one shiny star among the loads of photos that just didn’t catch it perfectly. You can only choose one!
Check out importing and selecting in the Library Module in Lightroom for help on that aspect.
When you photograph a sunset you should always aim for a straight horizon. Nothing more distracting than a fairy-like sunset with a skewed horizon. It’s the perfect turn-off for me.
When you do not succeed in getting it right in camera, you should align the horizon in your editing program. This is the first essential step you need to take when you edit an image.
When you shoot in RAW another thing you have to do in post is to adjust the White Balance.
Of course, there are some other things you can do as well to make your sunset photos stunning. Try adjusting contrast, clarity, and saturation for instance.
Go to editing photos in Lightroom for more tips.
#10 Best Gear for Sunset Photography
Having the right gear ready is important. However, I hope you realize it’s actually not about the gear! It’s about knowing how to take control of your gear that’s what’s gonna set you apart in all types of photography. Once you know how to do that you can even take a stunning sunset pic with your smartphone.
Read More about this in The most powerful tool in a travel photographer’s toolbox.
What is the best camera for sunset photography?
Well, that’s easy. Basically, any digital camera that lets you control things manually will do. Of course, there is a difference in quality depending on the price you’re willing to pay for a camera. But even the lower-priced cameras will do fine as long as you’re able to take control of the camera settings yourself in manual-, aperture- or program mode.
What is the best lens for sunset photography?
The best lens for sunsets depends largely on what you want with your sunset photos. In general, I prefer to photograph with a prime lens but a zoom lens will do as well. It all depends on the story you want to tell and your choice of lens can help you with that.
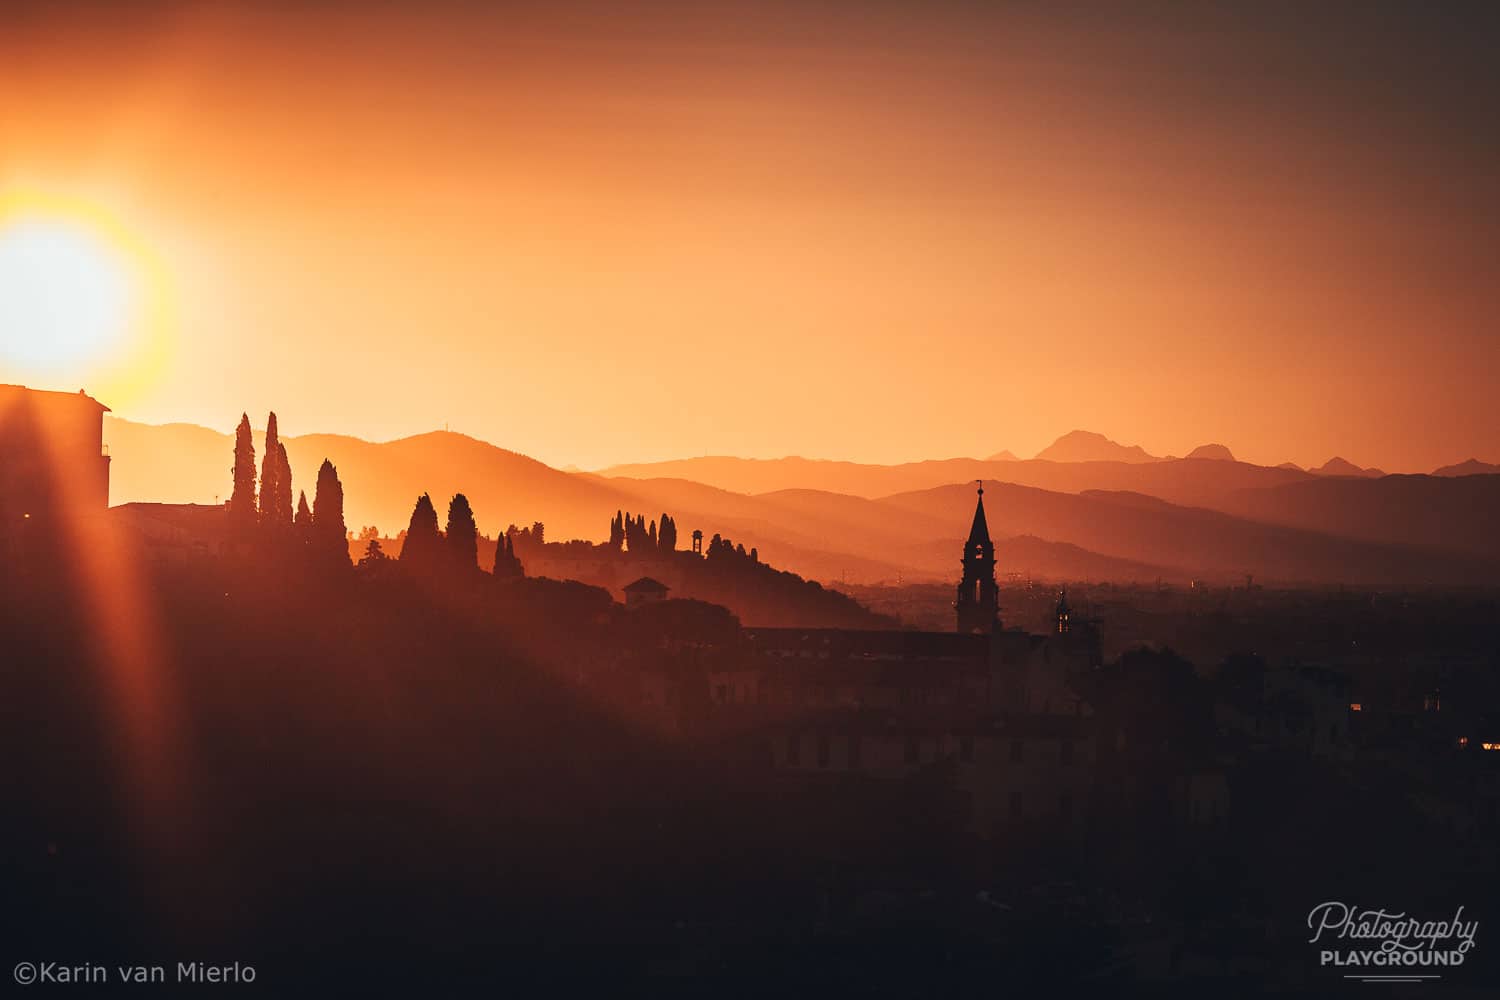
Shooting with a wide-angle lens is great for landscape photography if you want to include the landscape. You have to keep in mind though the sun will take up only a very small percentage of your frame so the environment has to be interesting enough in itself.
If you want more attention on the sun itself you’ll need to zoom in or use a long lens.
Mind Your Shutter speed
The longer the lens the faster your shutter speed needs to be because the minute movement you make when you press the shutter gets enlarged by the long lens. So don’t forget to set a faster shutter speed when you’re shooting with a long lens.
I tend to go into extremes when it comes to shooting sunsets. Sometimes I’ll use a wide-angle (35 mm full-frame) and sometimes a long lens (135 mm full-frame) depending on what I want to show.
A great way to add variety to your shots is to shoot at different focal lengths.
Use Your Lens hood
If you want to avoid sun flare and you’re not shooting straight into sun shoot with your lens hood on. This will take care of the most obvious flare.
I advise photographing with your lens hood attached all the time by the way. Because it is an extra layer of protection for your glass. I cannot count the number of times I bumped into something with my camera. The lens hood keeps my glass from getting scratched when I do. Think of it as your lens bumper. Check out this post for more travel photography safety tips.
Do I need a tripod for sunset photography?
I’m a little biased when it comes to photographing with a tripod. I don’t like shooting with them because they limit me in moving around and getting the best angles. I only use a tripod when there’s absolutely no way around it. I’ve been able to avoid shooting sunsets with a tripod so far so I’m guessing you could do the same.
The only reason you would need a tripod could be if you want to do long exposure sunset photography. In this case you combine the sunset with long exposure photography to get those silky clouds and/or waves.
Do I need special filters for shooting sunsets?
No, you don’t.
Many photographers talk about a graduated neutral density filter to darken the sky. What this does is lowering the contrast between the brighter and darker areas making it easier to get proper exposure.
This is also a matter of taste of course. I tend to not like sunset pictures with this type of artificial lighting and exposure. That’s how it feels to me. Besides, when you shoot in raw you can adjust the dynamic range of your images quite a lot in Lightroom.
Final Thoughts
As you’ve read throughout this entire tutorial not shooting in raw is almost not an option.
Shooting in raw might feel complicated to you but it isn’t. As soon as you step out of Auto Mode the option for the Raw file image quality will become available to you.
You will find it under the Image Quality settings. A great solution is to set the Image Quality to Raw + Jpeg. Your camera will produce 2 files from the same image.
Preparation is everything when it comes to sunset photography. But don’t let that stop you from shooting a spontaneous sunset when you stumble upon one! And it will get easier after a few sunsets because you’ve learned what works and what doesn’t.
Enjoy all the sunrises and sunsets of your life and try to catch at least a few of them!
And let us know in the comments where you experienced your most epic sunrise or sunset.
Did you try sunset photography? Share your photos on Instagram and mention @photography-playground!






Your blog post on “10 Sure-Fire Tips for Stunning Sunset Photography” is an absolute gem for photography enthusiasts like myself who are captivated by the beauty of sunsets. Sunset photography is a magical pursuit, and your tips are like a treasure trove of insights for capturing those breathtaking moments.
I appreciate how you’ve broken down the process into ten clear and actionable tips. Each tip, from planning and scouting locations to mastering exposure and composition, is a vital piece of the sunset photography puzzle. Your guidance makes it accessible for photographers of all levels, whether they’re beginners or more experienced.
One aspect I found particularly valuable is your emphasis on patience. Sunsets are fleeting, and waiting for that perfect moment when the colors and light are just right can be a test of patience. Your reminder to be patient and persistent in pursuit of the ideal shot is both practical and motivational.
Furthermore, your advice on using a tripod, experimenting with different lenses, and understanding the golden hour is spot-on. These technical aspects are essential for achieving those stunning sunset shots.
The inclusion of real-world examples and photo samples is a fantastic touch. It provides visual inspiration and demonstrates how your tips translate into actual results.
In conclusion, your blog post is a comprehensive and inspiring guide to capturing the beauty of sunsets through photography. It’s evident that you have a deep passion for this art form, and your willingness to share your expertise is greatly appreciated. I can’t wait to put these tips into practice during my next sunset photography adventure. Thank you for sharing your knowledge!
Thank you 🙂 Glad you liked it!
Great important post, where you make the main focus, really makes me happy for its necessary of importance.
Thank you 🙂
This was an amazing article. Great job in sharing this with us.
Thank you 🙂
wonderful post.
Thank you!
I love these Tips for Stunning Sunset Photography, amazing one . Thanks for sharing these Ideas with us.
Thank you! Gald you liked it 🙂
Wow, nice tips, now I know how to shoot images in sunset. Thanks for sharing
Thank you Matt. Glad you found it helpful 🙂
Sunset and sunrise is the most loving time for photographing. At this time the background scene becomes more beautiful and attractive. than pics clicked during the day. During sunset we feel relaxed and can focus more on our work.
Thank you 🙂
Marvelous post!!! Your blog is really outstanding. Thanks a lot for sharing such a wonderful post.
Thank you so much for this important update information. Sincerest wishes for your wellbeing.
I’m also trying to write something new you can check here.
Thank you!
I think handle with a RAW file is good to get the image much perfection. I am freelance photo editor. And most of cases I prefer from my clients to get RAW files. Because it can help me to tuning the features. Anyway, thank you for informative post.
You’re welcome. And yes, so much more can be done with a raw file!
I love your photography.
Thank you 🙂
Great Post Karin, these sunset photos are beautiful and tips are spot on. Makes me want to grab my camera and go catch some sunsets. My favorite tip, get there early! It always takes me a bit to get into the groove too!
Thanks!
Hey nice guide – is it the second and last photo that were taken on a phone??
Tbe blood moon will be shown on july 28
Any settings you can help me out cause im still a beginner.
Ty
Sony a77m2
Hi Steve,
Although I’ve never shot a blood moon myself I can help you get started with a few tips. The first thing is the focal length. The longer the lens the better results you’ll get. If you have a zoom lens you need to zoom in as much as possible. The second tip is to use a tripod. Especially when you’re using a long lens and a relatively slow shutter speed. And third your camera settings in manual mode: start with the shutter speed. Because the moon is actually moving you don’t want to use a very slow shutter speed. Something like 1/60 or 1/100 of a second if you want to get tack-sharp pictures. You can open up your aperture as much as possible to let in a lot of light. This depends on the lens you’re using. The lower the number the more light comes through. And then you set your ISO to the setting that will give you a well-exposed picture. Don’t be afraid to use a high ISO, go as high as is necessary. And definitely take a lot of pictures with different exposure settings. Experiment and enjoy the process! Will you show us the results?
Great. Easy to understand and follow. Thank you.
Jim
You’re welcome 🙂 Glad I could help!
Thank you Karin, for shared you knowledge and experience. I really appreciate the tutorial since is one of my favorite issues. As a matter of fact, I study the clouds to have a better idea of the incoming sunset.