

Raw vs JPEG
In the battle between raw vs JPEG, I’m a firm supporter of shooting in raw. I see absolutely no reason not to shoot in raw.
Are you wondering what the difference is between raw and JPEG? You wanna know why shooting in raw is better? Keep reading and you’ll find out!
Let’s start by talking about the differences between a raw and a JPEG file.
The raw ingredient of your files is pixels, I guess you knew that already. The important question is how those pixels organize themselves. And how they get saved on your memory card. That’s where file formats come into play. You can tell your pixels to organize themselves in the raw file format or in the JPEG file format. So, what’s the difference?
Both files have a fundamentally different goal.
The JPEG Tribe
For a JPEG file, the goal is to make your life as easy as possible and store a boatload of files on your memory card. To make that possible the moment it gathers the information from your sensor to send the data to your memory card it will post-process and compress the file.
As a result of the post-processing and compressing a JPEG file is small. It also doesn’t need any more post-processing after the fact to share the file. You can share or print a JPEG file straight out of the camera. Because it has limited possibilities to recover information, you need to get it right in camera. It’s a what you see is what you get kinda situation. A JPEG file also doesn’t allow for a lot of editing.
The Raw Tribe
A raw file has a different approach. The intention of a raw file is to give you the options to make the file your own. It also values a high-quality and versatile output. To be able to do that the raw file stores all the information it can gather the moment you press the shutter. Then it sends all that unprocessed data to your memory card resulting in larger file size.
A raw file is a proprietary file, which means that it depends on your camera brand what type of file you get. It is only readable by special photography software like Lightroom. And of course, the software that came with your camera.
To be able to share a raw file you need to convert it to a JPEG file and it needs post-processing. It has a larger room for recovering information that’s not visible at first sight. And it also allows for endless editing possibilities.
Let’s put them side by side:
JPEG file:
- Small file size
- Post-processed and compressed in the camera
- Ready to share out of the camera
- Limited room for recovering data
- Fewer editing options
A JPEG file says: “Okay, I know you’re not sure how to deal with all this data so let me help you to make your life easy. I’ll take all the important decisions for you.”
Raw file:
- Large file size
- Unprocessed data
- Needs post-processing and converting to JPEG in special photography software
- More room for recovering data
- Endless editing options
A raw file says: “Hey you! I have all this data for you, it’s for you to decide what you want to do with it! Make it count.”
To put an end to the debate of raw vs JPEG let’s take a closer look at all the irresistible reasons to shoot in raw!
#1 Better Overall Quality
Because a raw file stores all the data it can lay its hands on the quality of the file is a lot better. And I mean lots. You have full control over what happens after you release the shutter. This makes it easier to keep tabs on the quality of the output. And that’s what you want.
There are already so many ‘uncontrollable’ circumstances in photography.
Shooting in raw gives you the control to create high-quality files every time. Your precious pixels deserve the best, don’t they?
#2 Large Dynamic Range
A raw file produces way more brightness levels. Brightness levels are all the steps between pure white and pure black. It’s also called the dynamic range. The more the better because they make sure that the transitions between the different steps are smooth.
In a JPEG file, there are way fewer levels of brightness which can cause banding. Banding is what you sometimes see happening in the sky or a dark area.
It’s when you can actually see bands of slightly different tones. In a raw file, this is less likely to happen because of the broad dynamic range. So a raw file makes smoother transitions between all the different tones.
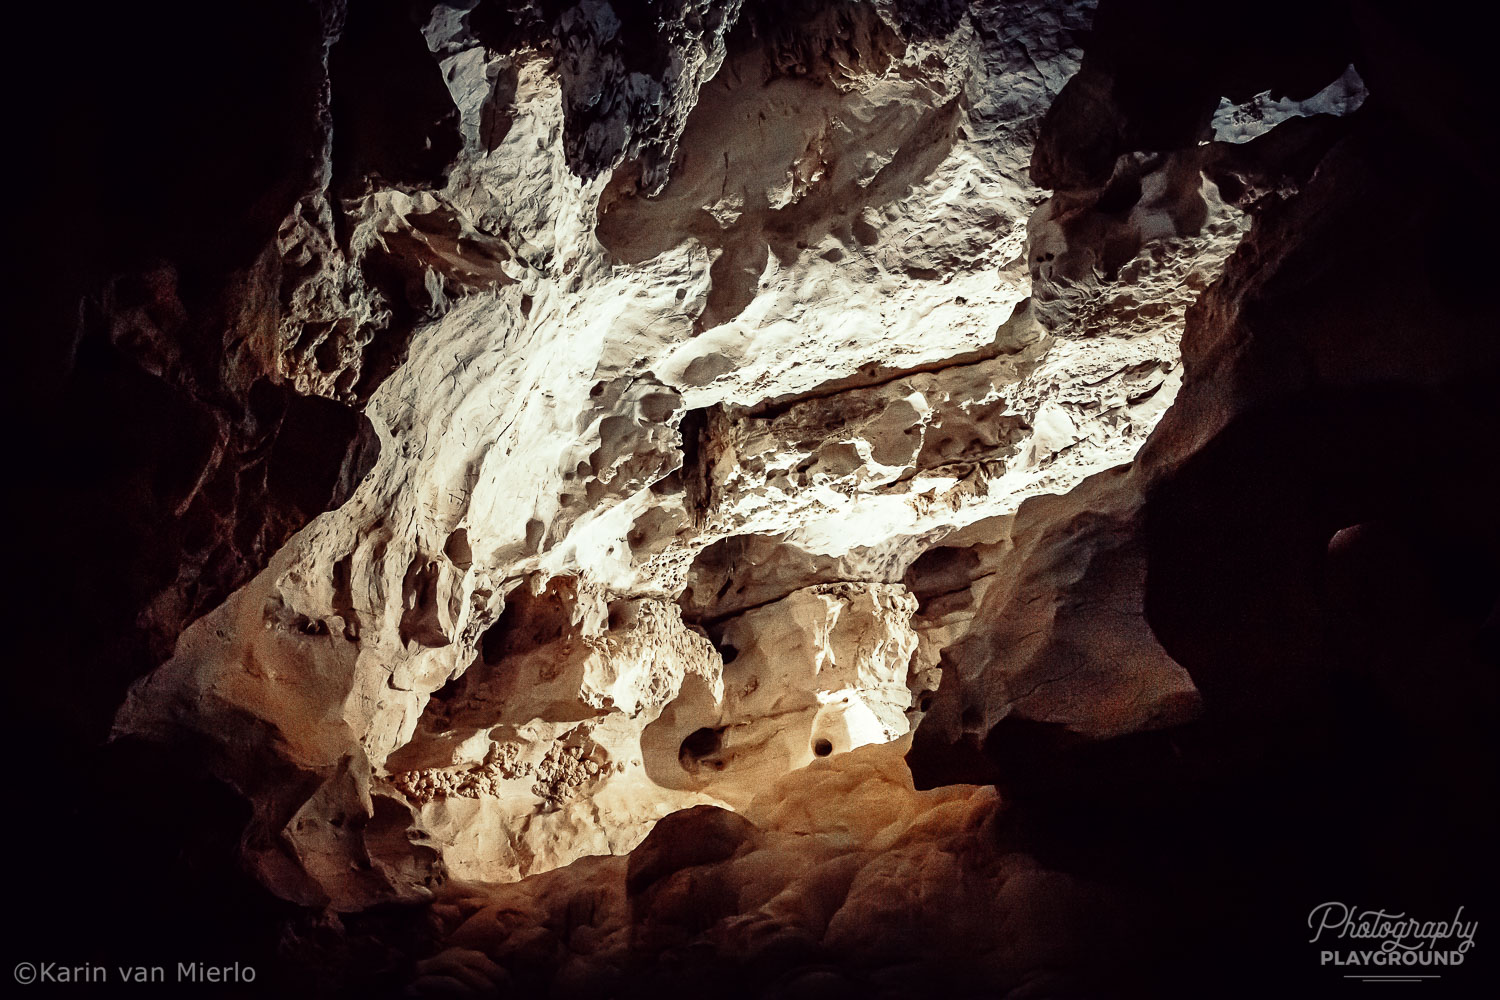
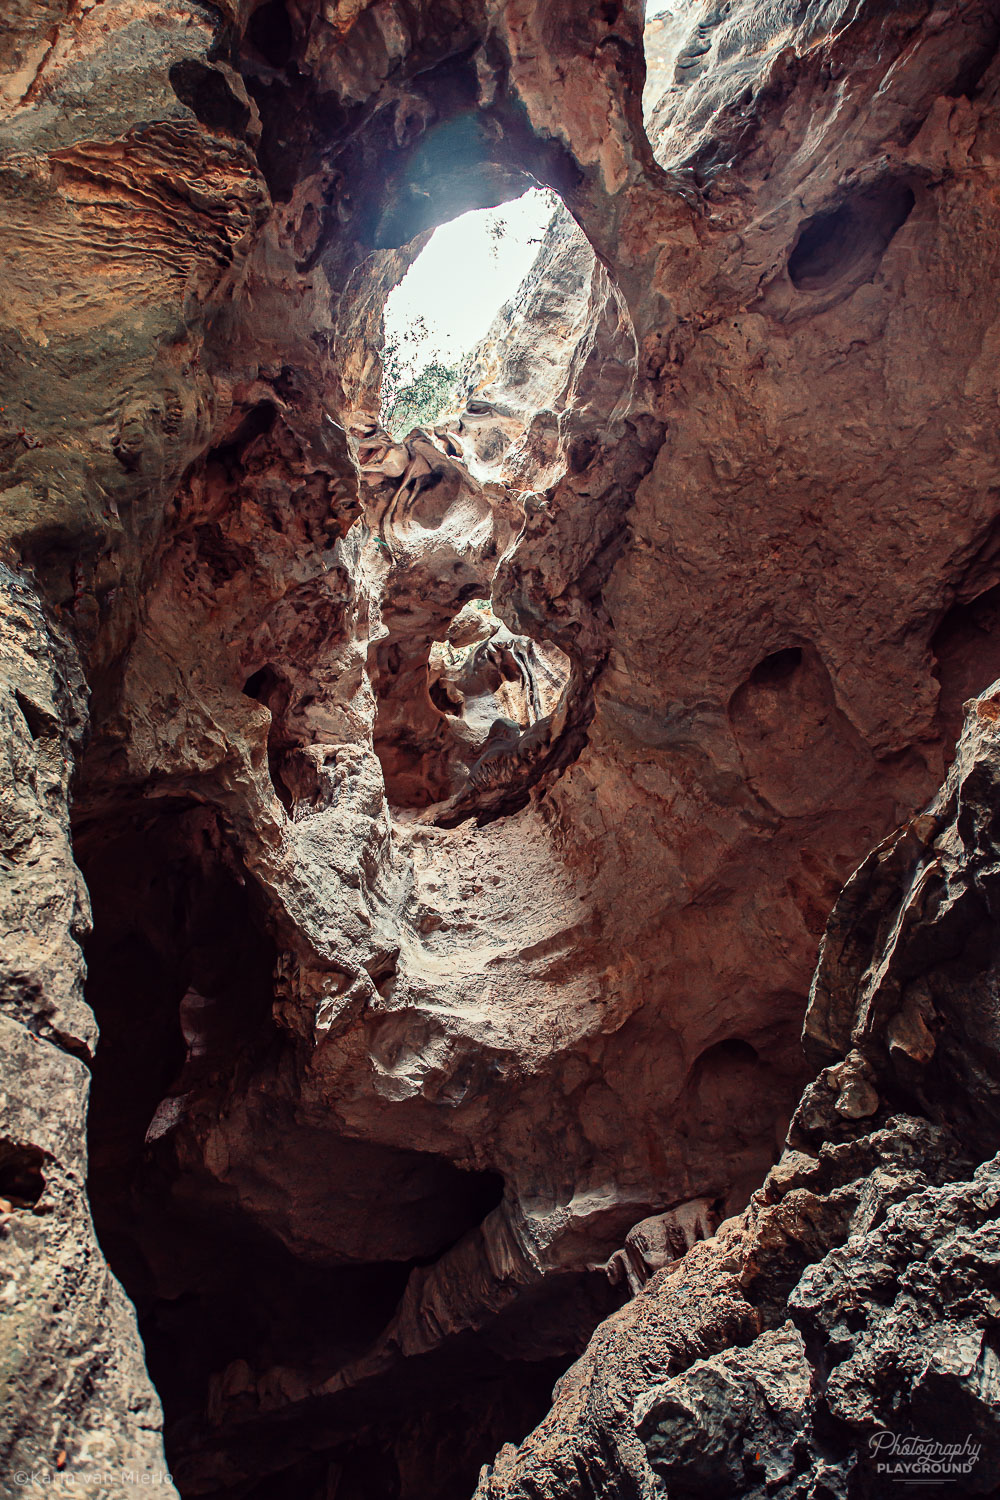
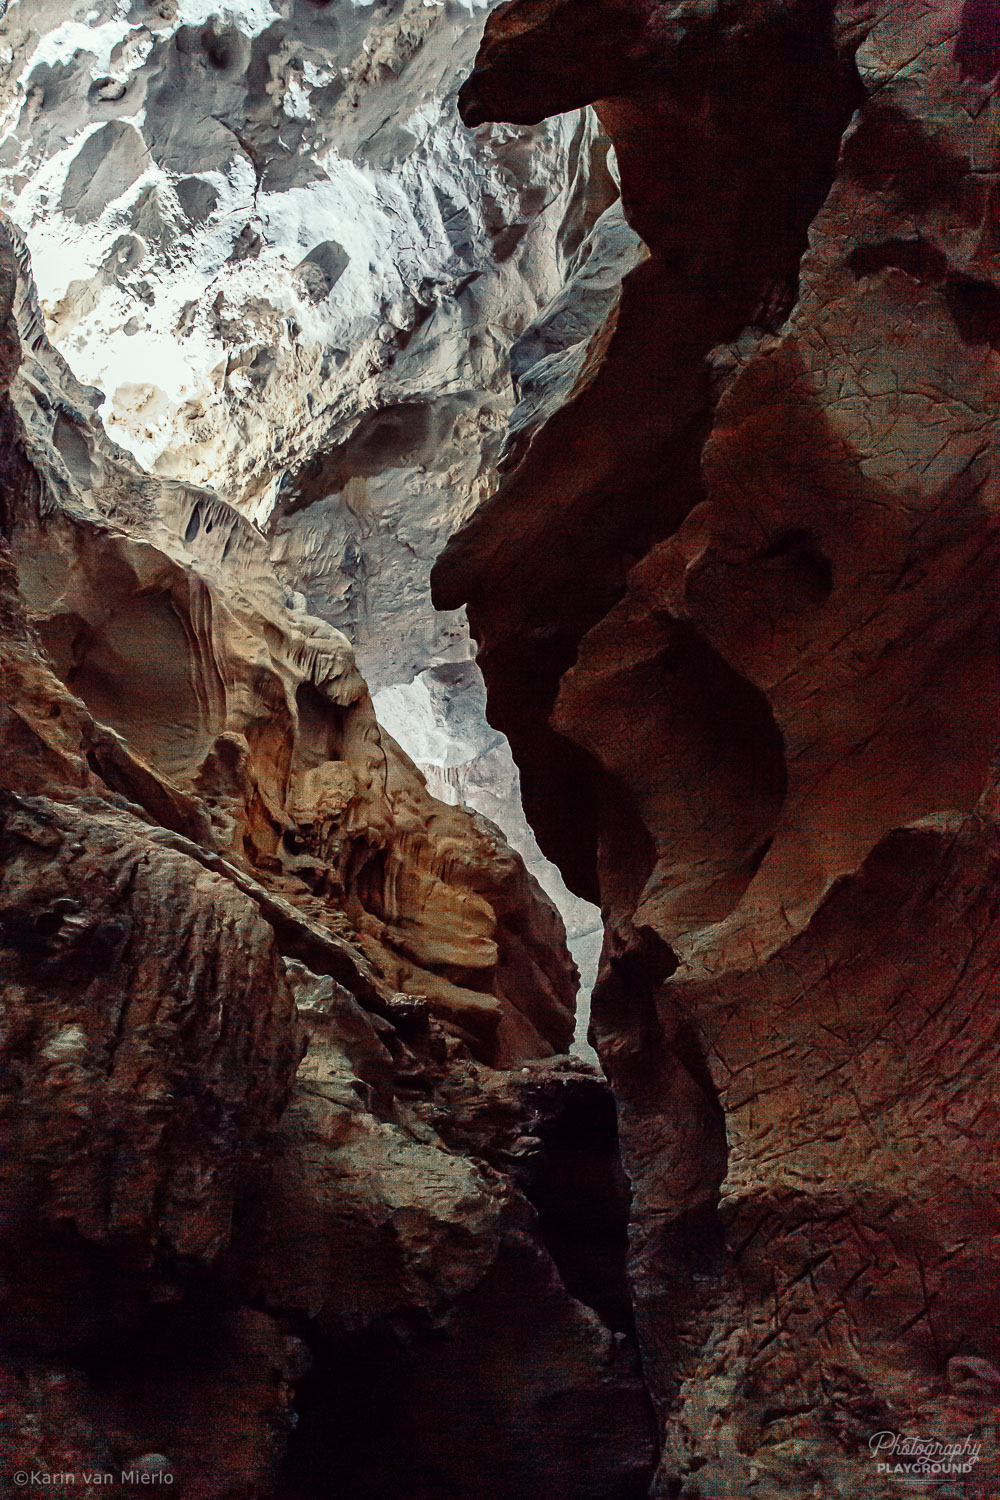
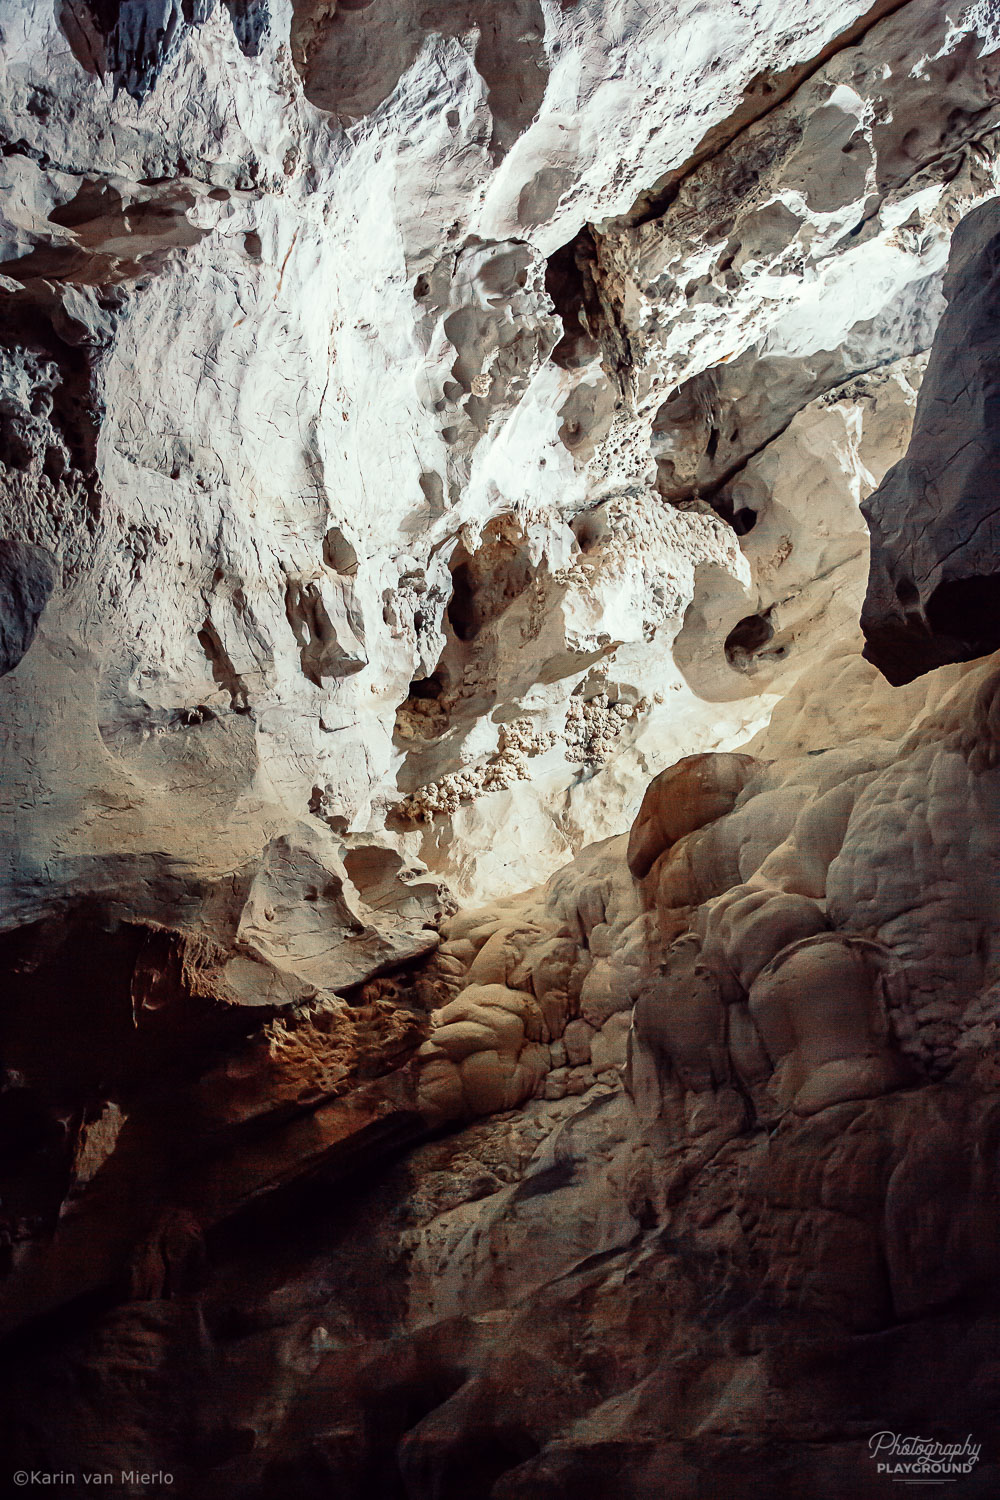
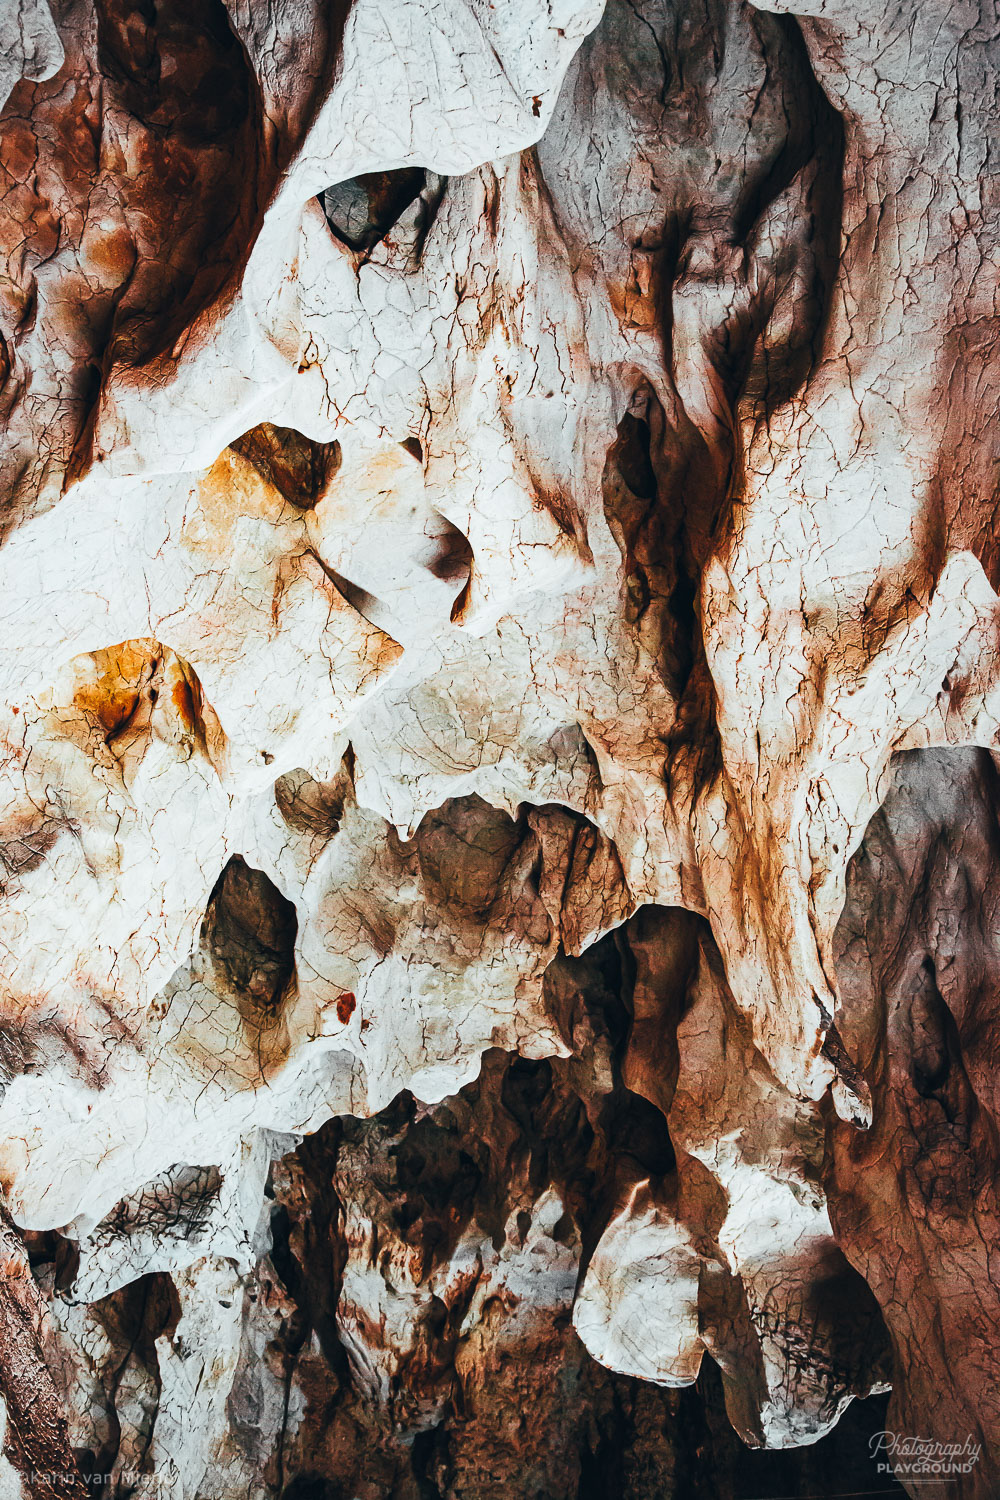
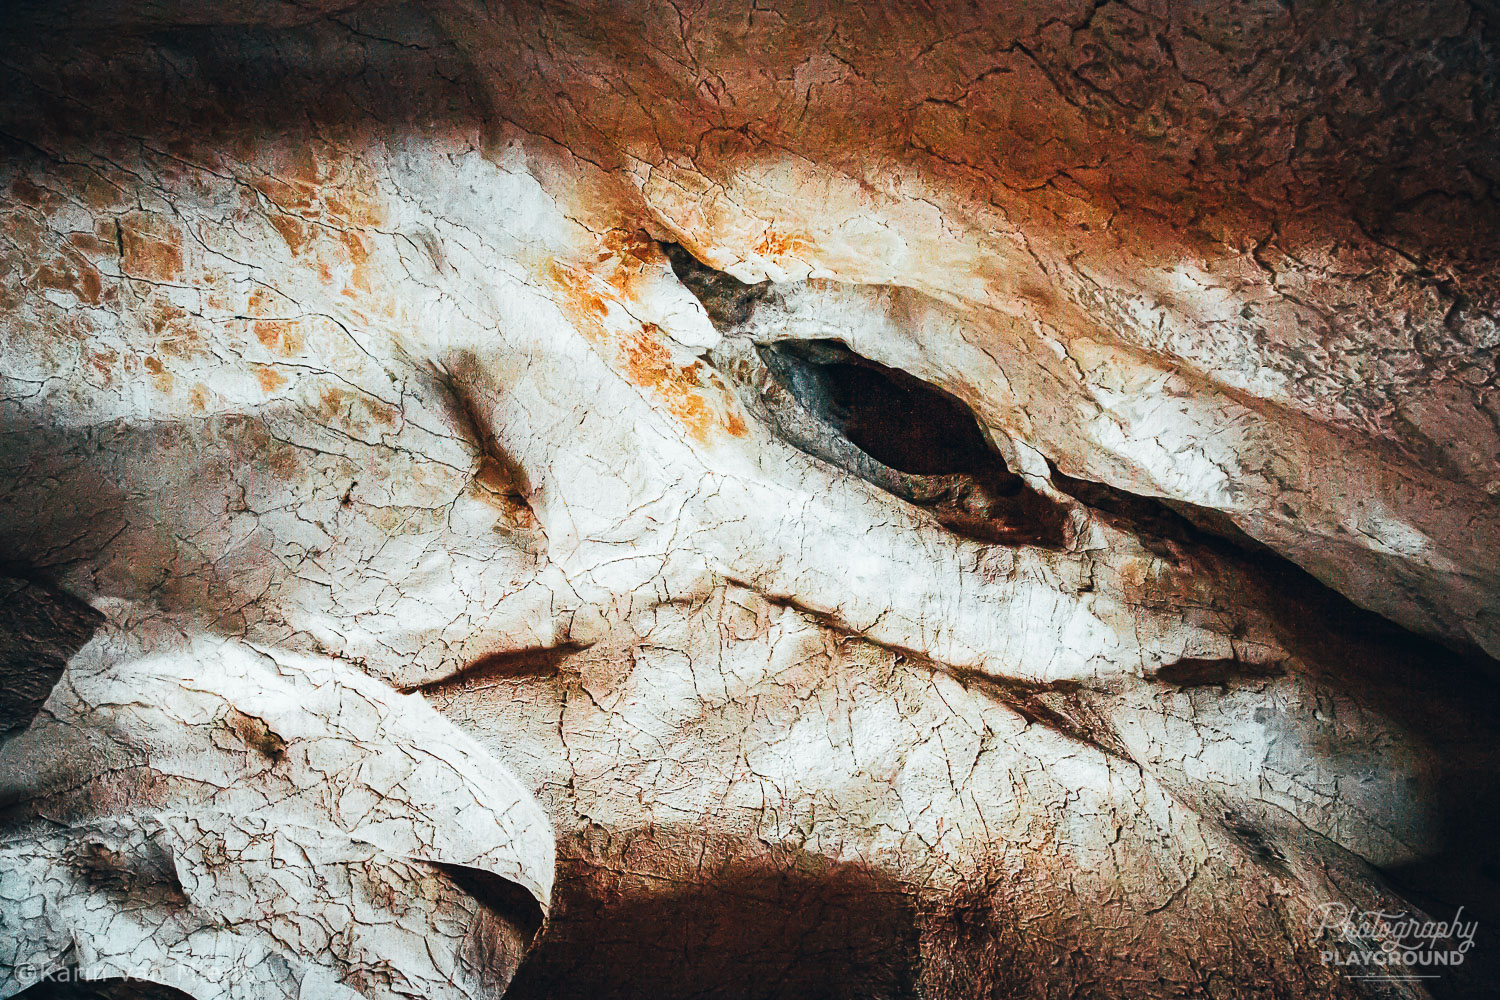
About the photos
I took these photos more than 6 years ago. As I took them inside a cave you can imagine the lighting conditions were less than perfect, to say the least. I had to crank up my ISO settings to the highest point to be able to take the shot resulting in noisy and pixelated files.
6 years ago I was still editing in Camera Raw and Photoshop. I was able to get the noise down a bit but frankly never to a point where I was happy with the result.
But I was shooting in raw of course. And now I’m doing all my post-processing in Lightroom. The images I’m able to get today makes me a lot happier! Had I shot these photos in JPEG I would not have been able to benefit from the improvements to not only the editing software but also my own editing skills!
#3 Adjust Under- & Exposure
Okay, the goal is to get it right in the camera of course. But sometimes things move fast and you’re not able to adjust your exposure quick enough. When that happens you can salvage a lot of information in a raw file.
It is possible to recover blown-out highlights or clipped shadows in a raw file because of all the information inside the file.
#4 Push for Exposure Boundaries
Because you can recover so much data from a raw file in post-processing you can push for exposure boundaries. What am I talking about? You know, there’s no such thing as ‘correct’ exposure. Exposure is a creative and intentional choice.
When you start photographing in manual mode this may not be your main concern right now. I get it! You’re looking for the ‘correct’ exposure.
But when shooting in manual mode has no more secrets for you this is an important reason to shoot in raw. Because shooting in raw gives you that wiggle room to see how far you can go with your creative exposure.
Still in auto mode? Find out more about shooting in manual mode and the first steps away from auto mode.
#5 A Raw File is More Forgiving
When you’re starting to learn to shoot in any of the non-auto modes you might think it’s better to shoot JPEGs. Hey one less thing to worry about, I get it. But that’s actually not true because a raw file is a lot more forgiving to your exposure mishaps than a JPEG is.
So, when you’re brave enough to move away from auto mode be smart enough to shoot in raw. You also have the option to shoot in both file formats by the way. This way the camera produces a raw file you can work on later and a JPEG file that’s all ready to go.
Don’t make the mistake I made with my first digital adventures and switch between raw and JPEG all the time to save space. It’s more than 12 years ago but I can still get frustrated about the JPEG files I made back then. My post-processing possibilities are very limited in those files.
You never know when you’re gonna make a killer pic so be ready at all times and set your camera on raw or raw+JPEG.
#6 Adjust White Balance
As with the exposure you can also adjust the white balance in post-processing. White balance adjusts the color temperature of the file. You know light has different colors. It can be blue during the day and yellow during sunset for instance. Usually, the camera does a good job translating the colors of the light but sometimes it doesn’t.
Then you’re left with an image that has a nasty color cast. In JPEG the room to adjust white balance is limited. But in raw you can adjust the white balance very precise to get rid of that ugly color cast.
#7 Better Details
A raw file will give you more details and who doesn’t want that! The tools in your camera to sharpen an image or to apply noise reduction are not very extensive and precise. But the ones in your post-processing program are. Nowadays recovering details in Lightroom, for instance, is very powerful. So is the noise reduction panel.
Add to that that companies like Adobe improve and update their software on a regular basis. A noisy image you’re not able to fix today might be totally fixable a year from now. Read About the photos!
#8 Make Non-Destructive Edits
Editing a raw file is non-destructive. Because you’ll have to convert a raw file to JPEG you’ll always have the original raw file.
Besides that when you do your post-processing in Lightroom (and you should) nothing is done to the file itself. The way Lightroom works is that it writes little scripts to accompany your pixels. In the script, it states how you want to adjust the file. Only when you’re done editing and you save the file as a JPEG is the information in the script baked into the JPEG.
In contrast, a JPEG file has a lossy format. This means that every time you make an adjustment to the file and save it you loose quality. For instance, if all you do is rotate the file to align the horizon you already loose quality. If you go back in and adjust the brightness again there’s loss of quality the moment you hit the save button.
There’s the possibility that you forget to save the file you’re working on as a copy. If that happens there’s no way you can return to the original state of the file.
A partly solution for this is to edit in Lightroom where also your JPEG files stay in their original state and the adjustments are non-destructive. But still, if you save the JPEG for a second time you will lose quality.
#9 Creative Freedom in Post
The making of the image doesn’t stop the moment you press the shutter. What you do afterward is just as important. It is part of the photographic and creative process. A raw file gives you that much desired creative freedom.
The post-processing possibilities in a JPEG file are very limited. Not only to sort of fix the ‘mistakes’ you made in camera. But way more important the options to make the image your own are very minimal.
A raw file is like its name implies. It’s raw dough and you can make anything from raw dough. You can make a loaf of bread or a croissant, bake a cake or banana bread. The only limits are your imagination and your post-processing skills.
In addition to that, it is definitely the best way to go if you want to convert your files to B&W.
When you’re ready to shoot in raw don’t forget to check out this post about How to Edit Your Photos in Lightroom first.
Downside of Raw?
Of course, the downside to shooting in raw is that a raw file is much bigger than a Jpeg file. All that information needs to live somewhere.
However, nowadays memory either on a card or on a storing device like a hard drive is not expensive at all. So there’s the solution to that ‘problem’.
It also slows down the camera when you shoot in burst mode. Because of the large files, the buffer (the bridge between your sensor and your memory card) gets full faster. A faster memory card could solve part of that problem if shooting loads of images in a row is a must for you.
And another thing that’s considered a downside is that a raw file always needs post-processing.
I don’t consider this a downside at all but a natural part of making the image. It’s the phase where you can and should underline your vision. Where everything falls into place.
Raw + JPEG
But what if you don’t have the editing software or the skills to edit your raw files right now? Maybe it’s not the right time yet to invest in a program like Lightroom? Or you don’t know the first thing about editing?
It doesn’t have to be raw vs JPEG. How about raw + JPEG?
If you don’t have the editing software yet or you lack the skills right now you can set your camera in the raw + JPEG option. It will create a raw and JPEG file of the same image. You have the JPEGs for now and save the raws for later. For the time when you do have the right editing software and know how to use it.
Your camera comes with its own software to upload the files on your computer including the raw files. So there’s no reason not to take that step.
Your future photographer will thank you for your brilliant foresight!
To wrap it all up a raw file gives you creative freedom. After the fact in the post-processing phase but this creative freedom starts in camera when you’re exposing your sensor. It is the best way to go whether you’re a seasoned shooter or starting your photography journey today.
It really is a no-brainer, go to your camera settings and set it on raw or raw + JPEG now!
Let me know if you have any more questions about shooting in raw! I’m here to help.
Did you try this? Share your photos on Instagram and mention @photography_playground!


Thanks for the info. I’m fairly new to digital photography and don’t have Lightroom. How easy/hard is post processing to master?? Also what sort of timescale is involved to edit a photo?
Hi Peter, That’s really difficult to say because it all depends on your goal. And the better you get at it the less time you’ll spend on 1 image. There are 2 Lightroom tutorials on the blog. Did you check them out?
Karin no I haven’t seen the Lightroom tutorials I will seek them out. My budget is tight at the moment. But I have the RAW files stored so can get them anytime. Thank you