Photos With Depth
It is one of the bigger conundrums in photography, being a fully flat medium that tries to capture a three-dimensional world.
You see, a funny thing happens when you press the shutter, all that depth you see in the real world is turned into a flat photo. Things that are very far away in the three dimensions of reality are on exactly the same level as the things right in front of your feet.
If you’re not aware of this and deal with it intentionally, your photos will look … well, flat and quite often, boring.
Photos with depth are a lot more interesting and engaging. So now, you’re probably wondering how to create depth in a photo!
Keep reading because you’re about to discover 5 captivating and simple ways to create photos with depth!
Looking for a deep dive into composition? Check out 4 Essential Principles of Composition in Photography!
#1 Make Use Of Leading Lines
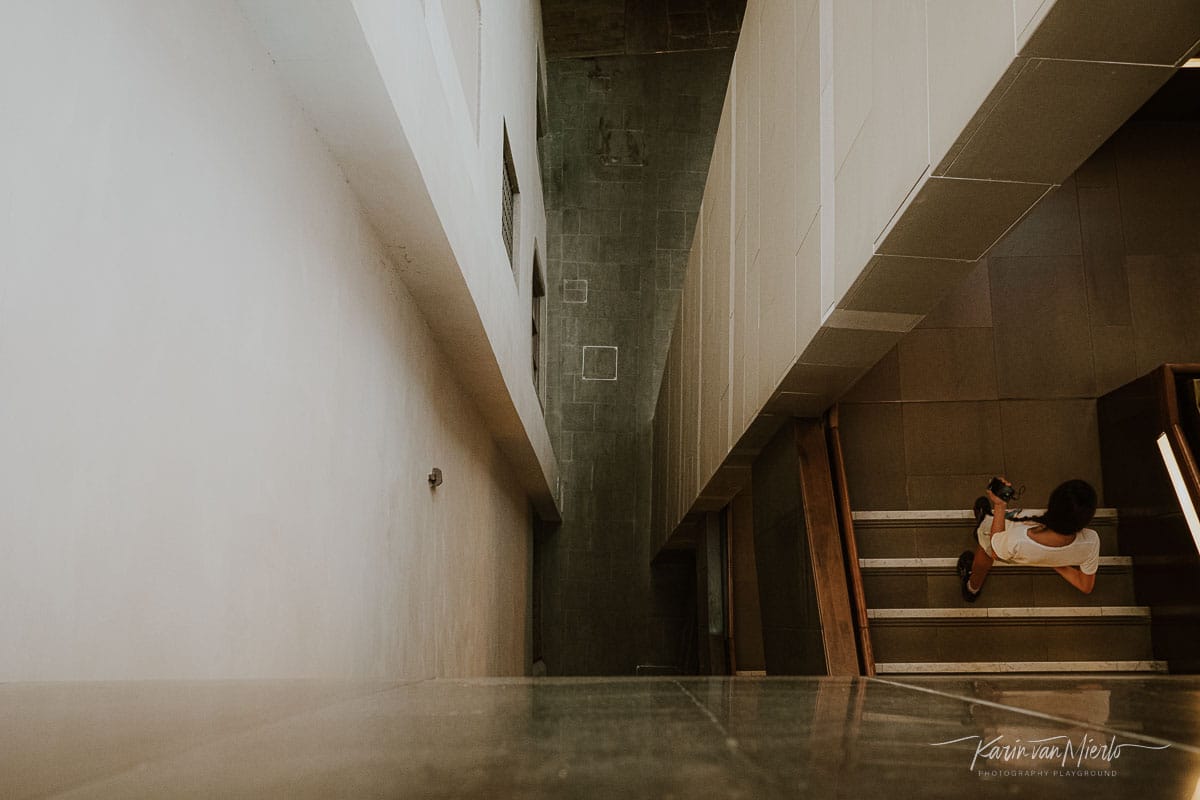
Leading lines is a wonderful composition tool to create depth. They’re usually naturally occurring converging lines in the frame.
By adjusting your point of view you can amplify the direction of the lines. This is most often accomplished by lowering your point of view. You can also try walking around the scene and paying attention to the ever-changing perspective and choosing a point of view that creates leading lines.
The leading lines can occur as actual lines but that’s not necessary. It can also be a form or several forms that are placed in such a way they create a perspective and thus depth.
The depth created by leading lines is engaging the viewer and leads the viewer’s eye into the frame. We can’t help but follow those strong lines and before we know it we’re lost in a flat image.

#2 Add a Foreground, Midground & Background
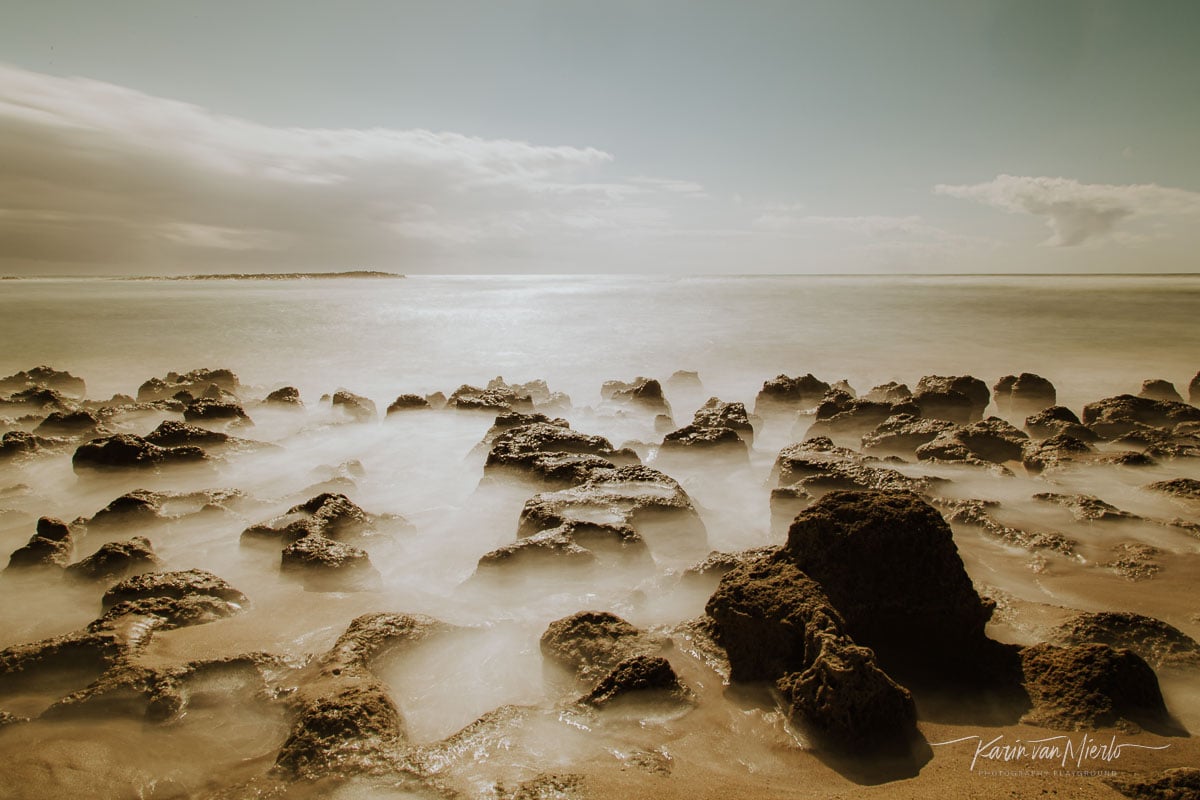
It pays off to pay attention to the different layers in the scene in front of you.
Adding a foreground, midground, and background easily creates a photo with depth. And it does so in an instant. Just like with leading lines these three layers also really attract the viewer’s eye inviting us to take a stroll inside the frame.
For instance, most landscapes or seascapes naturally possess these three layers. And if there’s one layer missing it’ll probably be the foreground layer.
An easy way to add a foreground layer is to lower your point of view and incorporate more foreground. Another solution is to check your scene for something you can use as a foreground like a plant or a tree.
#3 Frame Your Subject
So far we’ve discussed composition tools that will work well in the greater scenes like landscapes. When you want to reintroduce the depth that exists in the real world and you want to emanate that depth in your two-dimensional photos.
But how about making photos with depth when there’s not a lot of depth, to begin with?
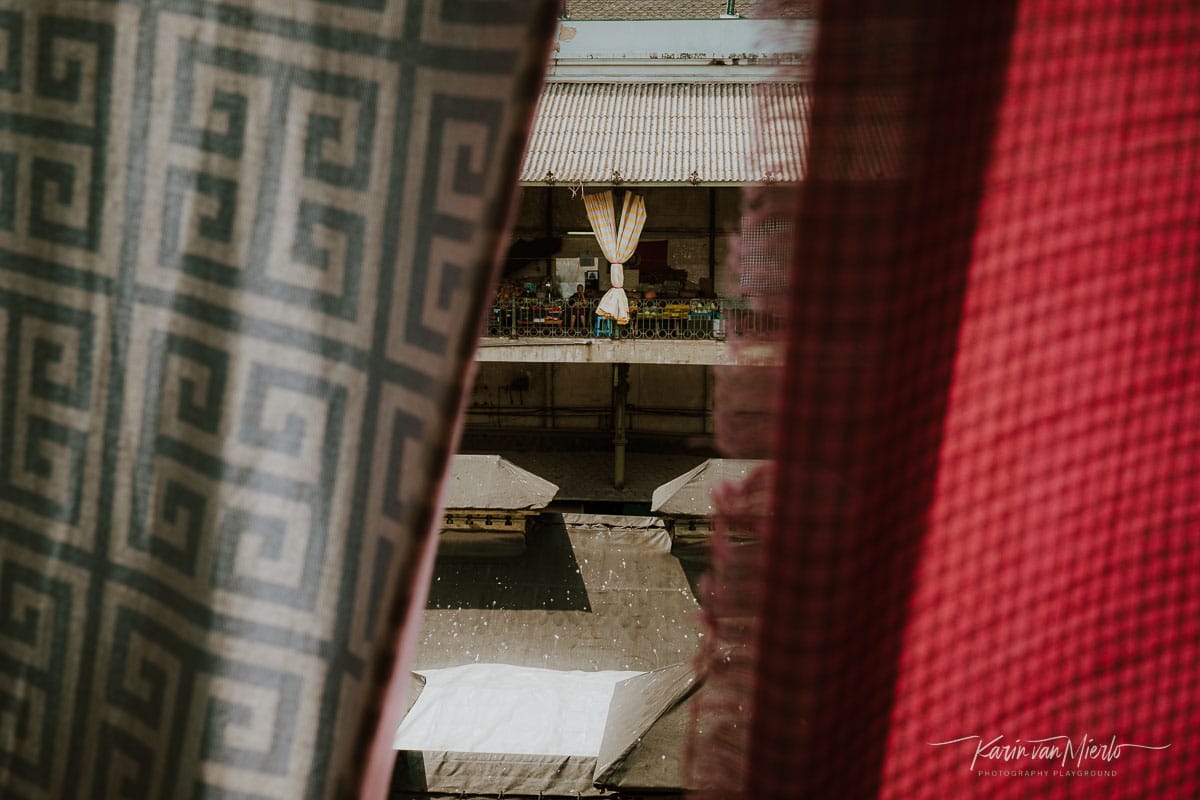
One of the tools I like to use in a situation like that is to frame my subject. I look for structures in the scene I can sort of wrap around my subject, hence the term framing. These areas are located in front of the subject. Sometimes even covering up part of the subject.
This is a wonderful way to introduce depth to a photo and I feel it also adds a sense of mystery and drama.
Your Ever-Important Point Of View
So far, we’ve discussed ways to create photos with depth through our composition and you probably noticed that the core of composition is your point of view. The careful positioning of your body and thereby your camera is what drives an engaging composition.
For instance, you emphasize perspective by walking around and seeing how the leading lines change in the optimal direction.
You include a foreground element by crouching down.
And you incorporate a wall to frame your subject by taking a step to the left.
But there are other ways to introduce depth in your photos and one of them is shooting with a shallow depth of field.
#4 Blur the Background
Shooting with a shallow depth of field and blurring out the background is a beautiful way to create photos with depth.
The contrast between the sharp subject and the blurry background immediately creates depth because of the contrast between subject and background.
By focusing on the subject it gets detached from the background. This separation between subject and background is what creates the depth.
For an in-depth tutorial about blurring the background go to 4 Steps to Creating a Beautiful Blurry Bokeh Background.

#5 Look for Contrasting Colors
This tool to create photos with depth relies on the same principle as the previous one…contrast.
Looking for color contrasts in the real world will lead to more depth in your photos. Think about it, if you shoot a white egg against a whitish background the colors are all similar. And so, there’s hardly any distinction between subject and background making it all look like it’s on the same level.
If you shoot the same egg against, let’s say, a deep blue background, the egg becomes detached from the background resulting in a photo with depth.
For instance, when you’re shooting portraits, look for a contrasting background if you want to incorporate depth in your portraits.

Final Thoughts
There is absolutely no rule against combining any of these wonderful tools to create photos with depth. You can mix and match to your heart’s delight.
Be careful though to not put too many different concepts into one frame. That would take away the attention from your subject. And in the end, that’s what it’s all about. Make your subject stand out and shine!
So, whatever tool you use or combination of tools, to create photos with depth always ask yourself, does it serve the subject. If it doesn’t, simplify!
What is your favorite tool to create photos with depth? Let us know in the comments!
Did you try one of the tips? Share your photos on Instagram and mention @photography-playground!












0 Comments