Night Photography Tips
If you’re just getting into astrophotography and feel a little overwhelmed, don’t worry!
At first, night photography can seem like a scary thing because it involves learning about photography… in the dark. You can’t see anything, there are always strange noises going around, and again, you can’t see anything.
But, this should NEVER be your mindset when learning night photography because capturing the stars is a beautiful and fun thing to do!
And once you get the basics down and learn a few night photography tips, it turns into something you can’t wait to go out and try!
So, here are my top 10 best night photography tips.
#1 Decide Where and When to Go
Deciding where and when to go is absolutely crucial when planning on taking photos of the night sky. These two factors can very well make or break your night of shooting.
The first step is knowing where to go.
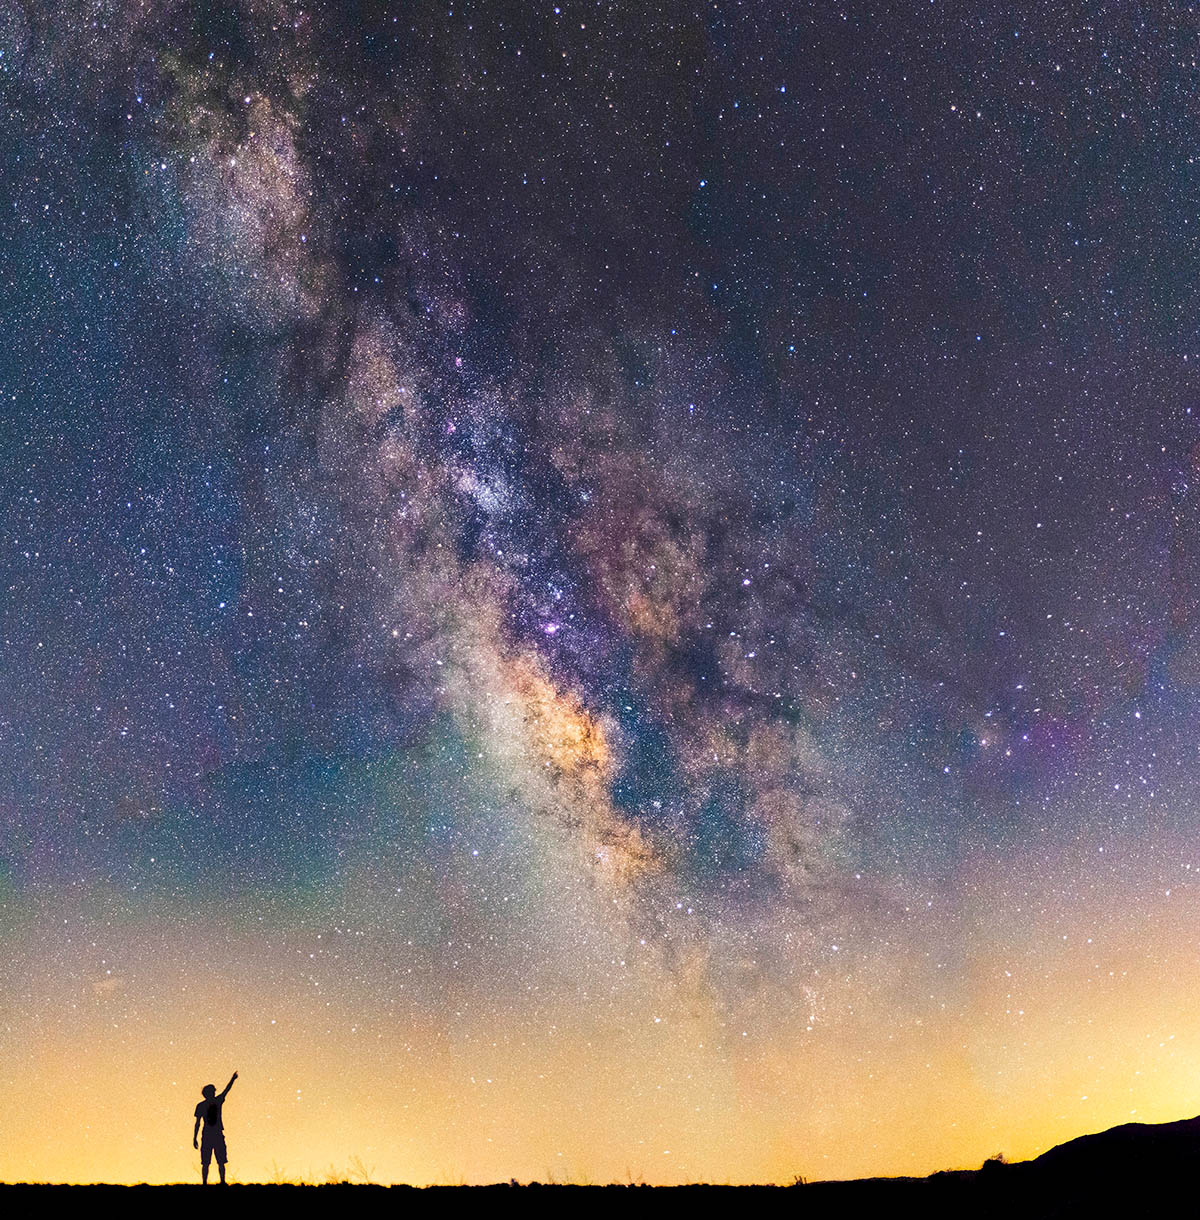
To take amazing pictures of the stars, you need to go someplace that shows a lot of stars. I’m talking about a very dark and maybe secluded area. And trust me, I’m not trying to lure you out anywhere…
Finding a dark location will dramatically increase your chances of capturing great photos because you will be far away from any type of light pollution.
Light pollution can, unfortunately, seep into your images, creating a not so nice color cast.
Dark Site Finder Map
Depending on where you live, driving at least an hour away is usually a good rule of thumb to hopefully see a lot of stars or even the Milky Way.
But it is always better to have a plan in place instead of driving until you think you’re far enough away.
A great resource I use time and time again is the Dark Site Finder map.
This map shows you exactly where the darkest locations are around you, giving you a good idea of where the best places are to see some stars.
State and national parks are also usually dark places you can go to.
Next up is knowing when to go.
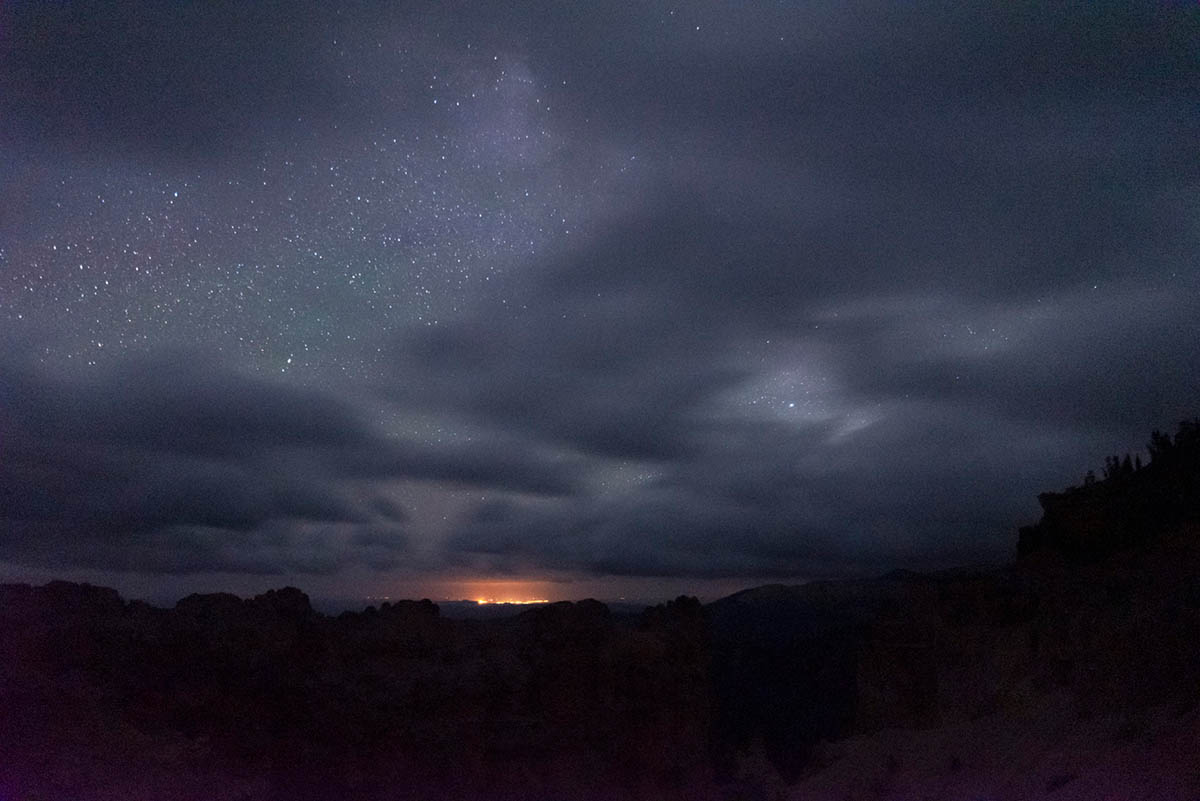
Many variables can affect how successful your night shoot is, with the biggest culprits being clouds and the moon.
Clouds are the ultimate enemy when it comes to night photography. It’s not fun showing up to a nice dark location only to see clouds creeping in.
ALWAYS check the weather before going out. You want to make sure you will have a beautiful night filled with very clear skies.
Moon Phase
The other variable is the moon phase. If you have ever seen the moon at different times of the month, you probably noticed that it constantly changes. One night it’s a tiny crescent moon and the next it’s a bright full moon.
To have the best experience when photographing stars, you want to go when the moon is at its lowest phase, which is called a new moon. A new moon is when the moon is not visible during the night.
If you go a little before or after this date, that is okay because the moon will still only be a tiny crescent, not enough to ruin any of your images.
But make sure to not go when it is a full moon because obviously, it will cast a lot of light, which is not good when you want it as dark as possible.
To check the moon phase, a quick Google search will do the trick or you can use a handful of apps.
#2 Scout Your Location During the Day
Scouting during the day might be my biggest tip I can give you about taking night photos.
It is such a beneficial factor for you and your images and yet, I still don’t see enough people do it.
Pitch Black
First off, it will make you a lot more comfortable with the area, which can act as a huge time saver during the night. Because again, it will be pitch black! Trail signs or key landmarks will not just magically light up at night.
If you’ve ever been hiking before, you know that it can sometimes be hard to find a destination during broad daylight, so why would you try going somewhere new at night?
Scouting during the day also gives the helpful option of knowing what the subject looks like, giving you a lot more ideas for when you photograph it at night.
Take mental notes of the best way to climb up that rock or the safest and easiest path back to your car or campsite. Every location not only looks different but feels different at night.
So it will do you WONDERS to scout the location during the day.
#3 Be Comfortable Using Your Camera at Night
Just like your location, you need to know where certain buttons are on your camera, even if it is dark out.
Even if you have a flashlight, if you’re photographing around others, shining your flashlight on your camera every 10 seconds can become very obnoxious.
It will also ruin your night vision time and time again, making you not have a clear view of the stars.
I know the fear with this is accidentally hitting the delete button when you meant to hit the live view button or menu button. The way around this is to simply practice.
Just like anything, practice makes progress. If you use your camera every day, it will become very comfortable to know where most buttons are on your camera.
And again, you don’t have to memorize where every little button is, just the main ones.
#4 Bring a Sturdy Tripod
A sturdy tripod is essential when doing night photography.
Since you will be shooting long exposures up to 30 seconds, ANY SHAKE of the camera will create blurry images, ruining the exposure, and wasting your time.
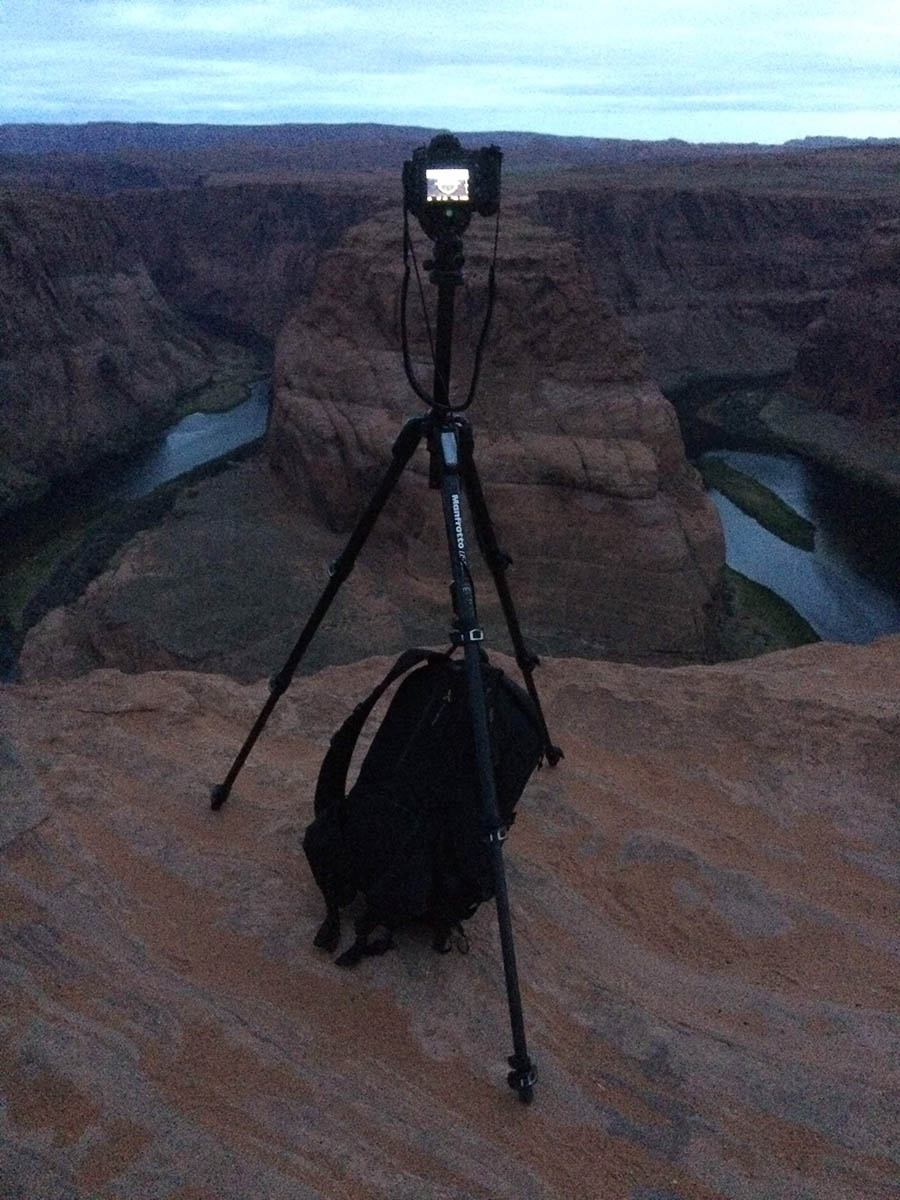
Make sure your tripod will stay still, even if you accidentally tap it. A trick to make the tripod more stable is to attach a backpack or even just a bag of rocks to the middle column of the tripod.
#5 Use Manual Focus
Focusing at night is one of the biggest issues I see with new astrophotographers.
It does seem kind of hard right, trying to focus on something you can’t see? And I always say that the only thing you cannot fix in editing is the focus, so you need to get it right in the field.
Live View Mode
To focus at night, first, switch your lens into manual focus. This will allow you to turn the focus ring on the lens any way you want. Since the stars are so far away, autofocus will continuously hunt for them, but unfortunately never find them.
Once you’re in manual focus, go into live view mode, search for the brightest star you can see on the screen, zoom all the way into it with your magnifier tool, and slowly turn the focus ring until you see the smallest dot you can see.
With a little practice, you will get really fast at this process and have your focus set up in no time!
#6 Understand the 500 Rule
The 500 rule is a staple in night photography. It is one of the things you will hear time and time again when researching this subject. And I promise it is the only type of math you will ever need to do when photographing the stars.
The 500 rule basically calculates what your exposure time needs to be based on your focal length in order to capture crisp sharp stars.
Trailing Stars
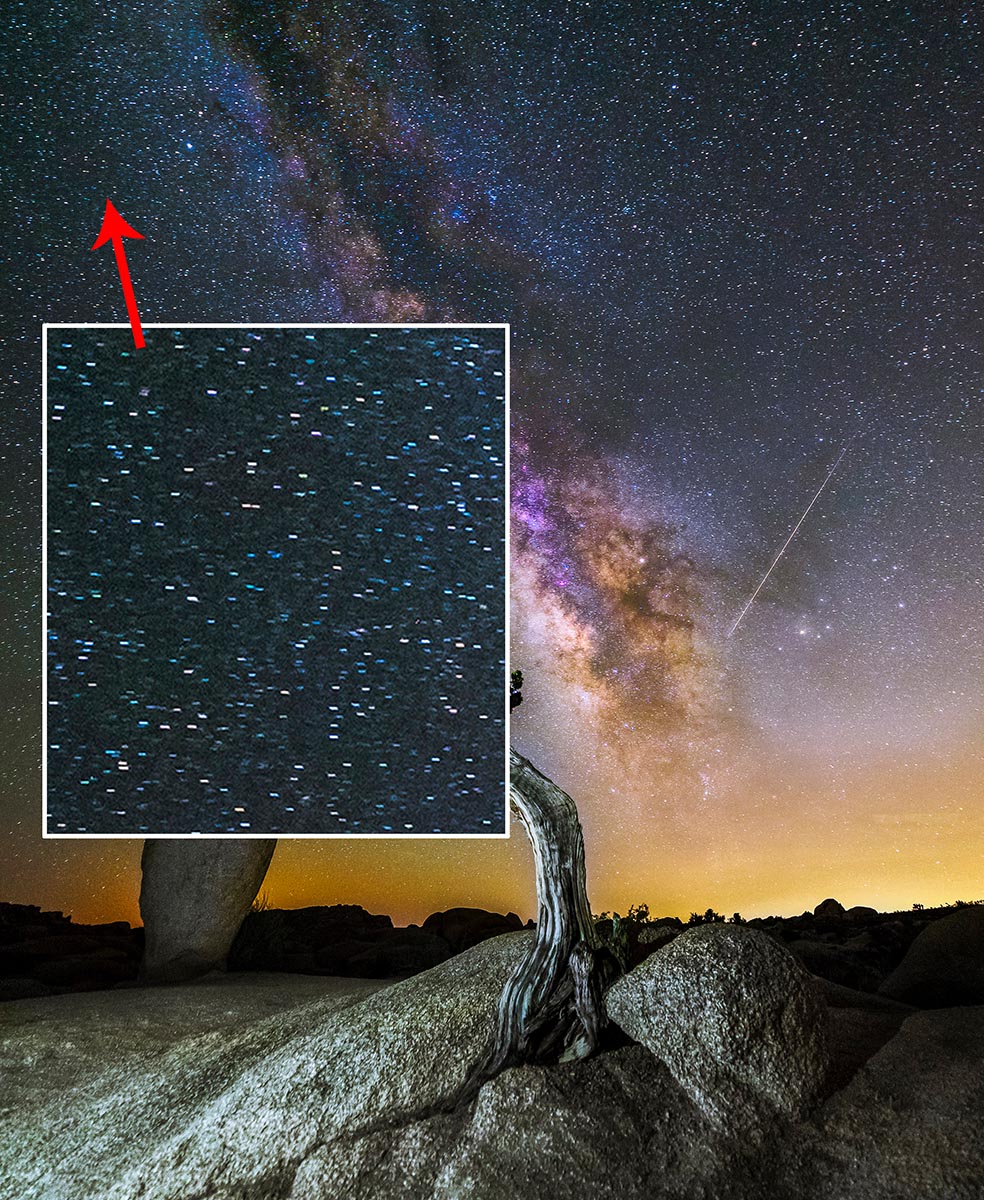
Since the earth moves, if you were to stay in one spot long enough, the stars will seem to “move” positions. On camera, you can capture this and it will look as if the stars are trailing.
To avoid this, you can use the 500 rule to know the maximum shutter speed you can shoot with.
An example would be if I am shooting at 24mm on my Nikon D750 (Full Frame camera)
500/24 = 20.833 = 20 seconds.
Since my camera is a full-frame camera I do not have to calculate for the crop factor. If you are using an APS-C sensor, you will just multiply your focal length by 1.5.
You will also want to shoot in manual mode, which lets you control all of your settings (shutter speed, aperture, and ISO). Because it’s dark out, your camera will automatically think it’s too dark out to take a picture… duh! So, you need to have full control over all of your settings so you can brighten up the exposure and take good images.
Need more encouragement to start to shoot in manual mode? Check out Manual Mode: 8 Compelling Reasons to Move Away from Auto Mode
#7 Bring a Flashlight/Headlamp
A headlamp and/or flashlight will be your best friend when shooting the night sky. They can help you see your surroundings and your gear which is very important so you don’t trip on anything.
An extra tip is to get a red headlamp or flashlight as that will help you preserve your night vision.
#8 Bring Extra Batteries
During the night, a lot of surprising and unexpected things can occur. Batteries can die, random noises can keep you up all night (I promise night photography is fun), so it is best to be prepared.
I 100% recommend bringing extra batteries for everything. For your camera, your headlamps/flashlights, your intervalometer, or anything else that requires a battery.
Intervalometer
And for those of you who have never heard of an intervalometer, it is an external shutter remote that allows you to take a picture without touching your camera. This is great because since you will be shooting long exposures of up to 30 seconds at night, you want to minimize the amount you touch your camera as much as you can!
Depending on when you go out shooting, it can become pretty cold during the night, which greatly decreases the life of most batteries. Plus you don’t want to get out to your location and see that your headlamp is dead and you don’t have an extra light source.
Hopefully, you won’t have to use any backup batteries, but it’s always better to be prepared.
#9 Bring a Friend
Keeping the buddy system alive during night photography is always a good thing. Not only does it give you someone to enjoy the night sky with, but it is also a lot safer.
Especially when going somewhere new for the first time and in the dark, you want to see if a friend or family member is also up for the adventure.
This way if you ever get lost, your friend’s close by. If you run into any kind of trouble during the night, your friend is close by.
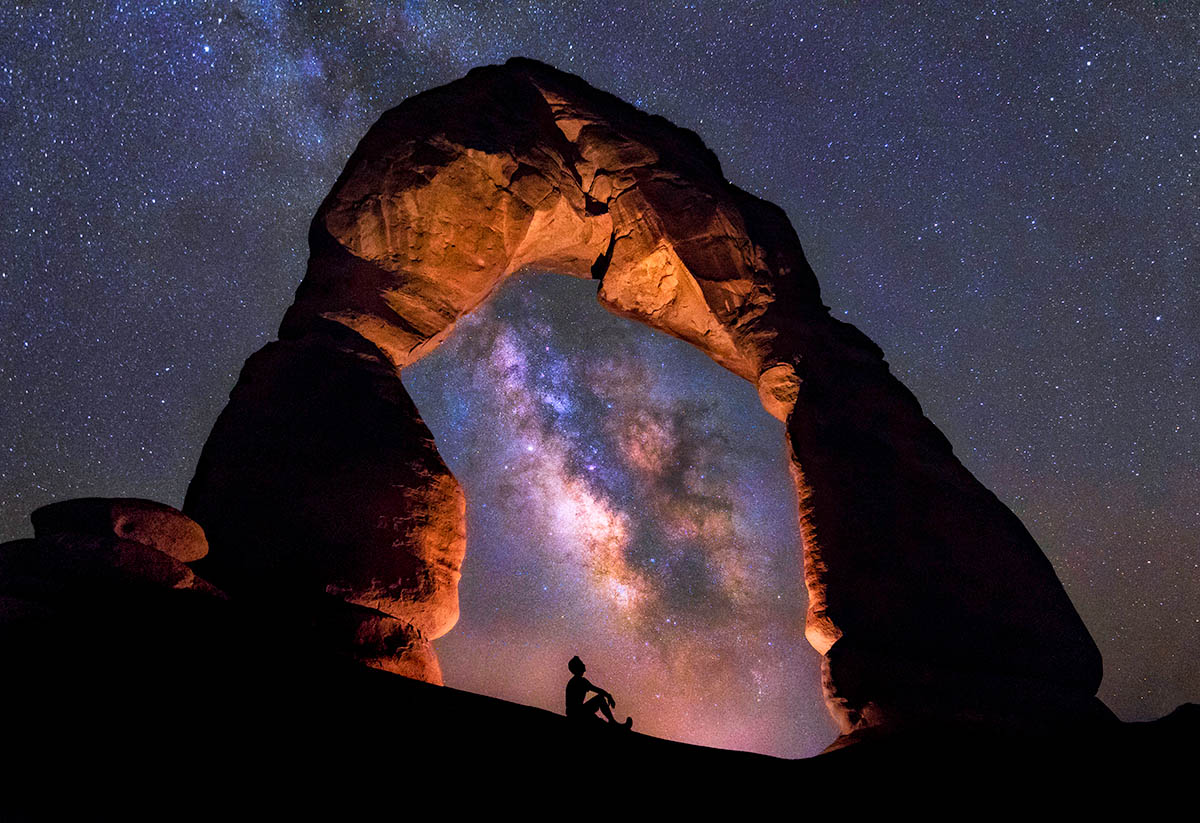
Plus, you can have them pose for some awesome night portraits!
#10 Know Where in the Sky You Are Shooting
If you want to photograph the sky in any direction, capturing all different stars, constellations, and celestial objects, then go for it!
Photopills
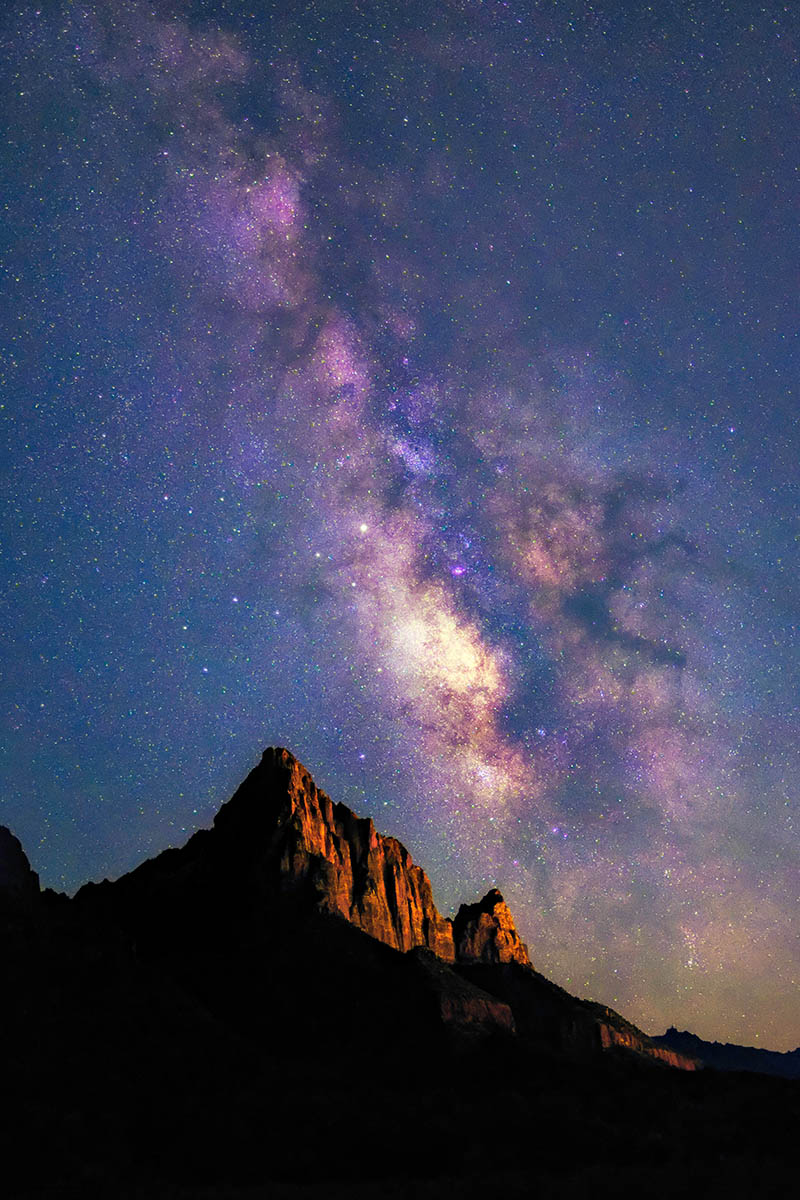
But if you have your sights set on capturing the Milky Way, you need to know where in the sky the Milky Way is. There are many apps that help with this, with my favorite being Photopills, which provides augmented reality, allowing you to see where the Milky Way will rise and set from YOUR specific location!
Either way, do some research beforehand so you’re not wasting too much time trying to find out where in the sky you want to point your camera.
Conclusion
If you take all of these night photography tips into account, you will have a great time photographing the stars!
Don’t forget to soak it all in and enjoy the moment!
If you want to read more from Adam, go to his blog or his website.





Nice post. Such an amazing article. Great share. Thank you . Loved it very helpful.
Thank you! Glad you find it helpful 🙂
Thank you so much Lula! I’m glad you found the tips helpful! Check out my blog: http://www.adamstrailnotes.com for more of my articles!
This is really informative blog. Keep posting. Looking forward to next from you.
Thank you, glad you like it 🙂
Thank you so much Willie! Check out my blog: adamstrailnotes.com for more of my articles!
Got a lot of information on night photography tips. Thanks, Adam for sharing the nice resources………..
You’re welcome!
No problem! Glad you found the tips useful!
Thank you for the awesome tips on Night Photography! I live in Montana, USA and each summer I hope to capture “the shot” Too cold for me in the winter
Glad you enjoyed it 🙂 I hope this summer you capture it!
Awesome! Summer is a great time to capture the Milky Way!!