Photography Tips for Beginners
Most articles with photography tips for beginners start with complicated drawings of the exposure triangle and intricate explanations of white balance.
I think that’s the perfect way to take the fun right out of learning photography. Because it focuses too much on the technical side of photography. I’m not saying technique isn’t important. It is. But I feel it’s not the best way to start learning photography.
Despite the generally advocated idea that photography is not too difficult, there’s a lot more to it than pushing a button.
It’s easy to feel overwhelmed, frustrated and defeated after you’ve bought your first ‘serious’ camera and the thing looks like an alien to you.
Like so many other beginning photographers, you decide the safest thing to do is to keep it in Auto Mode, so you don’t miss out on precious moments and once-in-a-lifetime photo opportunities.
And that is a shame because your camera’s brain’ is very limited. It really needs your loving guidance to get the best out of it.
Read More: Looking for some straightforward tips on picking the best camera for you? Check out the How to Choose a Camera Guide.
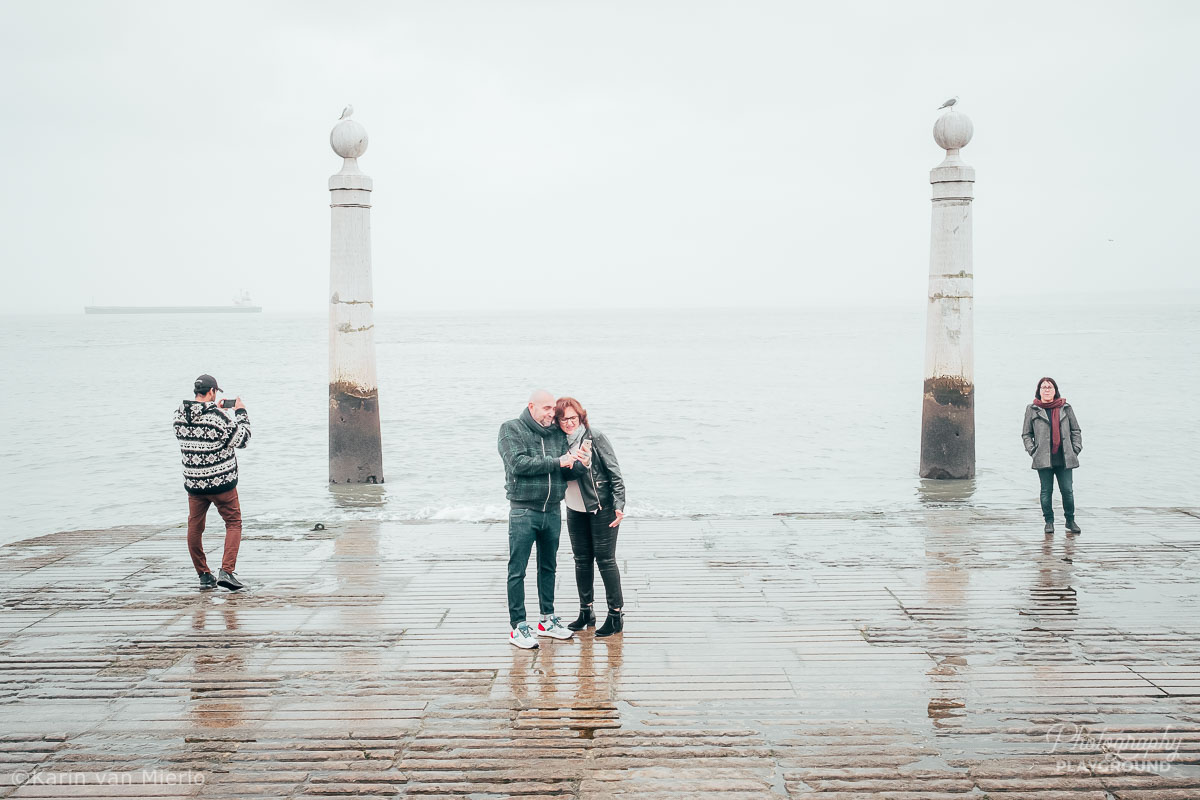
So, I’m not going to overload you with technique.
I am going to give you 5 practical and creative photography tips for beginners you can implement today. Without all the technical background information you have no place for right now.
This way you can start to get to know your camera a little bit better and most of all develop a sense of control and fun in the process.
#1 HOLD YOUR CAMERA THE RIGHT WAY
So, let’s start at the very beginning. How to hold your DSLR or Mirrorless camera. It might seem like a trivial thing but I can assure you it’s not.
Your camera is your tool and you should feel very comfortable with it. The end goal here is for your camera to become an extension of yourself. That starts with holding your camera the right way.
Camera Shake
When you hold your camera the right way, it doesn’t move when you press the shutter because it’s supported by you. You have to become a living tripod to give your camera the support it needs to keep still.
When you don’t support it enough you might end up with blurry pictures caused by camera shake. The super small movement the camera makes the moment you press the shutter. So, you see why this first step is so important.
Let’s take it step by step!
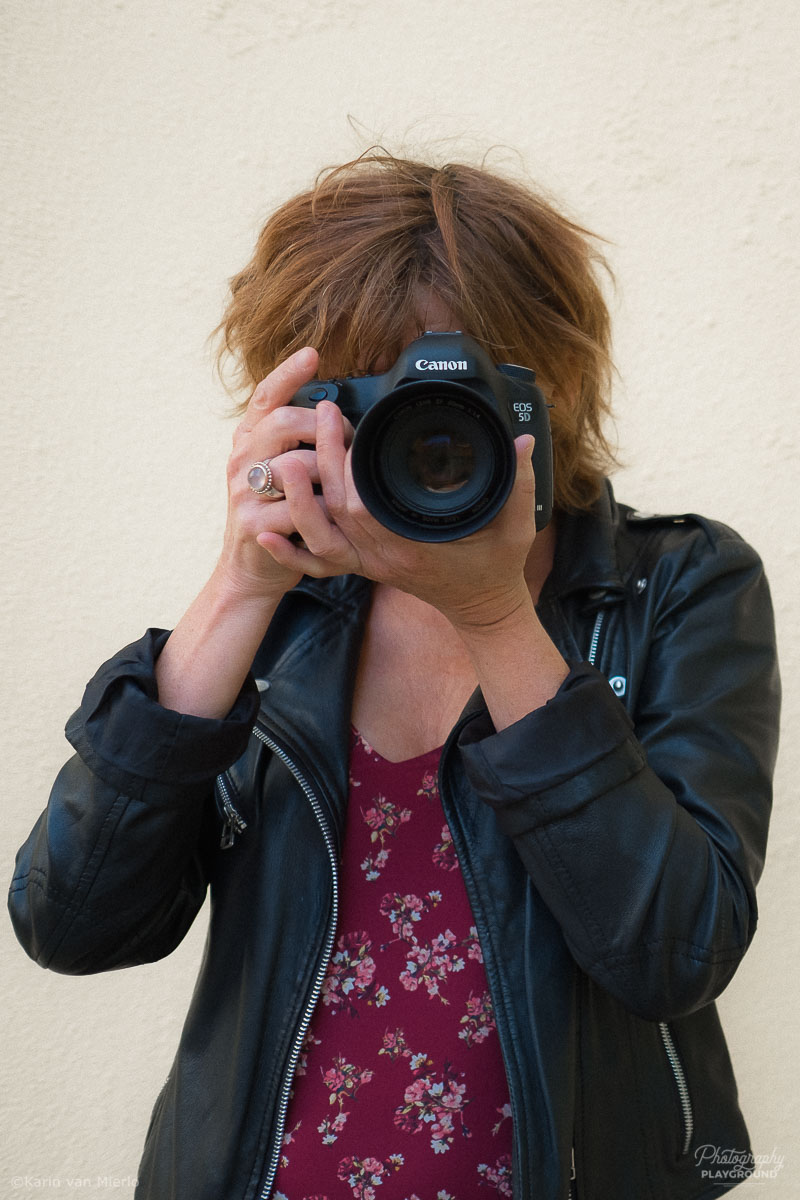
- Let the base of the camera rest in the palm of your left hand and wrap your fingers around the lens.
- Take hold of the grip at the right side of the camera with your right hand.
- Let your right index finger rest on the shutter, ready to press.
- Press your upper arms in the side of your body and keep the camera as close to your face as possible.
- When it’s time to press the shutter make sure your right index finger is the only thing moving.
- Holding it vertical is basically the same procedure. You support the camera with your left arm and hand, using your right hand only to release the shutter.
#2 SHOOT IN PROGRAM MODE
Program mode is an often overlooked exposure mode and that’s a pity because it can help you to step away from Auto mode without the fear of missing shots.
In Auto mode, there’s absolutely nothing you can control. It’s the safe way to go for sure when you’re starting out. But soon you become frustrated because the camera is doing its own will.
Go here for an explanation of photography terms.
Going from Auto Mode to Manual Mode is a huge step and often results in missed shots. And after you’ve missed a couple of important moments because you were fumbling with your settings you resort to Auto Mode. Just to be on the safe side.
But there’s a solution for beginning photographers who don’t feel confident enough to shoot in Manual Mode. It’s called Program Mode and it’s perfect for taking your first independent steps in photography. It’s like learning to ride a bike with the side wheels on.
If Program Mode is a huge mystery to you, download my free Starter Photography Playbook. It breaks down shooting in Program Mode in digestible chunks and gives you even more photography tips for beginners.
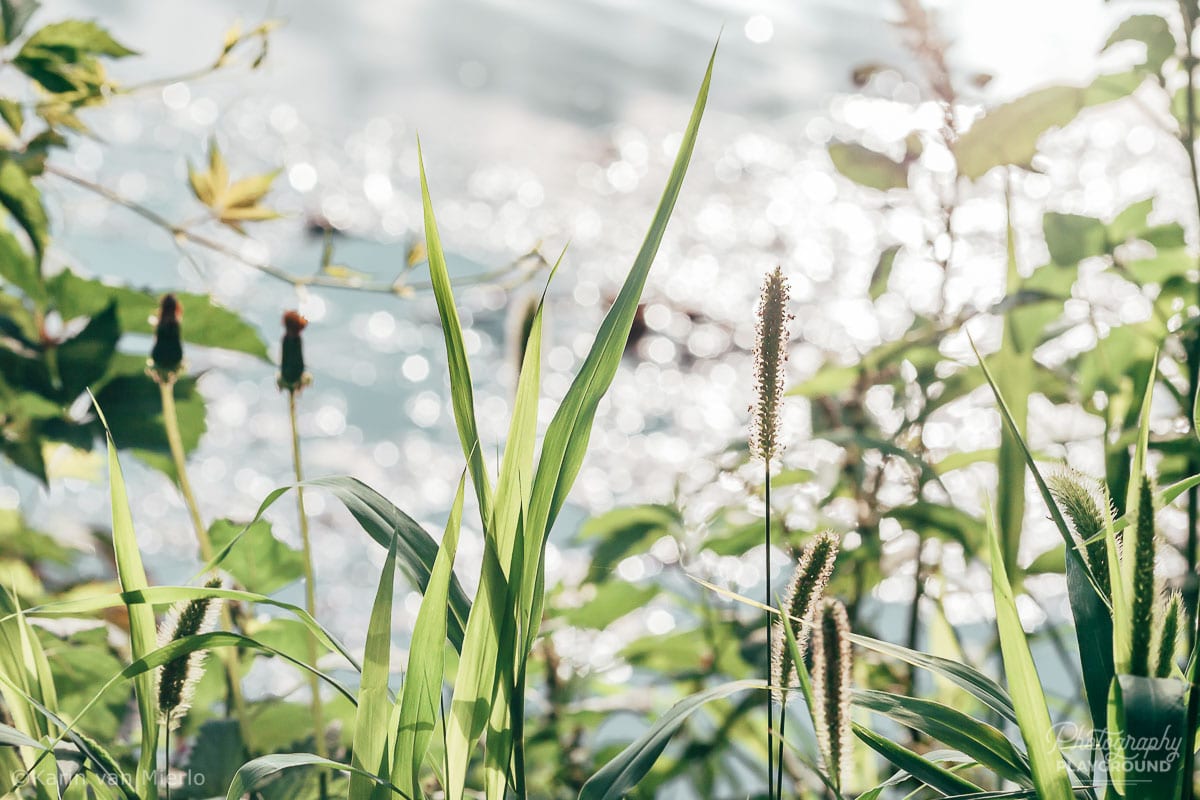
There are a few important settings you cannot control in Auto Mode but you can control them in Program Mode.
Control the Focus
The most important one is setting focus. In Auto Mode, the focus is determined by the camera and it might or might not align with where you think the focus should be.
As a result, you end up with blurry pics regularly.
In Program Mode, you gain full control of your focus settings. It’s the main reason why you should shoot in Program Mode.
Control ISO
The second reason is you can deactivate the flash and select the ISO yourself.
The ISO determines the sensitivity of the sensor.
And when you’re able to select a high ISO yourself the camera will not automatically open up the flash when there’s not a lot of light available.
Shoot in Raw
And the third reason is that you can select the RAW image quality. When you shoot in RAW the range of possibilities in the editing phase is so much larger than when you shoot in Jpeg.
This is good news when you’re starting because the margin for error in exposure is quite large when you shoot in RAW. This means that even if a picture is for instance underexposed you can still make it look awesome when you’re editing.
Shooting in RAW is a no-brainer even if you don’t have access to editing software right now. For now, you can select the Raw/Jpeg image quality.

#3 SHOOT A LOT & EXPERIMENT
To become a better photographer you have to shoot a lot. And you should definitely not be afraid of getting it wrong. It’s how you learn the best.
Of course, there’s such a thing as overshooting. That condition when your finger is just not able to let go of the shutter and you take dozens of identical pictures in a row. That’s not what I’m talking about.
Shoot with Intent
I am talking about shooting with intent, about experimenting and playing.
Trying out different things when it’s okay if you make mistakes.
To carve out time for yourself to practice without the pressure of others waiting for you or the fear of missing the shot because it’s an important moment.
This is really important when you’re learning. Because it doesn’t make sense to experiment when you’re shooting a once-in-a-lifetime thing or a precious moment.
You need to practice when it’s okay to mess it up. So you become comfortable with your camera and confident enough to try out new things when it actually does matter.
#4 DISCOVER WHAT YOU LOVE TO SHOOT
Shooting a lot and experimenting become so much easier when you photograph what you love. It doesn’t matter who or what it is.
Figuring out the subjects or situations that make your photography heart sing is a very important step in learning photography.
Maybe your idea of a perfect day is strolling the streets of a city with your camera, or your photo heaven is spending time in nature, or you get your photography juices flowing by photographing your kids or grandkids.
It doesn’t really matter. What matters is that you discover what you love to shoot so you can shoot with love.
Shoot with Love
Photographing with love gives you the motivation to stay with it.
To show up again and again.
To make the mistakes and keep coming back.
For as long as it takes to get it right.
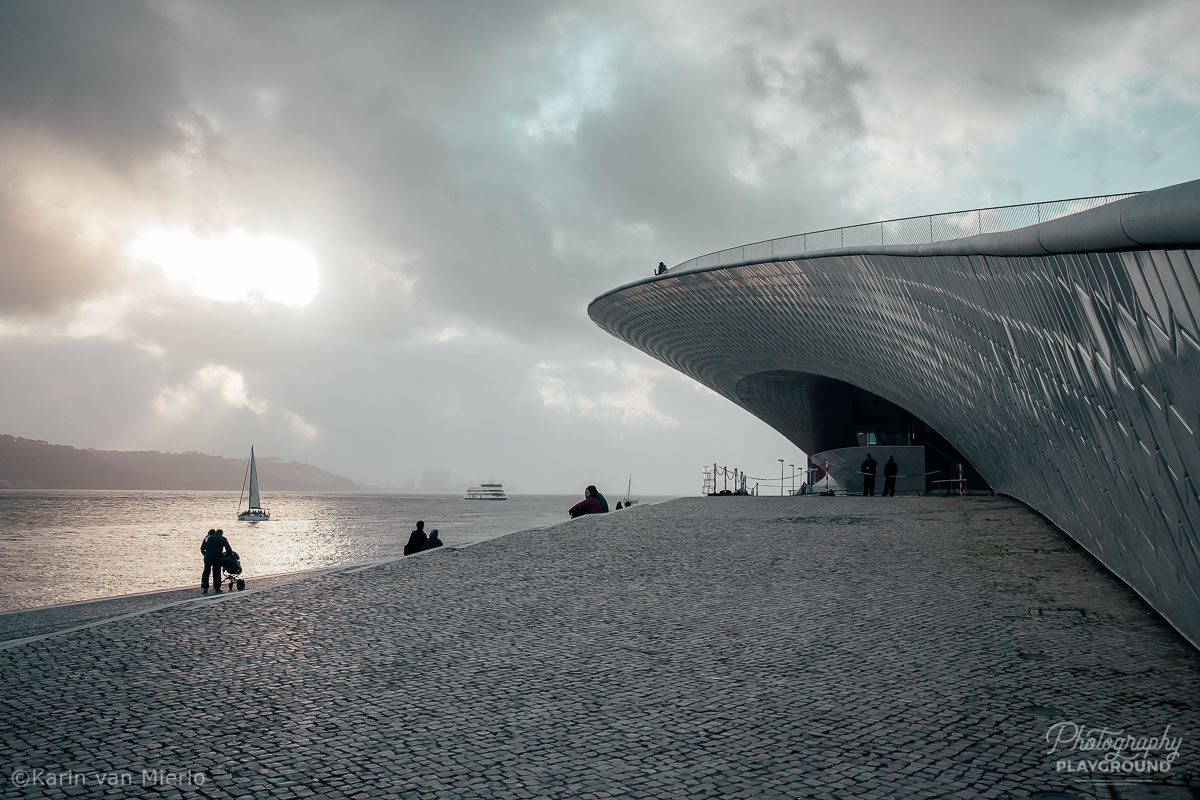
#5 MIX UP YOUR POINT OF VIEW
One of the most persistent mistakes I see beginning photographers make is to photograph from the same eye-level perspective all the time.
Mixing up your point of view will dramatically improve your photography.
To mix up your point of view you want to be an active and involved photographer. Because what you actually use to change your point of view is not so much the camera but your body. That’s why it’s vital to be active, to walk around, and to look at your subject from different perspectives.
Walk towards your subject to photograph a detail, crouch down to get a low point of view, or climb on top of things for an unusual perspective.
You can find more tips on composition in photography here.
So, dust off your camera and start practicing with these 5 simple, yet very effective photography tips for beginners, and I assure you you do not want to stop photographing.
Did you try one of the tips? Share your photos on Instagram and mention @photography-playground!





This is the first time I heard of a program mode! I’ve always been wary of purchasing a manual camera, but knowing that there’s something like a guide when starting, makes me want to jump the gun. Thank you so much for this!
You’re welcome! So glad you liked it and makes you want to move forward 🙂
Great tips, especially about photographing what you love. It can be difficult to find the confidence to step out of my comfort zone with photography but slowly i am trying new things and matching them with a little study so i have balance between learning the techinical side with the creative element.
That’s great to hear! Glad you liked it 🙂
Great tips
Thanks! Glad you liked it.